Installing a ceiling rose can add a touch of elegance to any room, especially in Cornwall, where traditional and modern styles blend beautifully.
Whether you’re refurbishing a historical home or adding character to a contemporary space, a ceiling rose is a perfect finishing touch. But how do you install one properly to ensure it’s both aesthetically pleasing and safe?
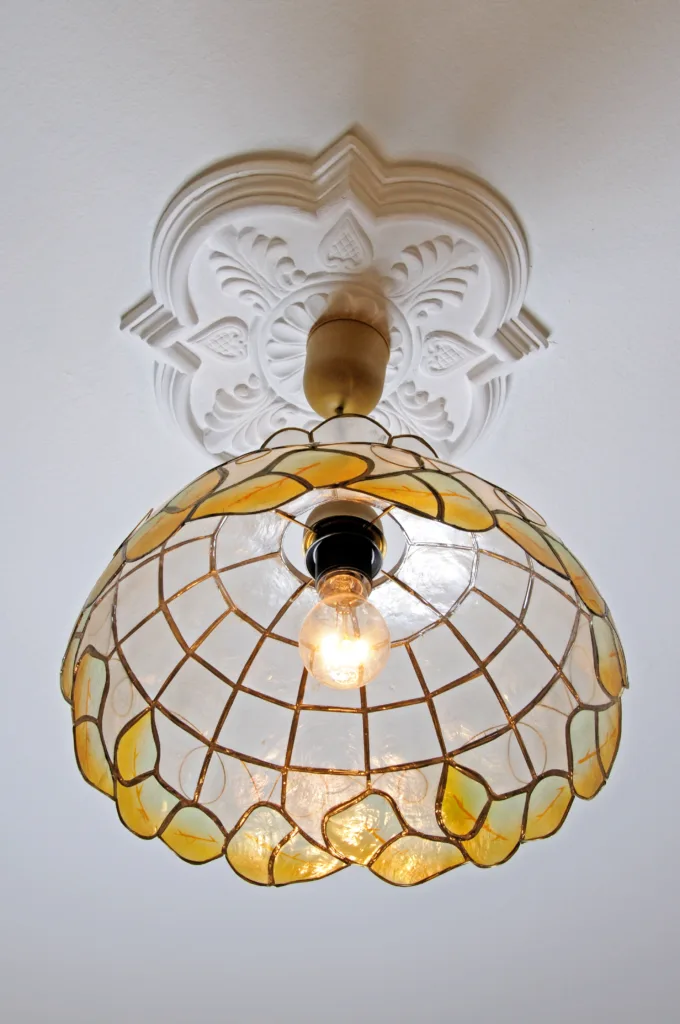
This guide will walk you through the step-by-step process of installing a ceiling rose in your Cornwall home. If at any point you feel uncertain, our Domestic Services are here to help.
Tools and Materials Needed
Before you start, gather all the necessary tools and materials. You’ll need a screwdriver, wire strippers, a drill (if new holes are required), and electrical tape. For the materials, ensure you have the ceiling rose, appropriate screws, and connectors or terminal blocks. Don’t forget safety gear such as gloves and goggles to protect yourself during the installation process. Having everything prepared before you start will make the process smoother and reduce the risk of errors.
Preparing for Installation
Safety First
Safety should always be your priority. Start by turning off the power at the consumer unit to avoid any electrical hazards. Use a voltage tester to double-check that the power is off before proceeding. This is crucial as working with live wires can be extremely dangerous. Always ensure that everyone in the household is aware that electrical work is being done, so they don’t accidentally turn the power back on.
Removing the Old Fixture
Begin by carefully removing the old ceiling rose or light fixture. If you’re replacing an old fixture, unscrew it and gently lower it to reveal the wiring. Note the current wiring configuration, as this will help you when connecting the new ceiling rose. Take a photo of the wiring setup before disconnecting anything; this visual reference can be incredibly helpful later on. Carefully detach the wires from the old fixture, making sure to cap any exposed ends to prevent accidental contact.

Installing the Ceiling Rose
Securing the Base
Position the base of the new ceiling rose against the ceiling. Use a pencil to mark the holes where you will need to drill. Once marked, drill the holes and insert the screws to secure the base firmly. Make sure it is tightly fixed to prevent any movement. A securely attached base is essential for both the safety and aesthetics of the ceiling rose. If the base isn’t level or is loosely attached, it can affect the final appearance and could potentially become a hazard.
Connecting the Wiring
Identify the live (brown), neutral (blue), and earth (green/yellow) wires in your ceiling. Connect these wires to the corresponding terminals in the ceiling rose. It’s crucial to ensure that the connections are tight and secure. Loose connections can lead to poor performance or even electrical hazards. If you’re unsure, consult a professional electrician or refer to our DIY vs Professional guide. Ensure that no bare wires are exposed and that each wire is securely fastened into its terminal.
Attaching the Ceiling Rose Cover
With the wiring in place, position the decorative cover of the ceiling rose over the base. Carefully align it and secure it with screws or clips as provided. Ensure that no wires are pinched or exposed. The cover should fit snugly against the ceiling without gaps. If it feels loose or uneven, double-check the positioning of the base and the cover. A well-fitted cover not only looks better but also protects the wiring and connections from dust and other contaminants.
Testing the Installation
Once everything is securely in place, restore the power at the consumer unit. Turn on the light switch to test your installation. If the light doesn’t work, switch off the power and double-check your connections. Common issues include loose wires or incorrect wiring configurations. If the light flickers or doesn’t turn on at all, it’s a sign that something isn’t connected properly. Double-check all connections and make sure the wires are correctly placed in their terminals.
Regulations and Best Practices
It’s important to comply with UK electrical regulations to ensure safety. Ceiling rose installations should adhere to the standards set out in the Building Regulations Part P. For detailed information on these regulations, you can refer to the UK Government Electrical Safety guidelines. Following these practices not only ensures safety but also adds value to your home. Regularly check the condition of your ceiling roses and other electrical fittings to ensure they remain safe and functional.
Additional Tips for Installing Ceiling Roses
Choosing the Right Ceiling Rose
When selecting a ceiling rose, consider the style of your home and the size of the room. A large, ornate ceiling rose may overwhelm a small room, while a too-small rose can look out of place in a large, high-ceilinged room. Balance is key, and choosing a design that complements your existing décor will enhance the overall aesthetic of your space.
Dealing with Plaster Ceilings
If you have a plaster ceiling, be extra careful when drilling and securing the base of the ceiling rose. Plaster can be brittle and may crack if not handled properly. Use a masonry bit for drilling and consider using anchors that are designed for plaster to ensure a secure hold.
Handling Older Wiring
In older homes, you might encounter outdated wiring configurations or materials. If you’re unsure about the type or condition of your wiring, it’s best to consult a professional electrician. Older wiring can pose additional risks, and updating it can improve the safety and efficiency of your home’s electrical system.
FAQs
Can I install a ceiling rose myself, or should I hire a professional?
While installing a ceiling rose can be a DIY project, it requires a basic understanding of electrical systems. If you are not confident, hiring a professional is always safer and ensures compliance with regulations.
What are the common mistakes to avoid when installing a ceiling rose?
Common mistakes include not turning off the power, incorrect wiring connections, and not securing the ceiling rose properly. Always double-check each step to avoid these pitfalls.
How do I know if my ceiling can support a ceiling rose?
Check the strength and stability of your ceiling. If it’s a plasterboard ceiling, ensure there is a secure fixing point like a joist. If in doubt, consult a professional.
Conclusion
Installing a ceiling rose can transform the look of any room, adding a touch of elegance and style. By following these steps, you can ensure a safe and beautiful installation. Remember, if you’re ever in doubt, our expert team at Wave Electrical Solutions is just a call away. For professional assistance, visit our Contact Us page.
Regular maintenance and adhering to safety standards will keep your ceiling rose looking great and functioning safely for years to come.
