A complete electrical rewire carried out in an occupied Camelford home with traditional stone wall construction, requiring careful planning and specialised techniques to install modern wiring whilst preserving period features and minimising disruption to daily life.

Rewiring a house whilst people are still living in it presents a unique set of challenges that you don’t encounter in empty properties. This Camelford rewire brought all of those challenges together in one project, made even more complex by the property’s solid stone wall construction. There’s no hiding behind polished marketing photographs here – what you’re seeing is the genuine reality of domestic electrical work as it happens, with furniture pushed aside, belongings carefully protected, and life carrying on around the installation.
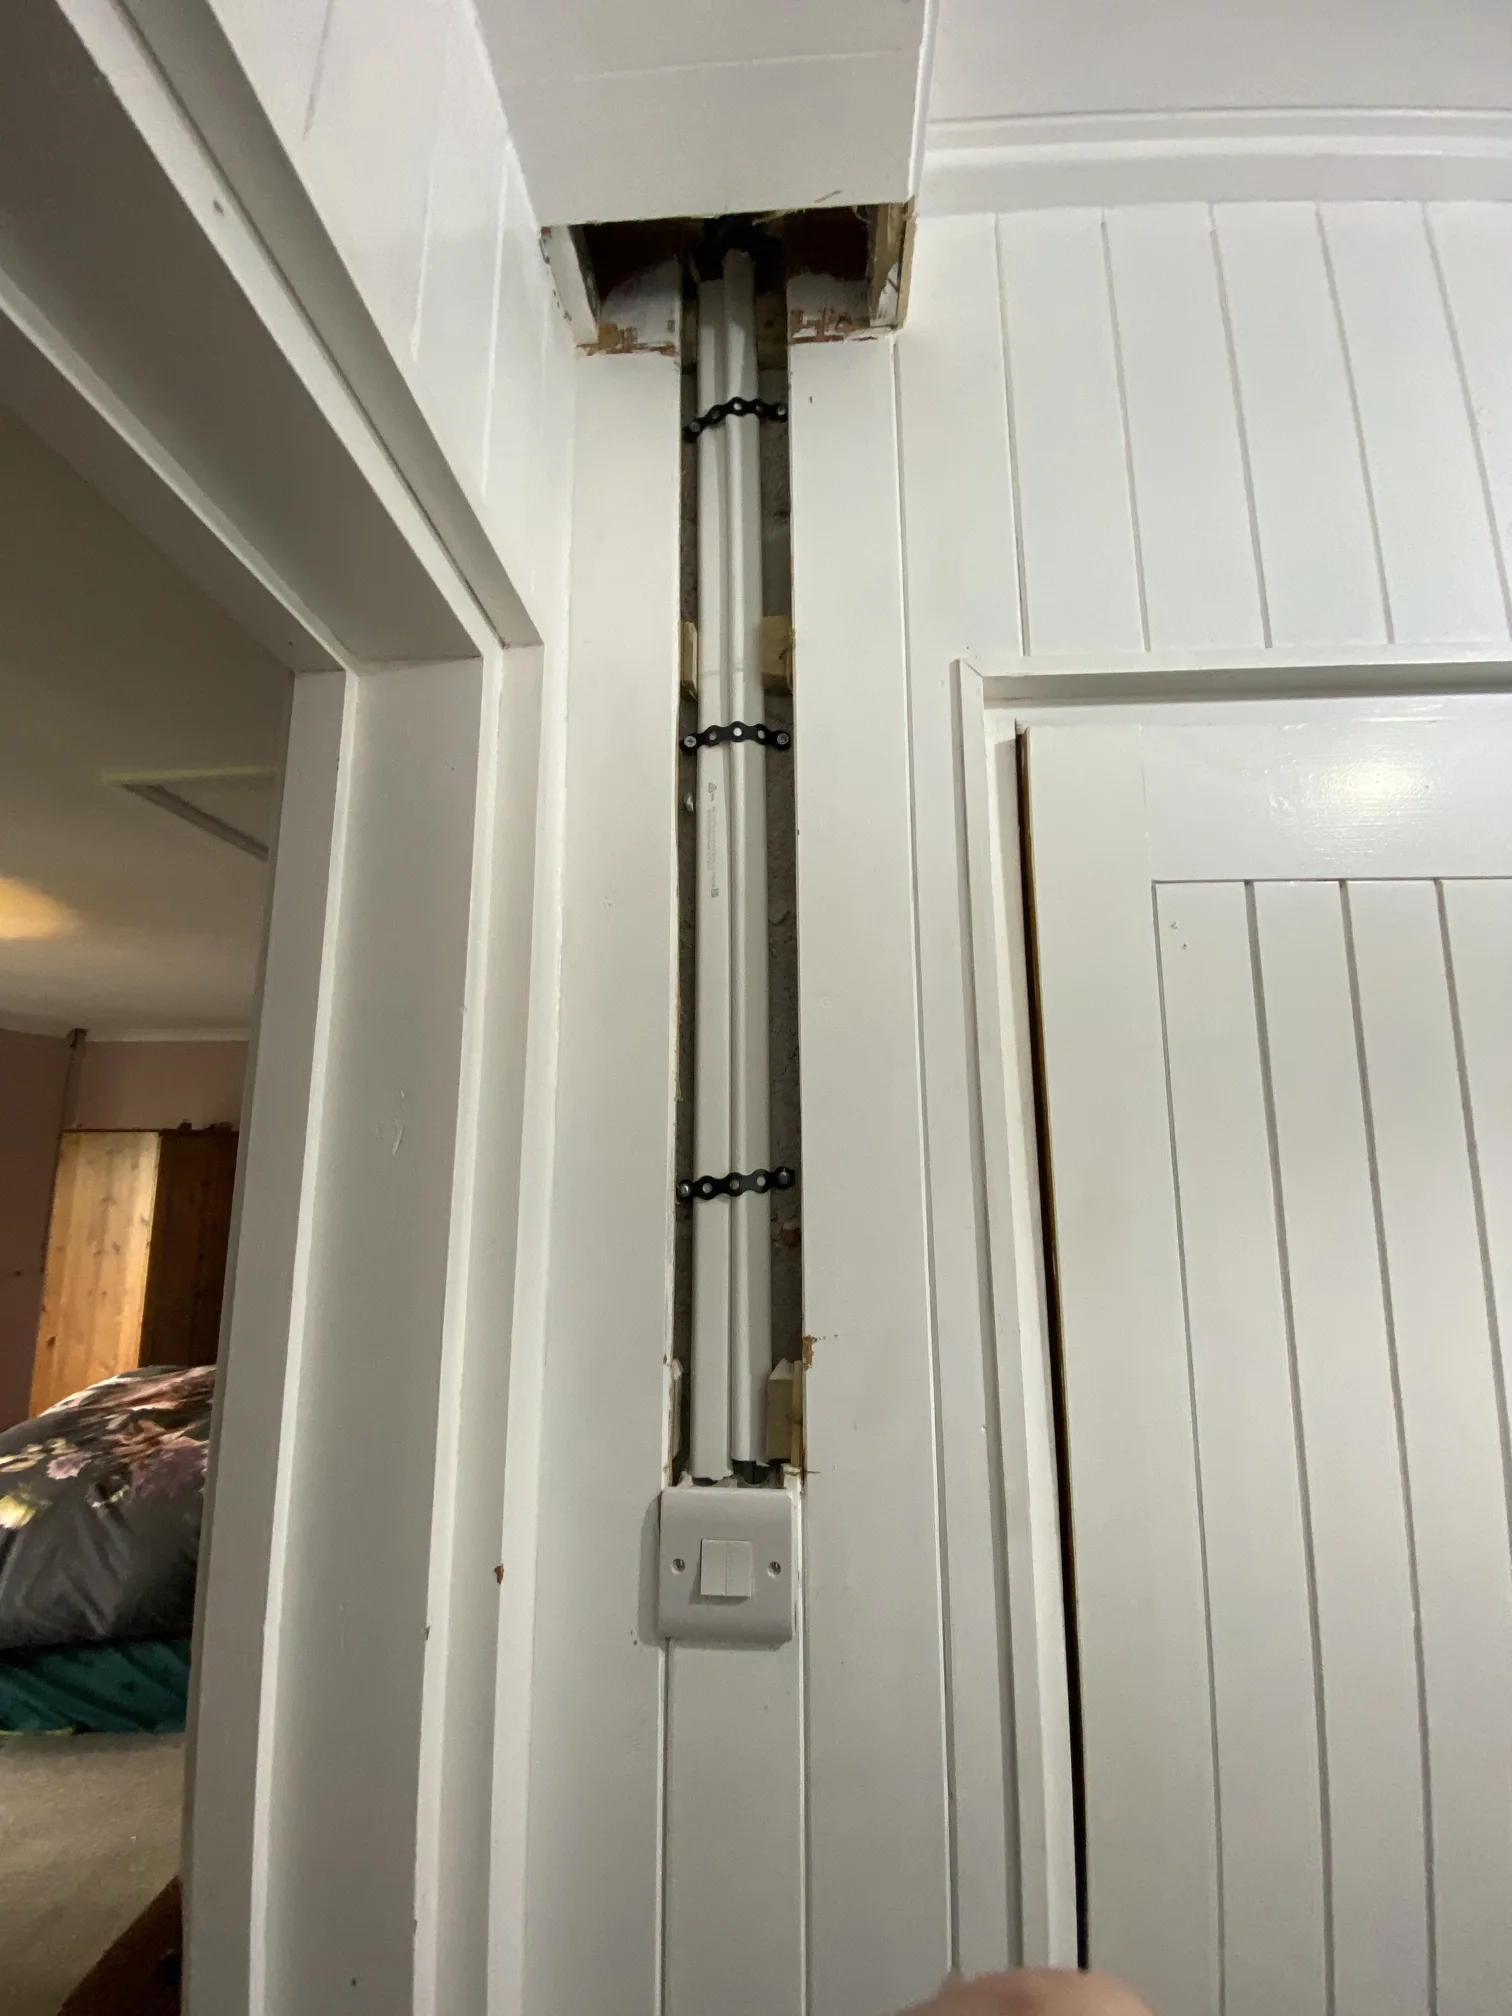
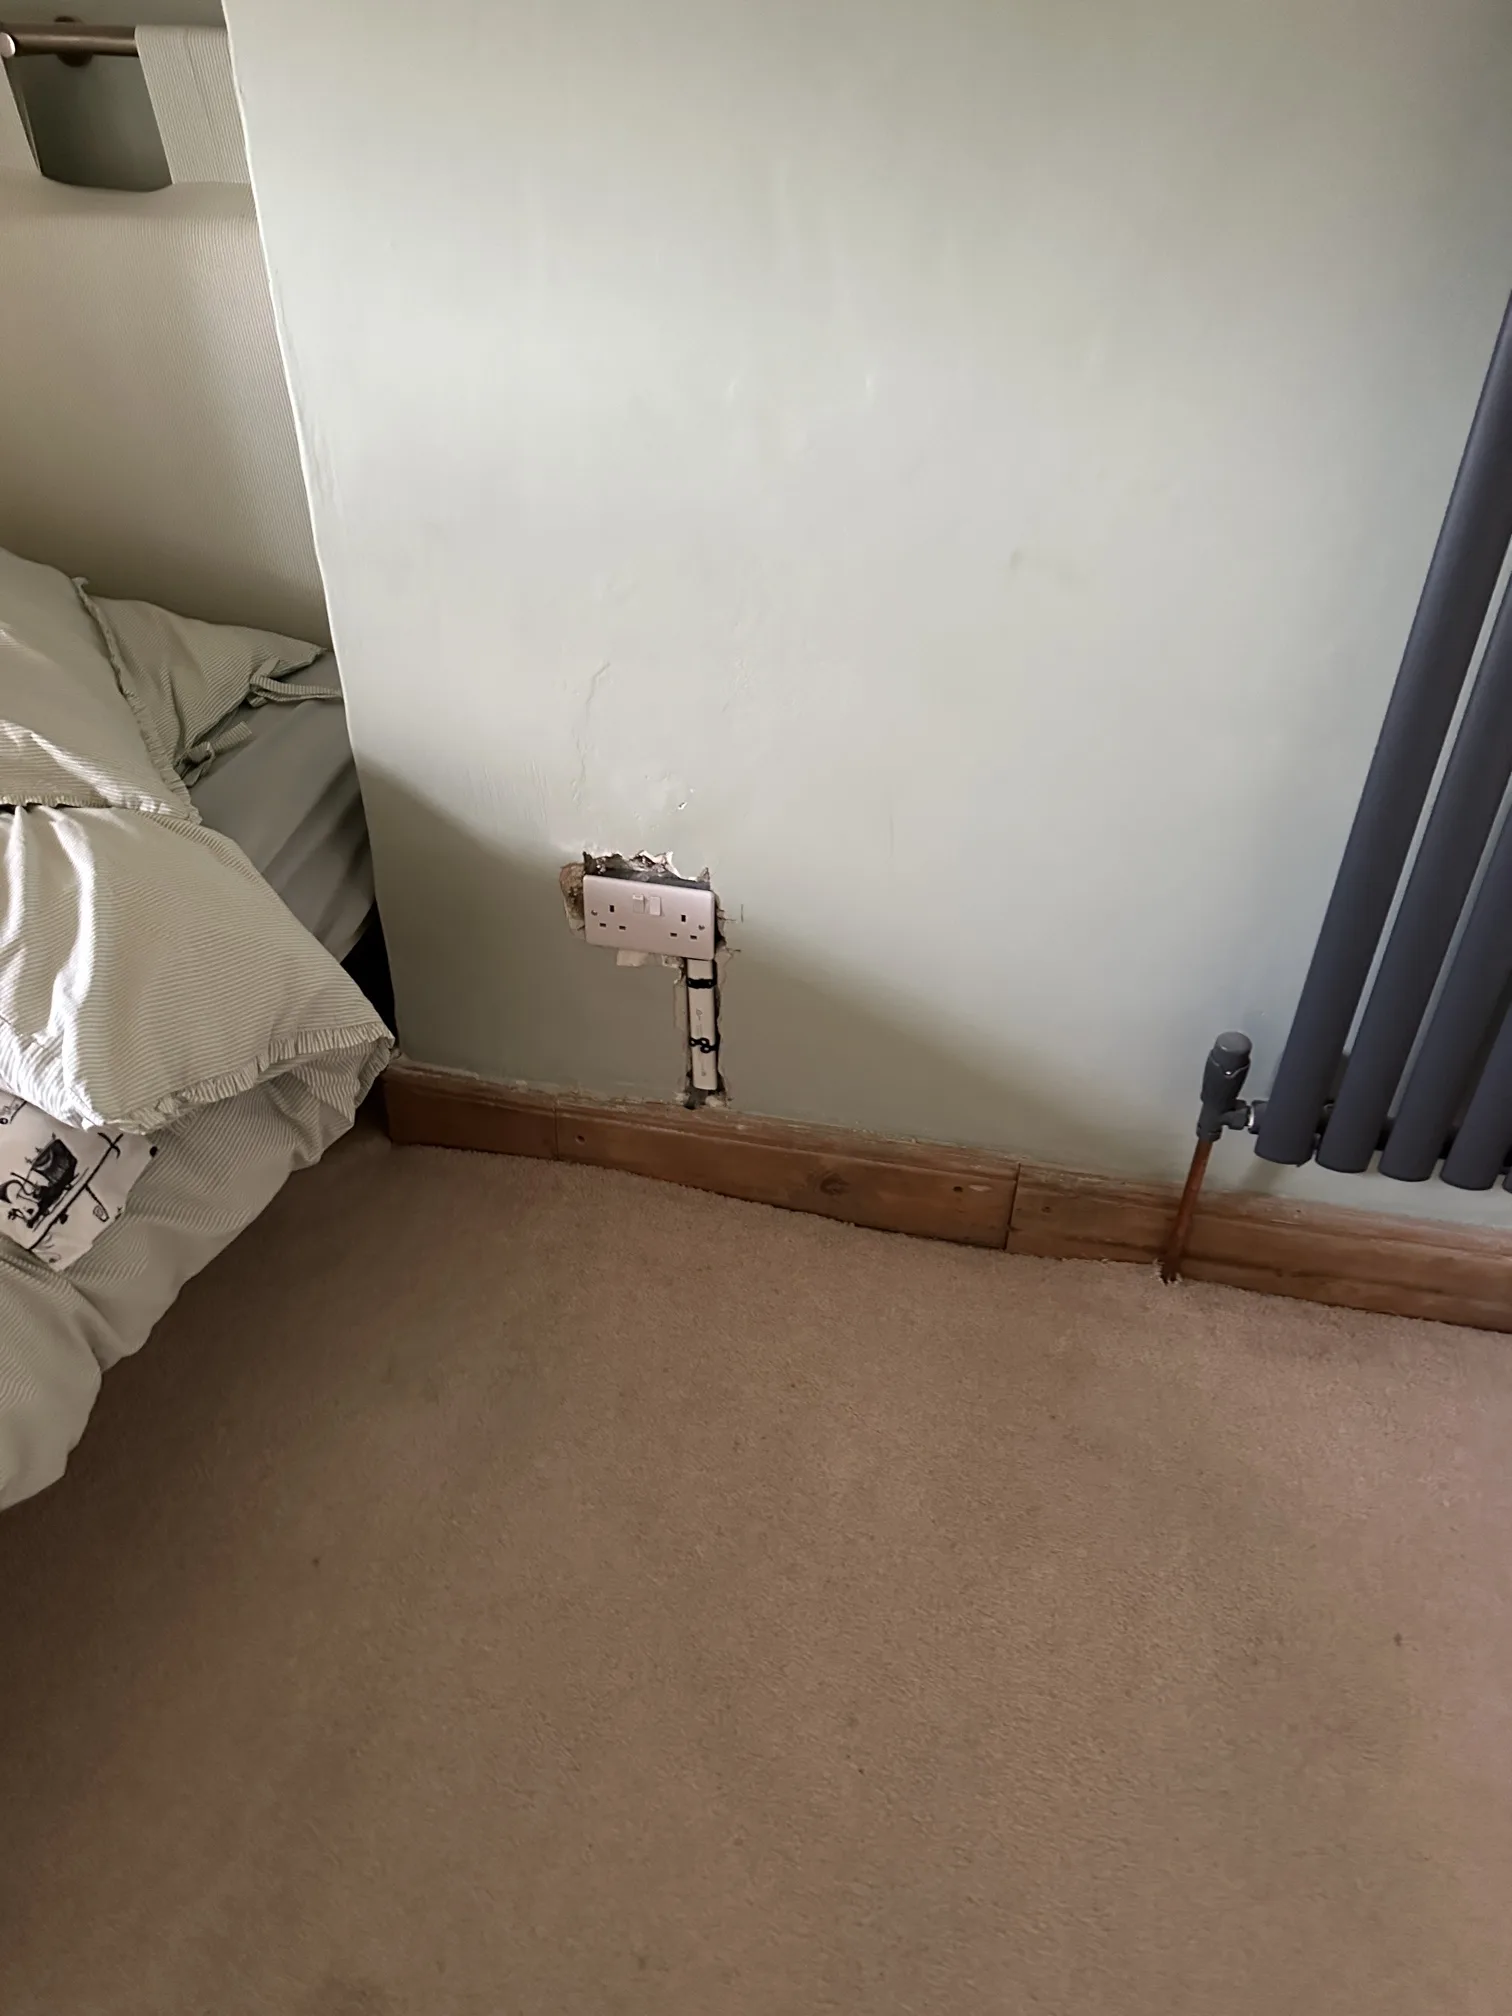
Stone-built properties have their own particular character when it comes to electrical work. Unlike modern homes where cables can be run through cavity walls or timber stud partitions, solid stone construction means every cable route needs careful consideration. You can’t simply drill through from one side to the other – these walls are often over a foot thick, built from irregular stones bedded in lime mortar. The traditional approach would be to chase channels into the stonework itself, but in an occupied home where people are trying to maintain some normality, that creates dust, noise, and disruption that affects every room.
The property’s layout meant we needed to supply power and lighting to three bedrooms, a master bedroom with en-suite, main bathroom, living room, kitchen, dining room, landing, and various hallways. Each space presented its own puzzle in terms of cable routing. Where timber ceiling joists were accessible, cables could be clipped directly to the structural timbers – a cleaner approach that avoided unnecessary disturbance to the stonework. In other areas, we had to work with what the building offered us, sometimes routing cables though existing paths rather than creating extensive new channels that would need replastering and redecorating.
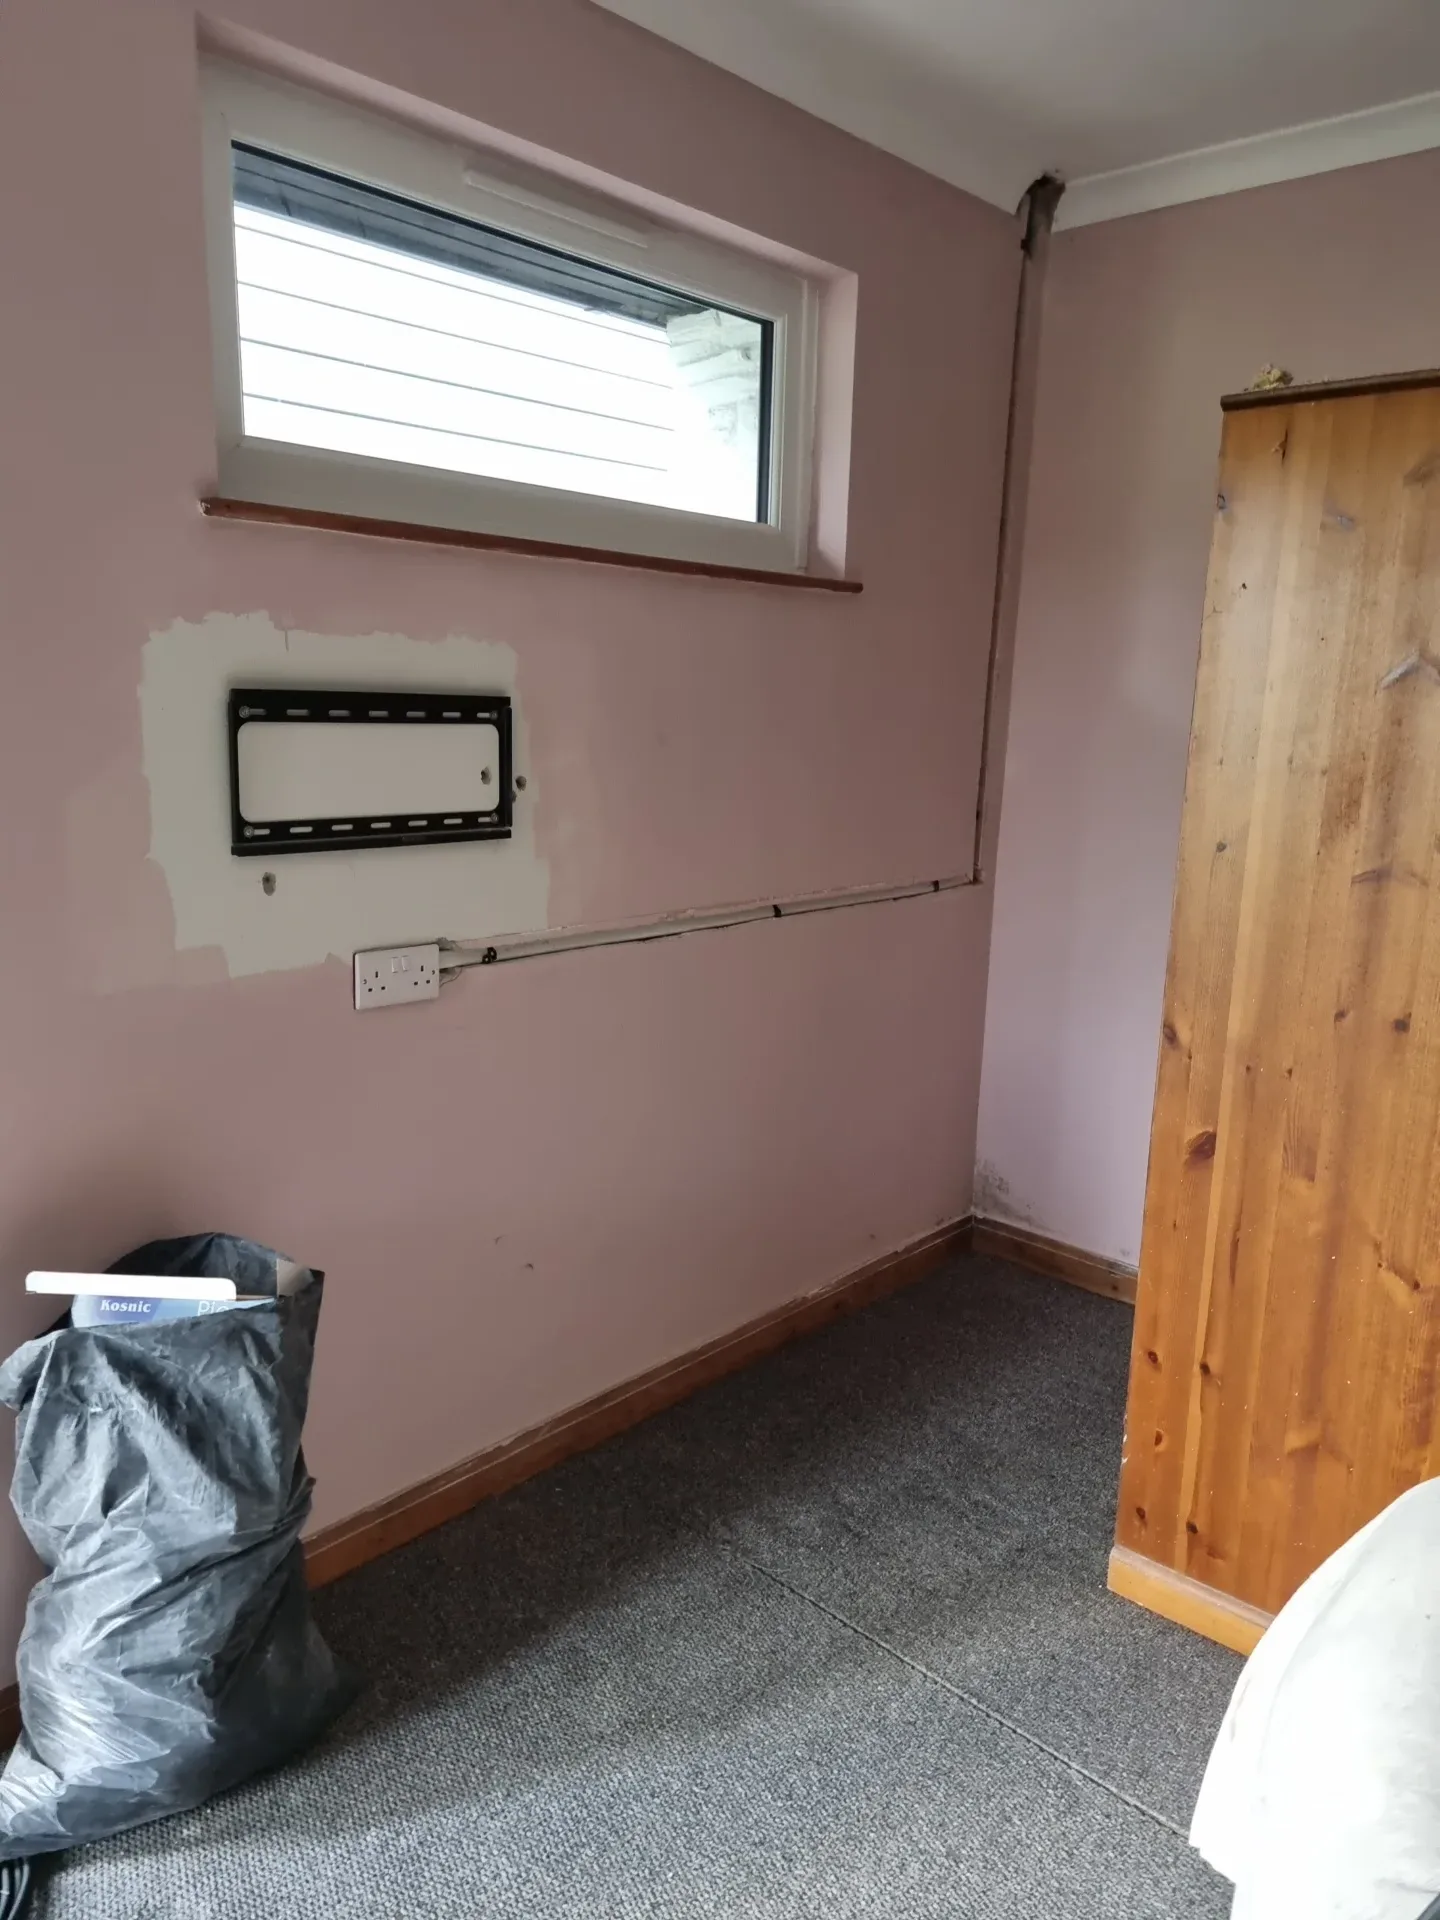
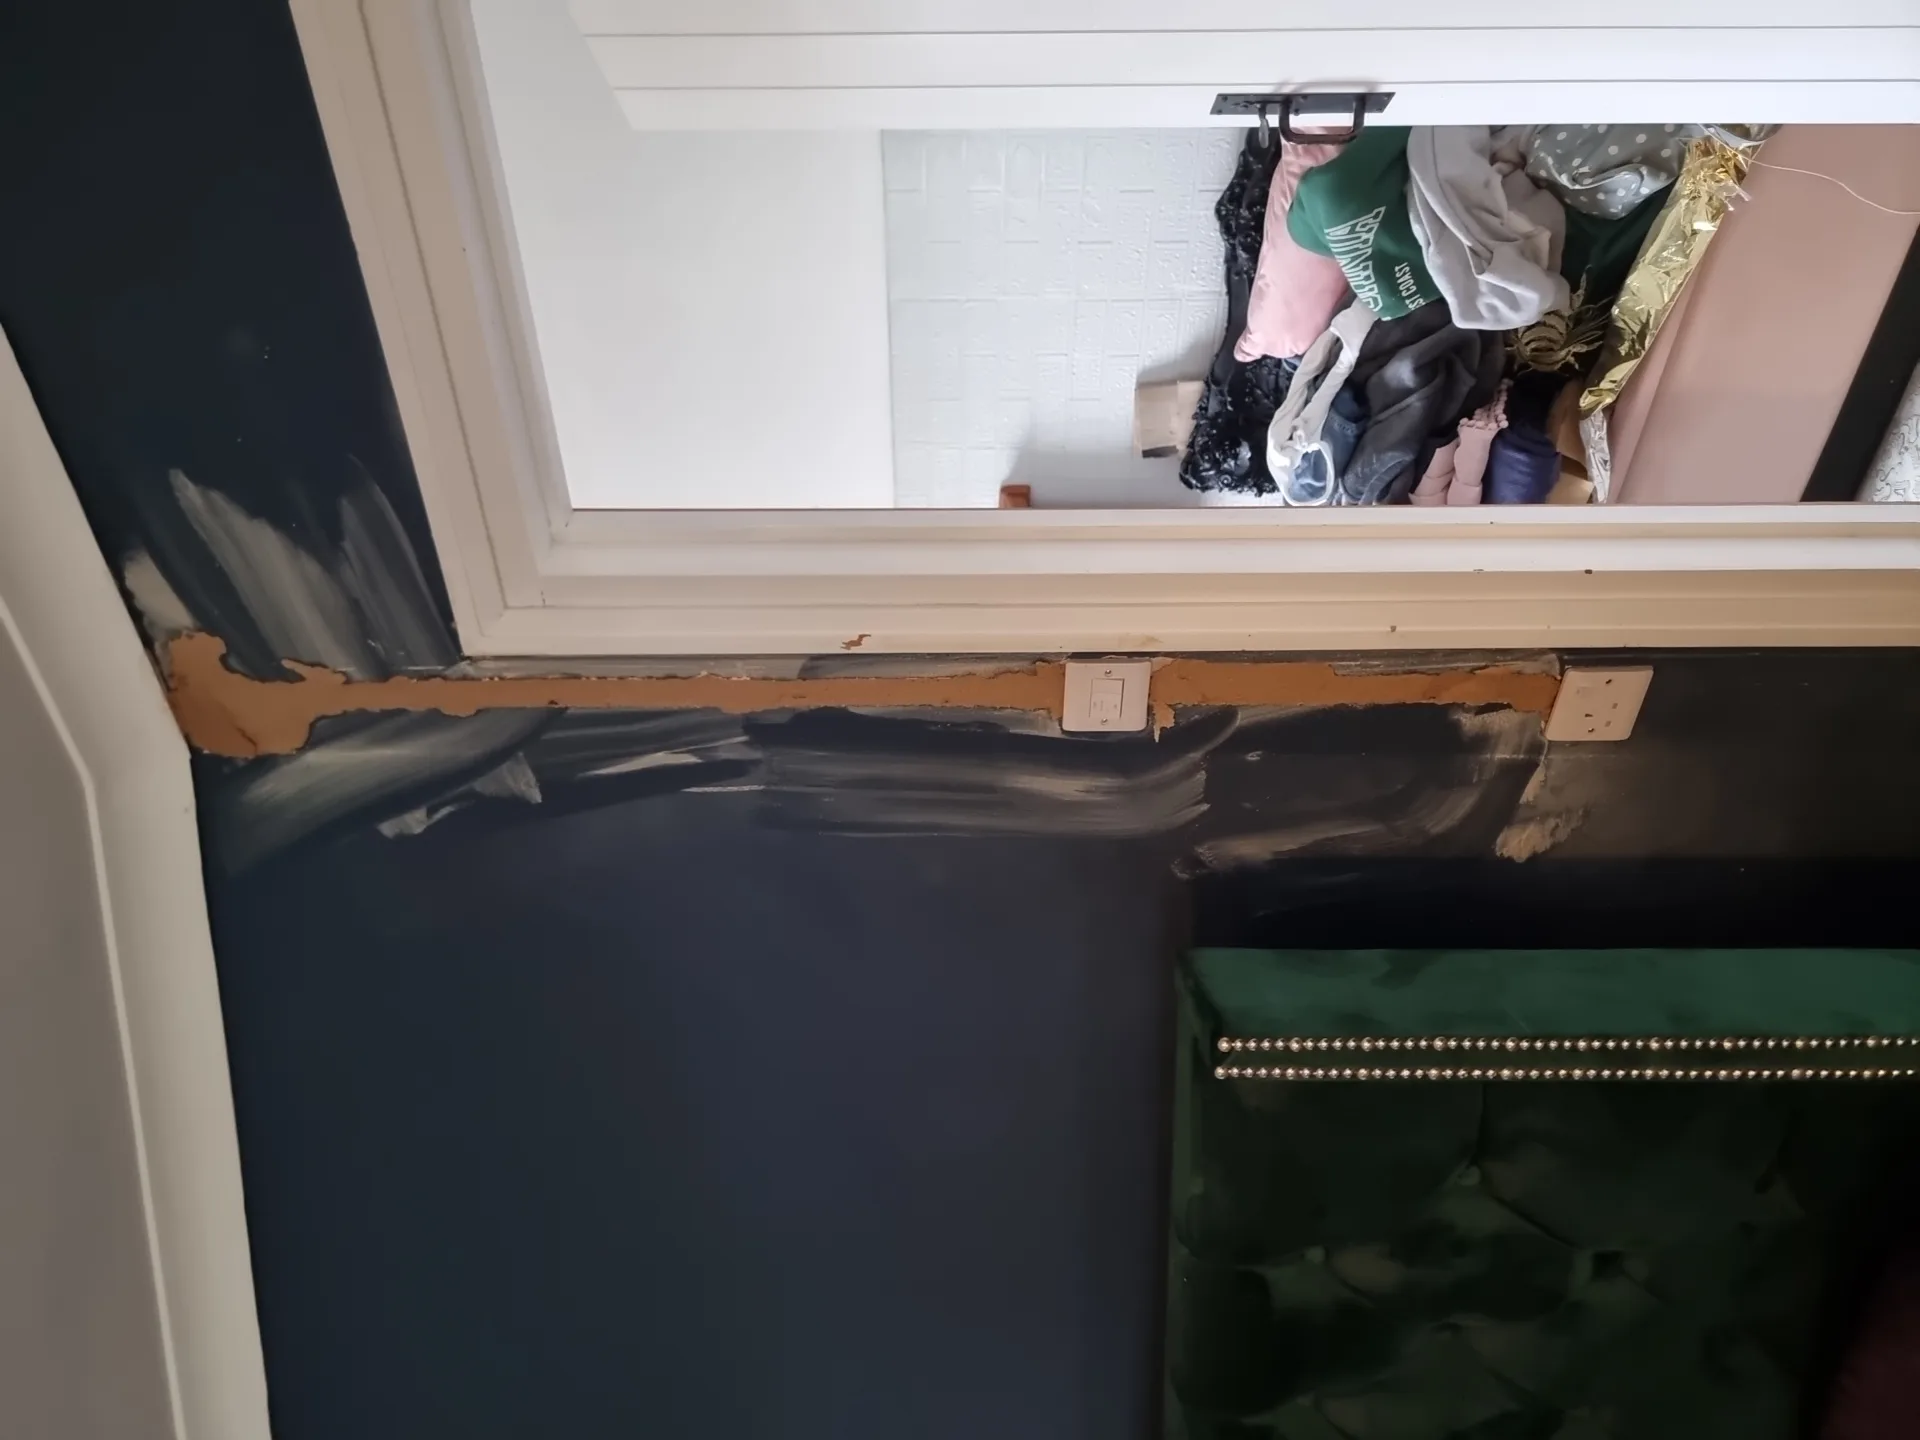
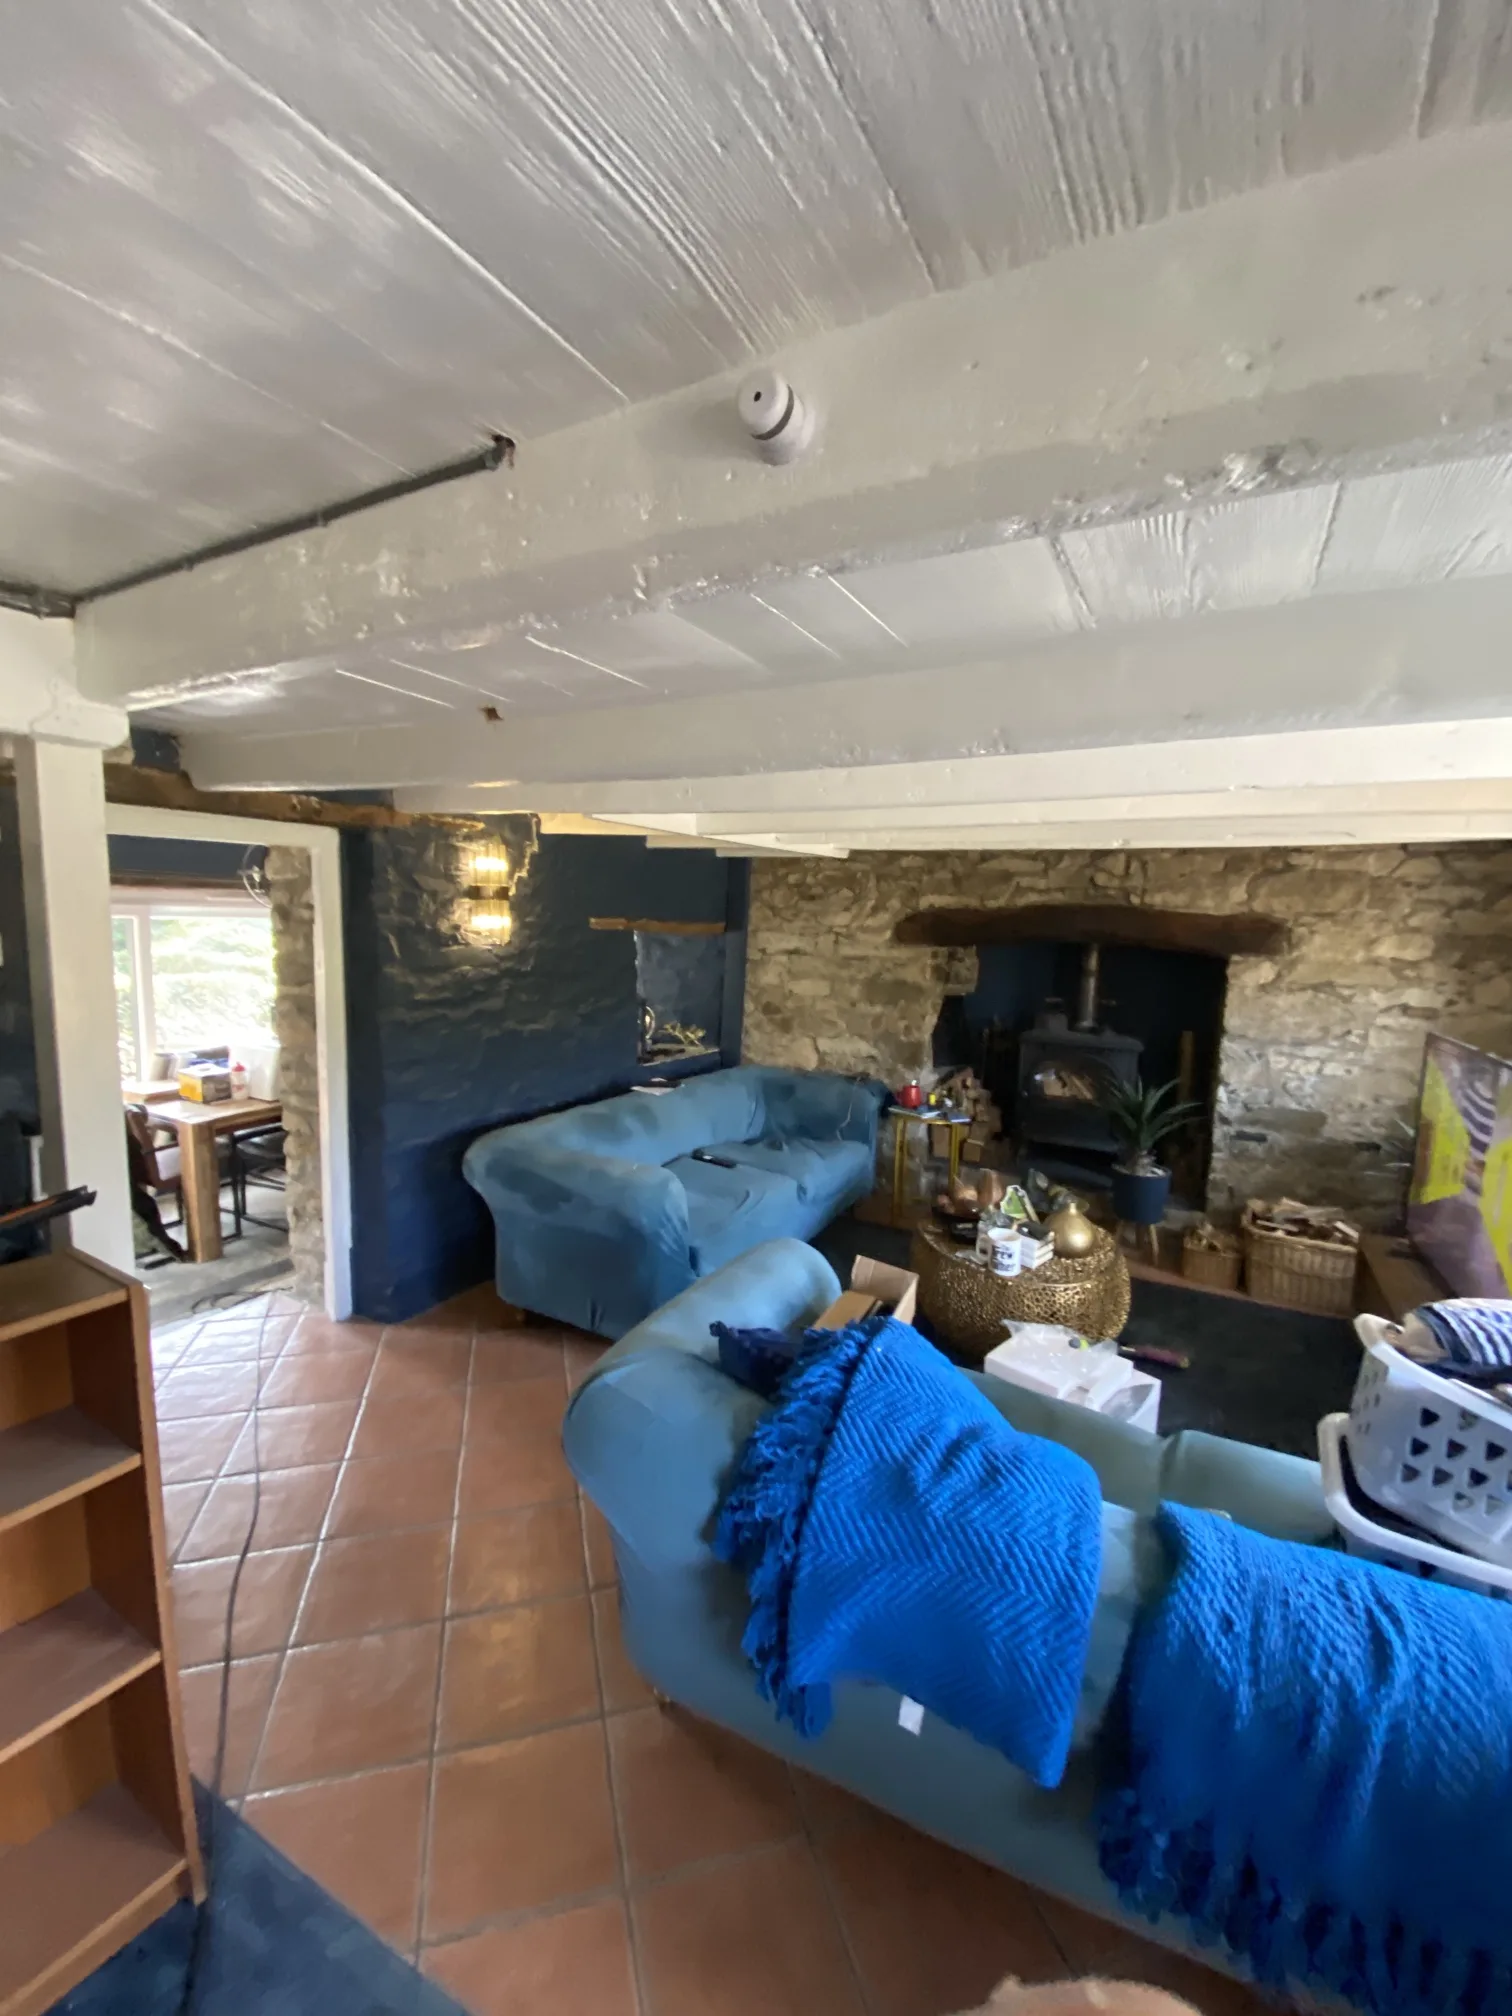
Working around a family’s daily routine meant careful coordination. The kitchen still needed to function for meal preparation, bathrooms had to remain operational, and bedrooms couldn’t be left in chaos overnight. This wasn’t a case of stripping everything back to bare walls and starting fresh – it required a more thoughtful approach, working room by room and making sure each space could be put back into some semblance of order at the end of each day. You can see in the photographs how belongings have been moved but kept nearby, how furniture sits covered but accessible, how the work progresses around the rhythms of family life.
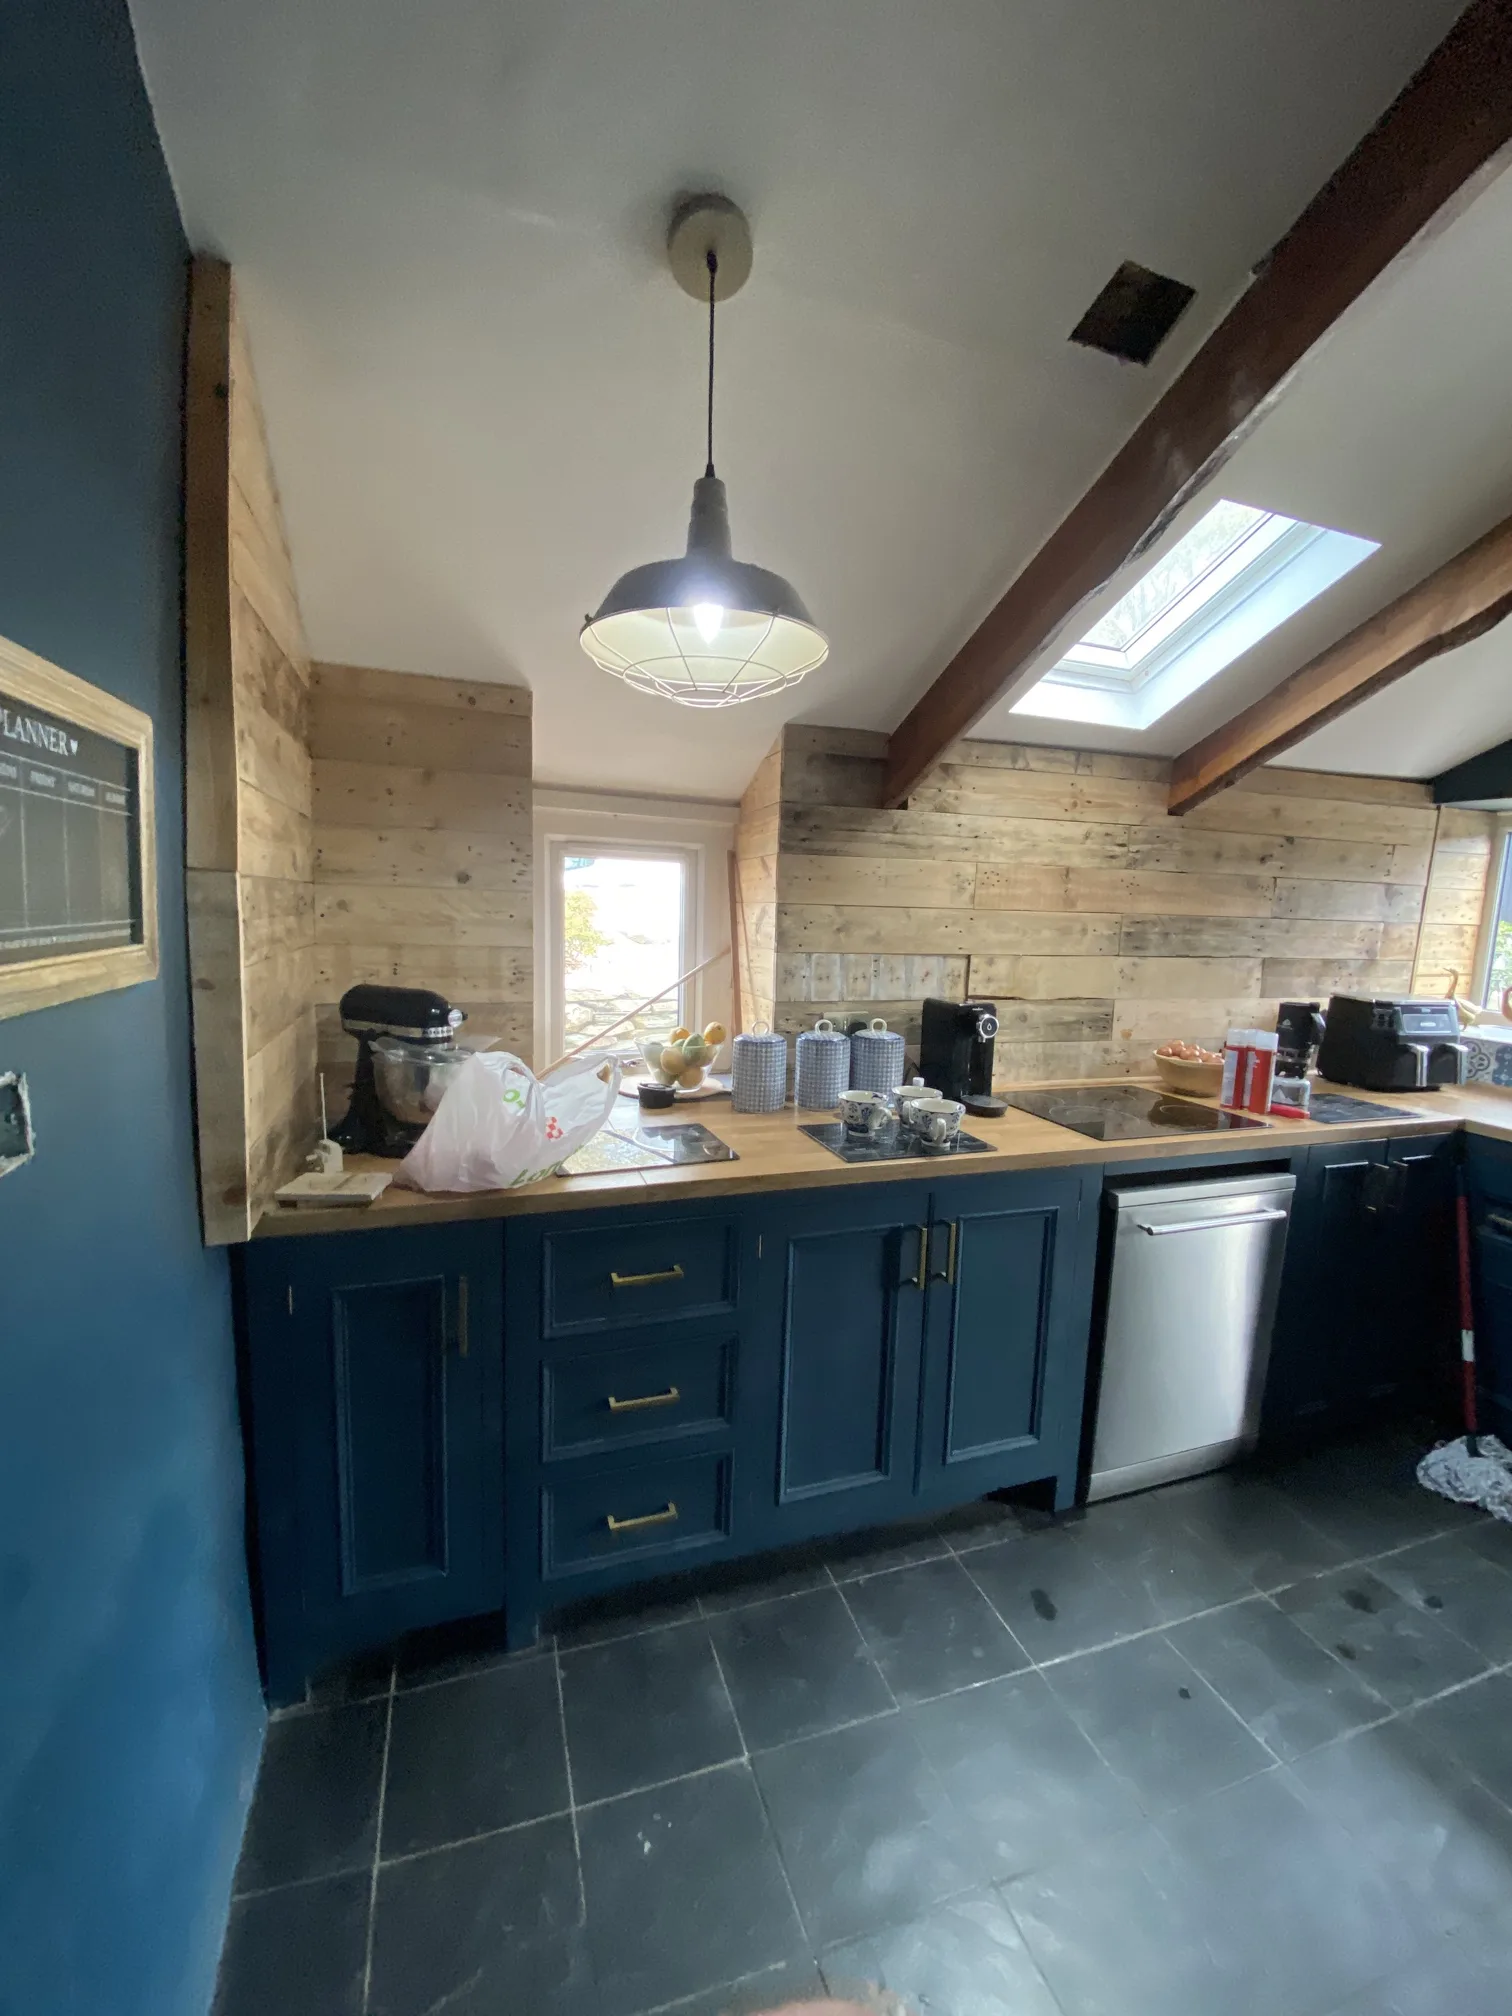
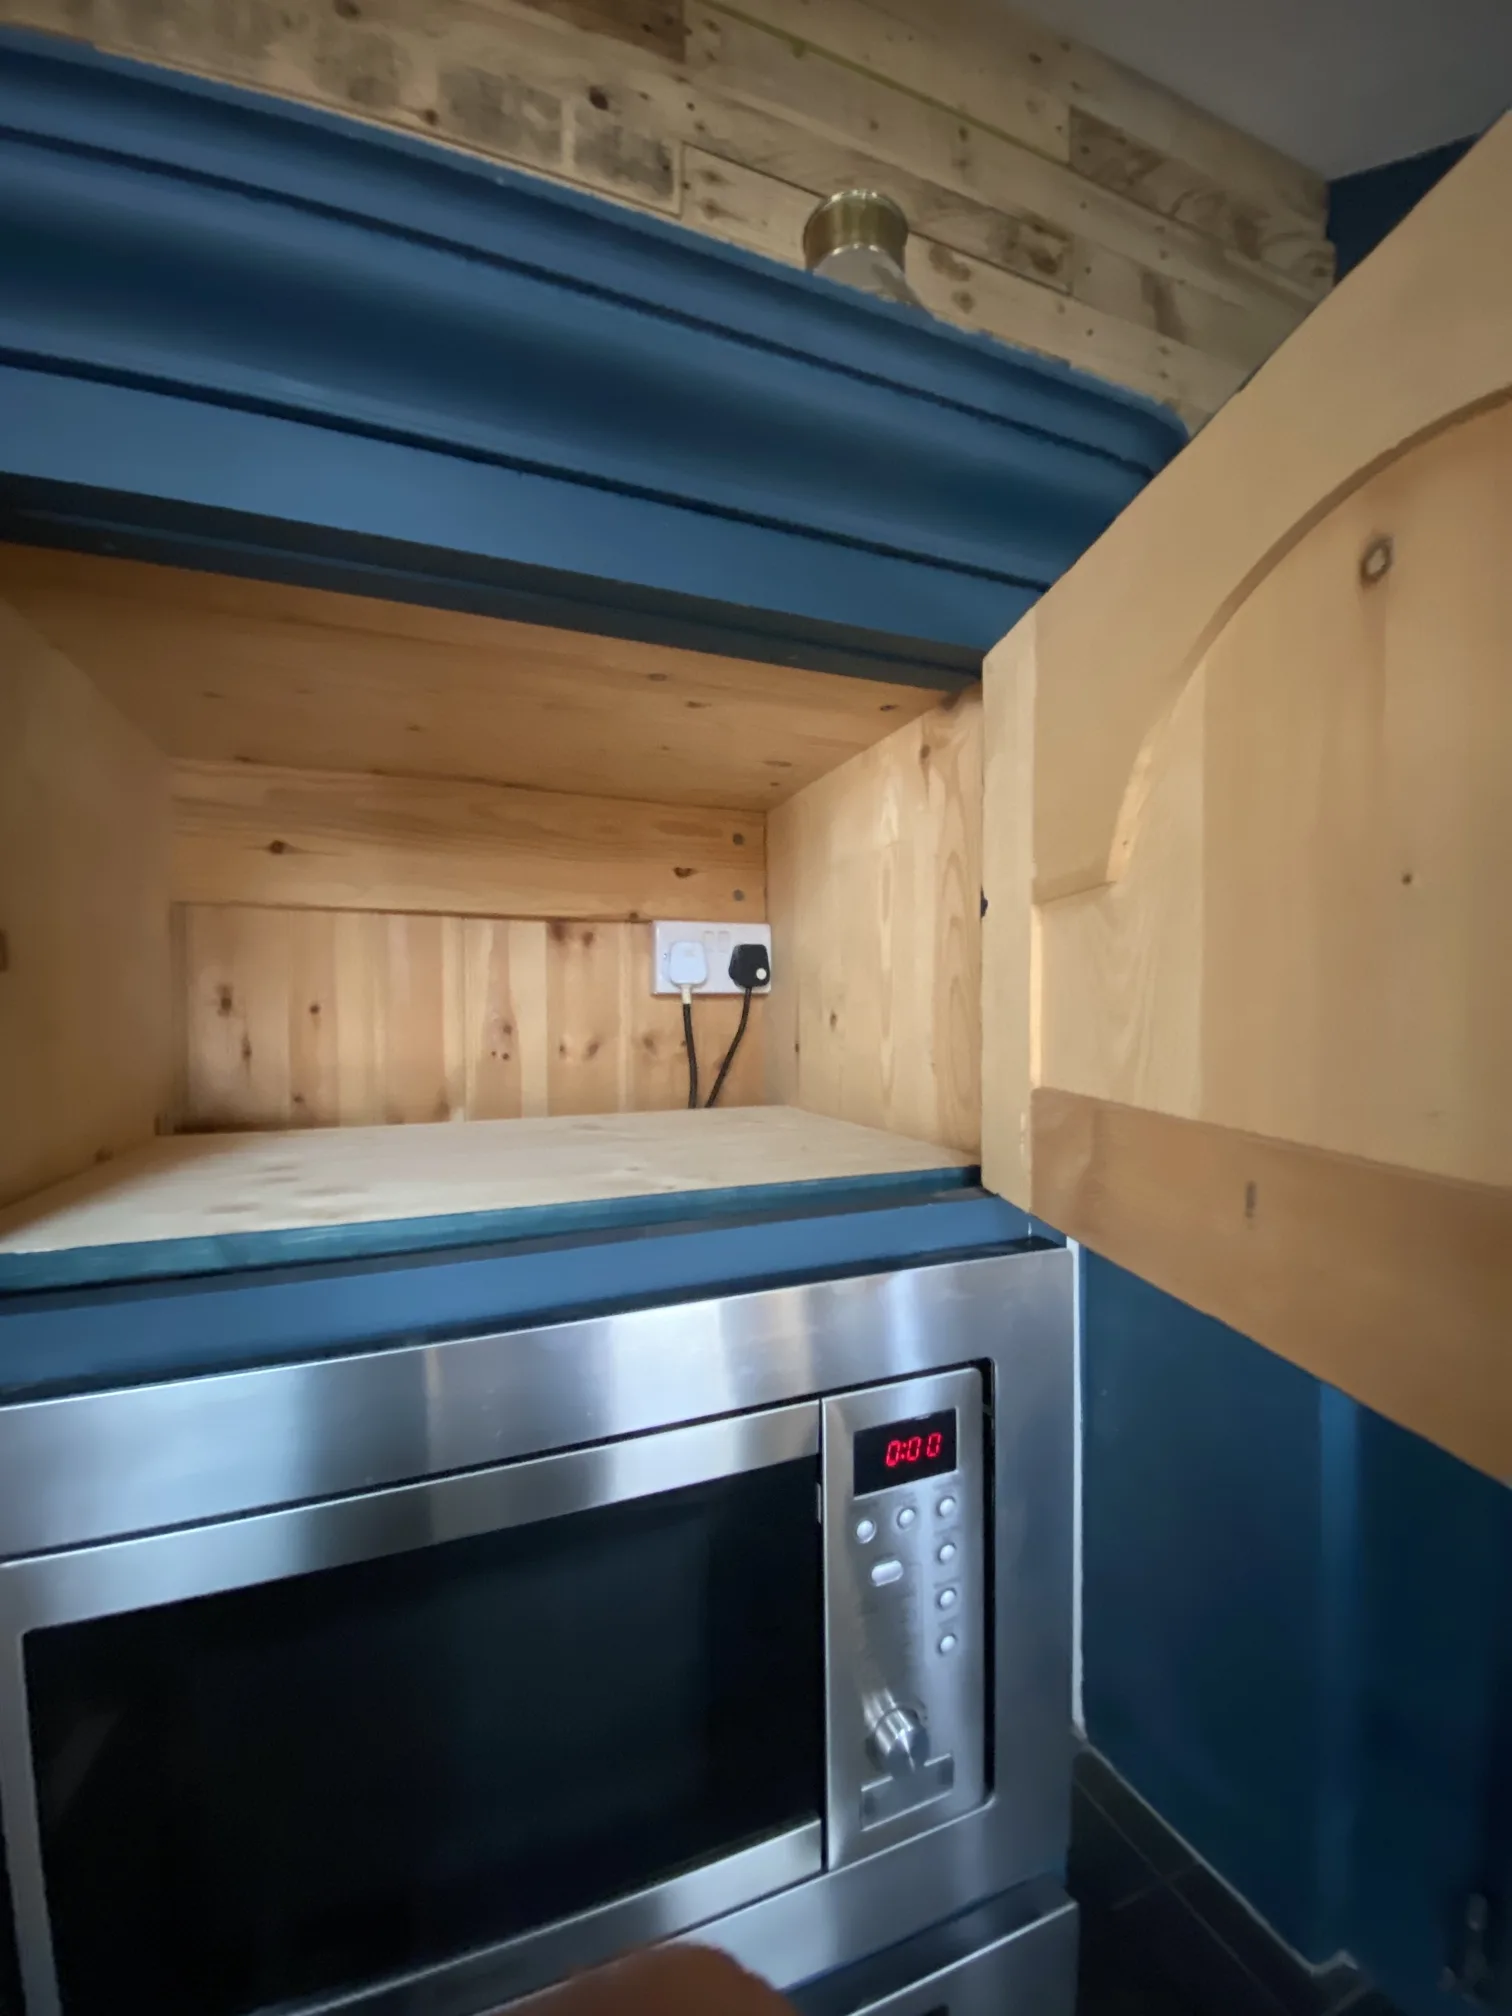
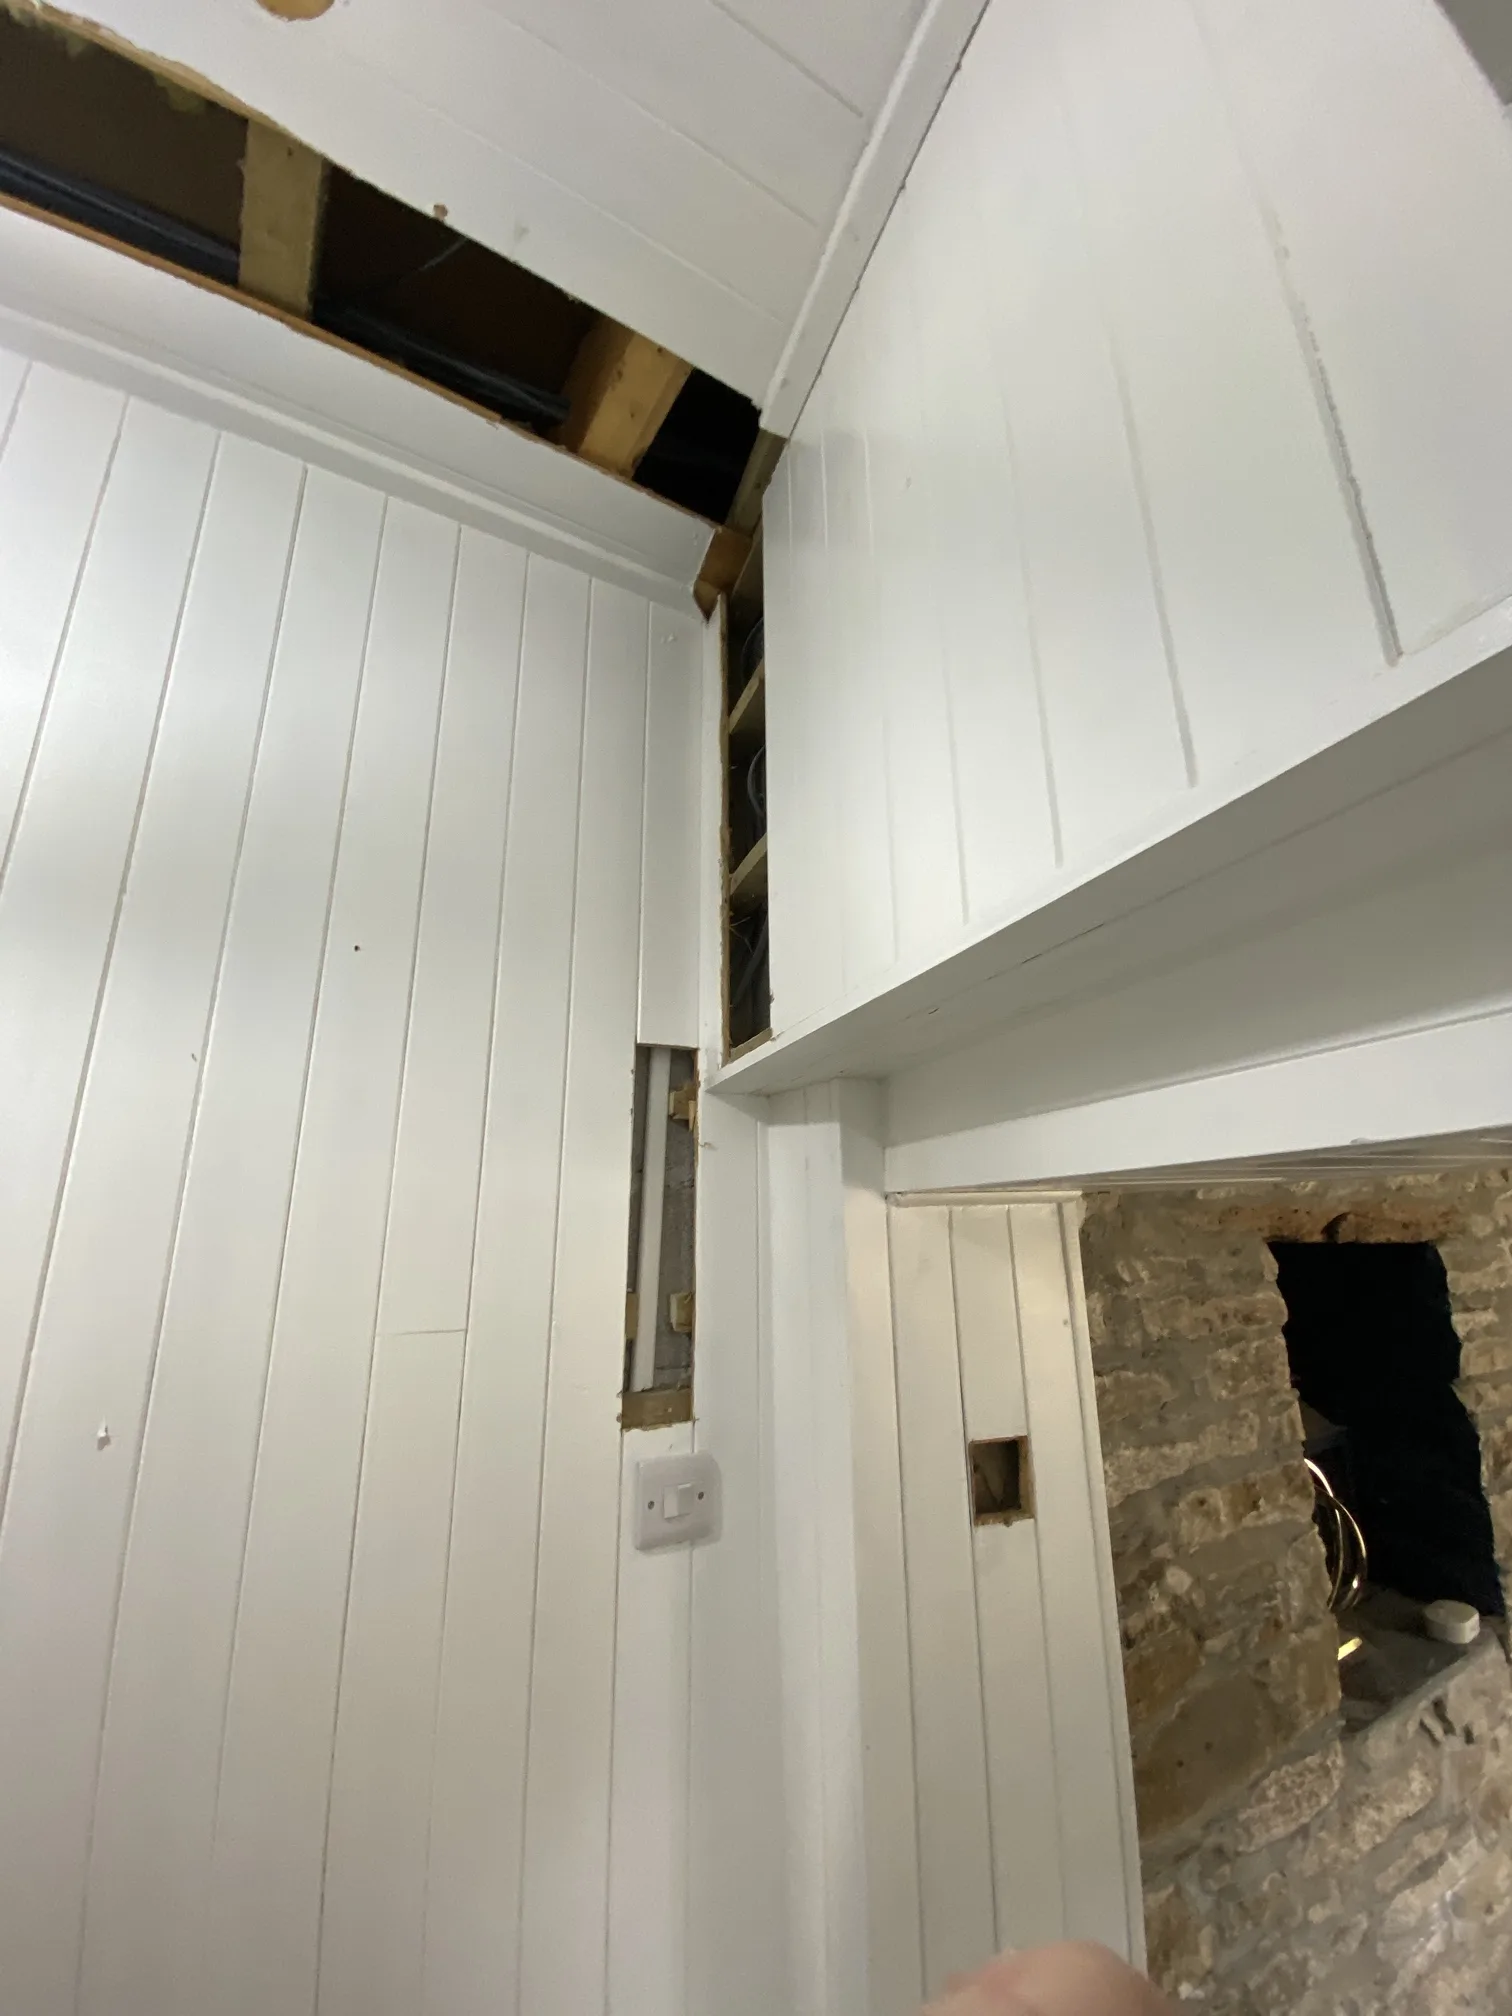
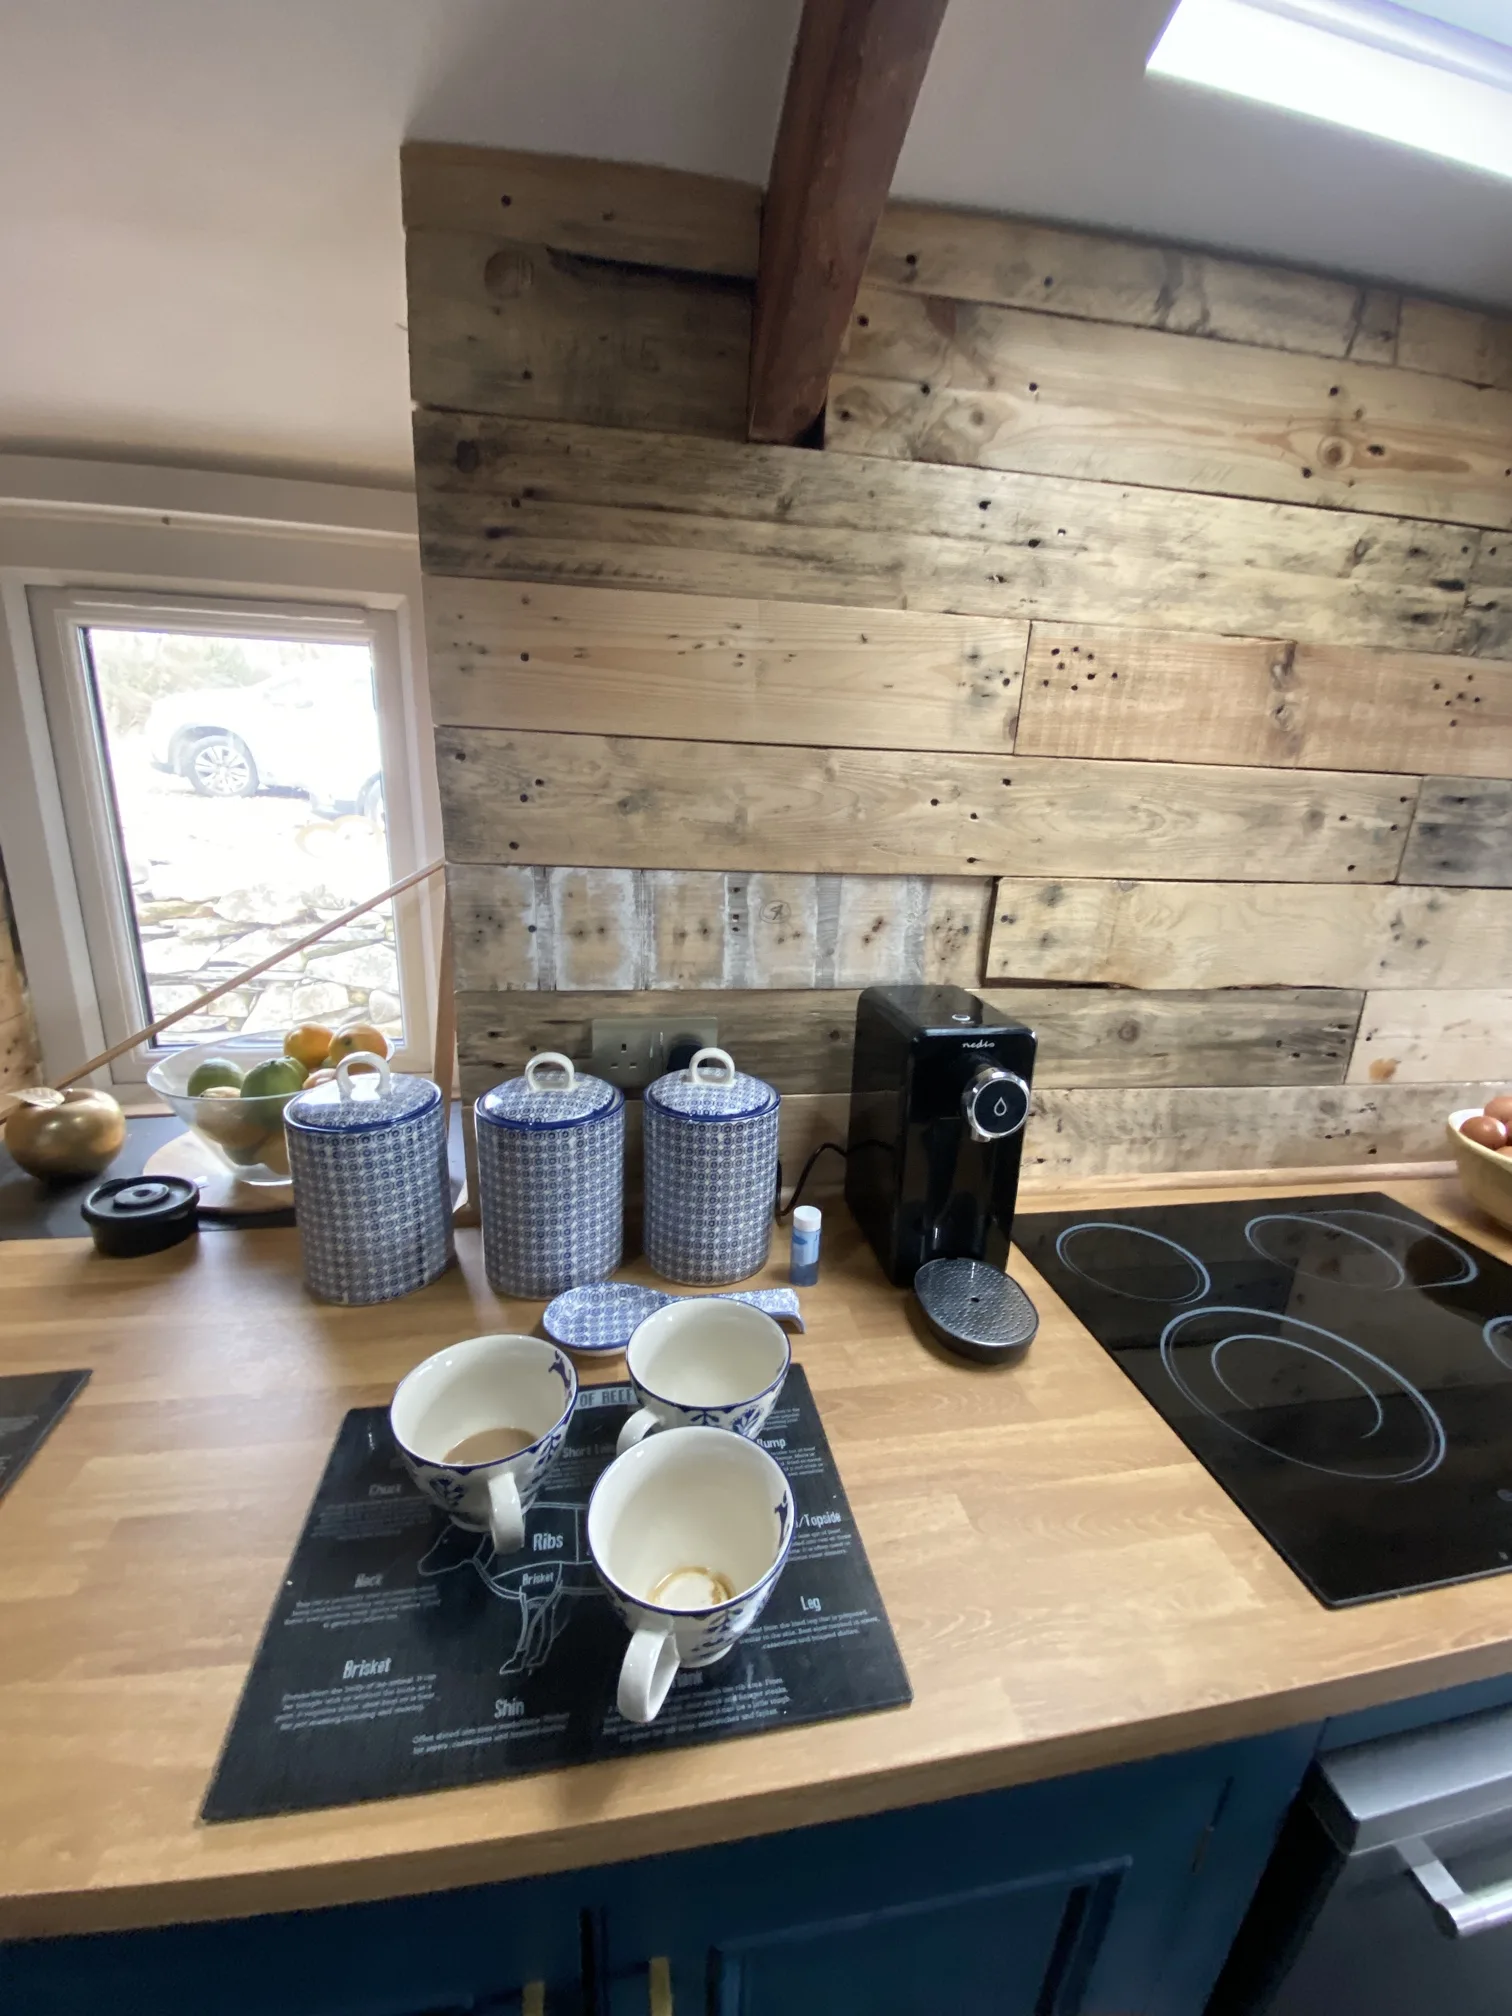
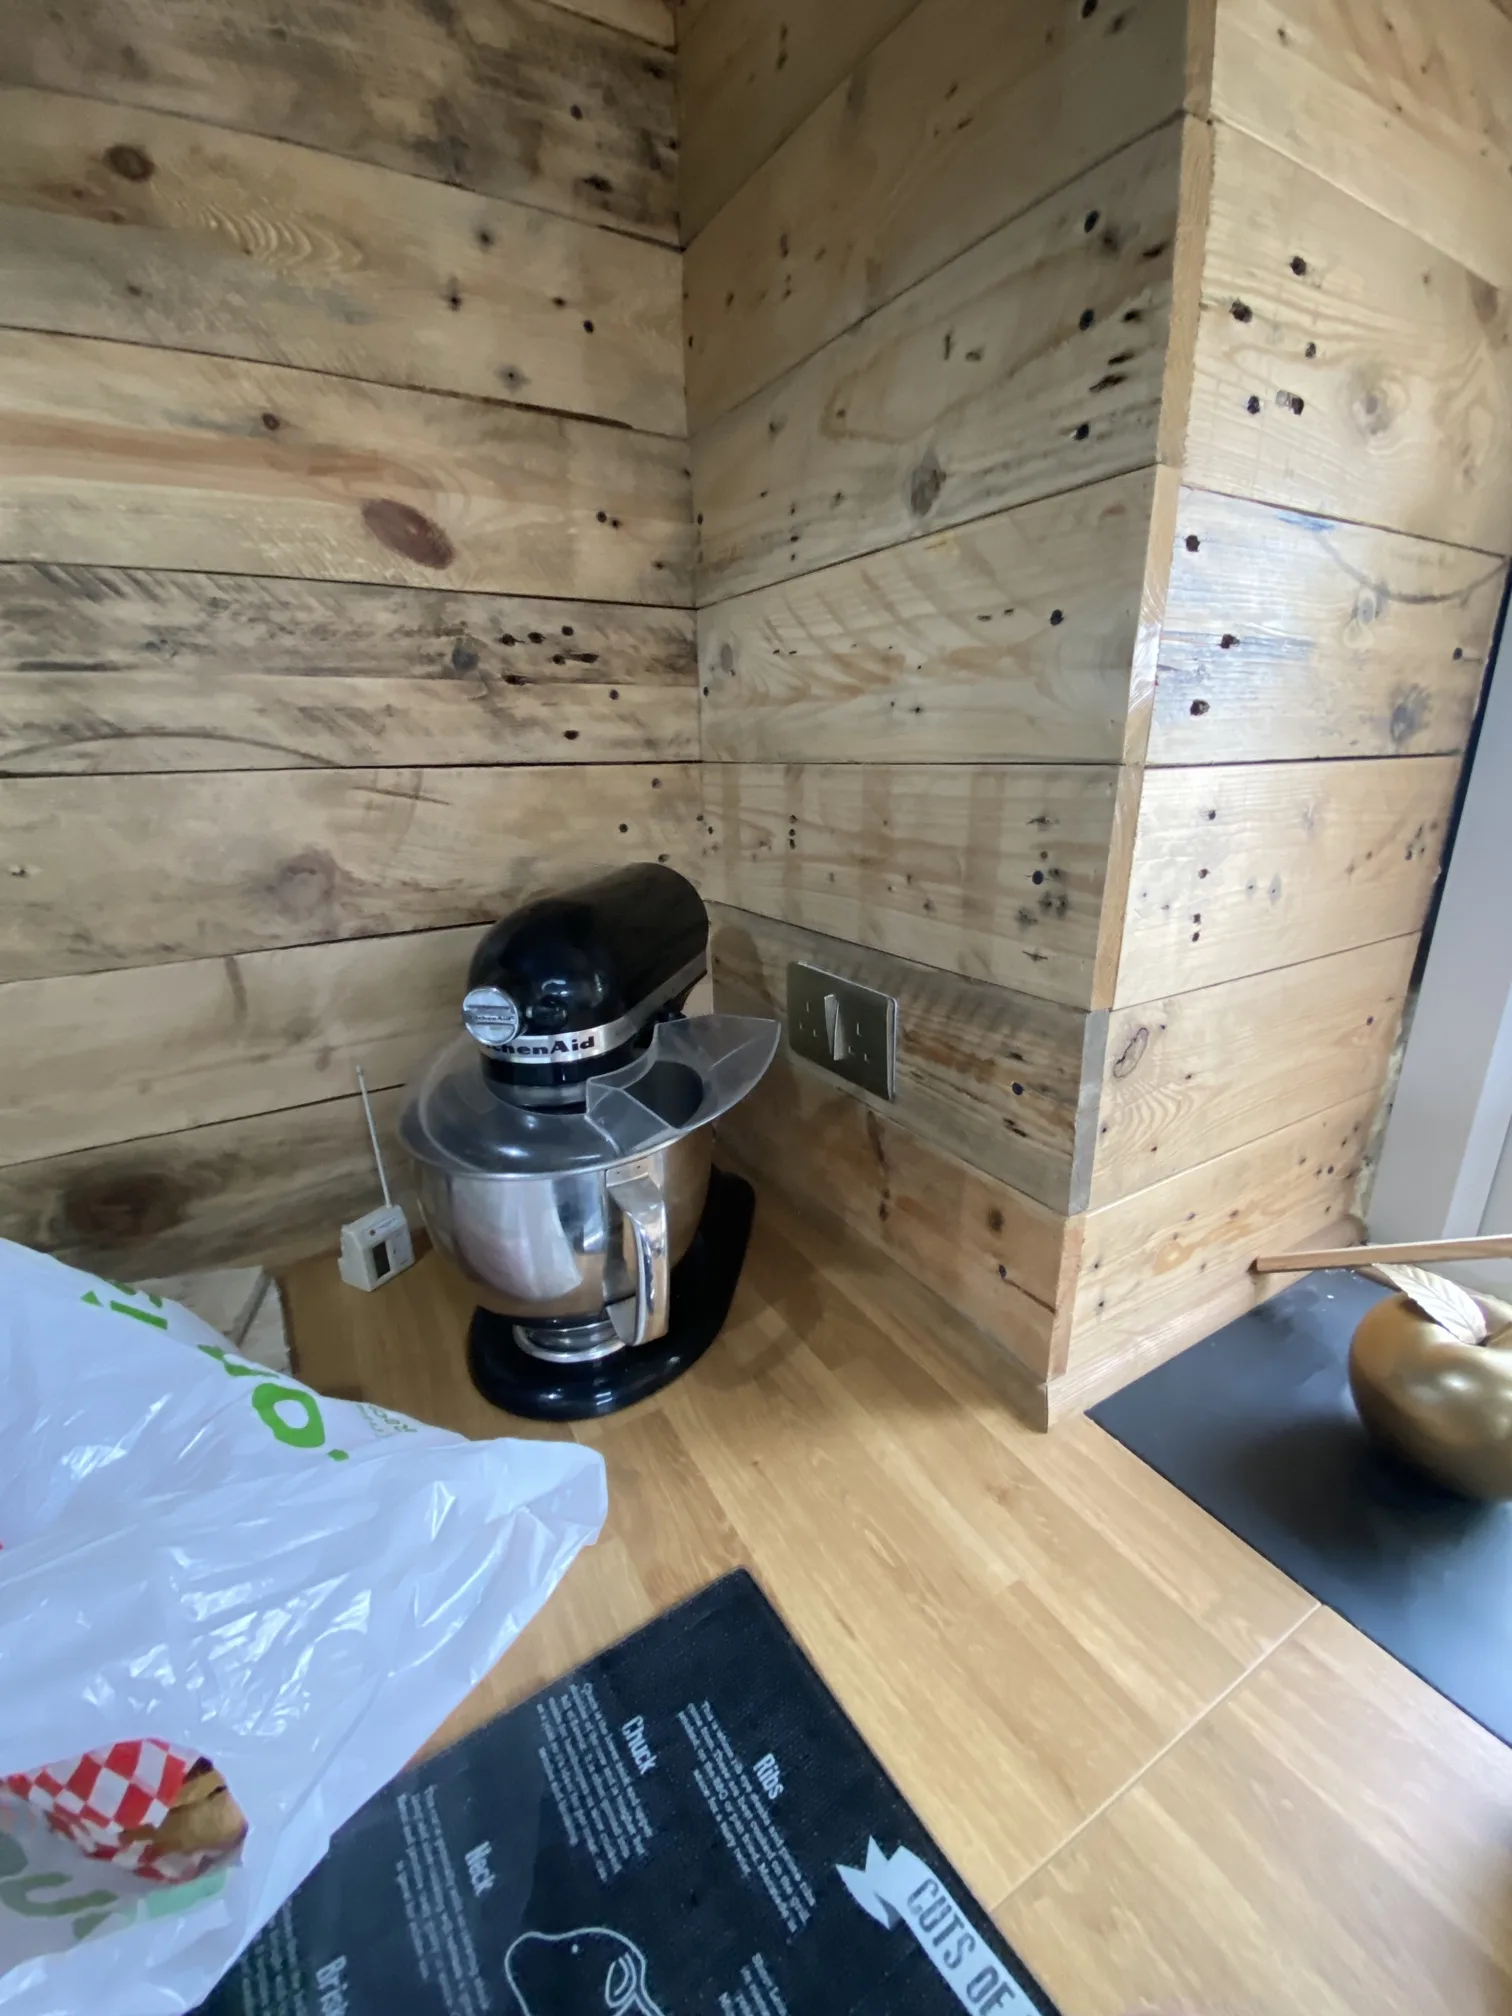
The kitchen posed particular challenges due to its decorative timber cladding. This wasn’t standard plasterboard that could be easily patched – it was character timber that gave the room its personality. Removing sections to access cable routes meant keeping track of every piece, understanding how it all fitted together, and being confident we could reinstate it properly once the new wiring was in place. The kitchen needed power for the hob, separate circuits for appliances including the oven, microwave, and dishwasher, plus adequate socket outlets on the worktops and new pendant lighting. All of this had to be installed whilst working around the existing fitted kitchen and that distinctive timber finish.
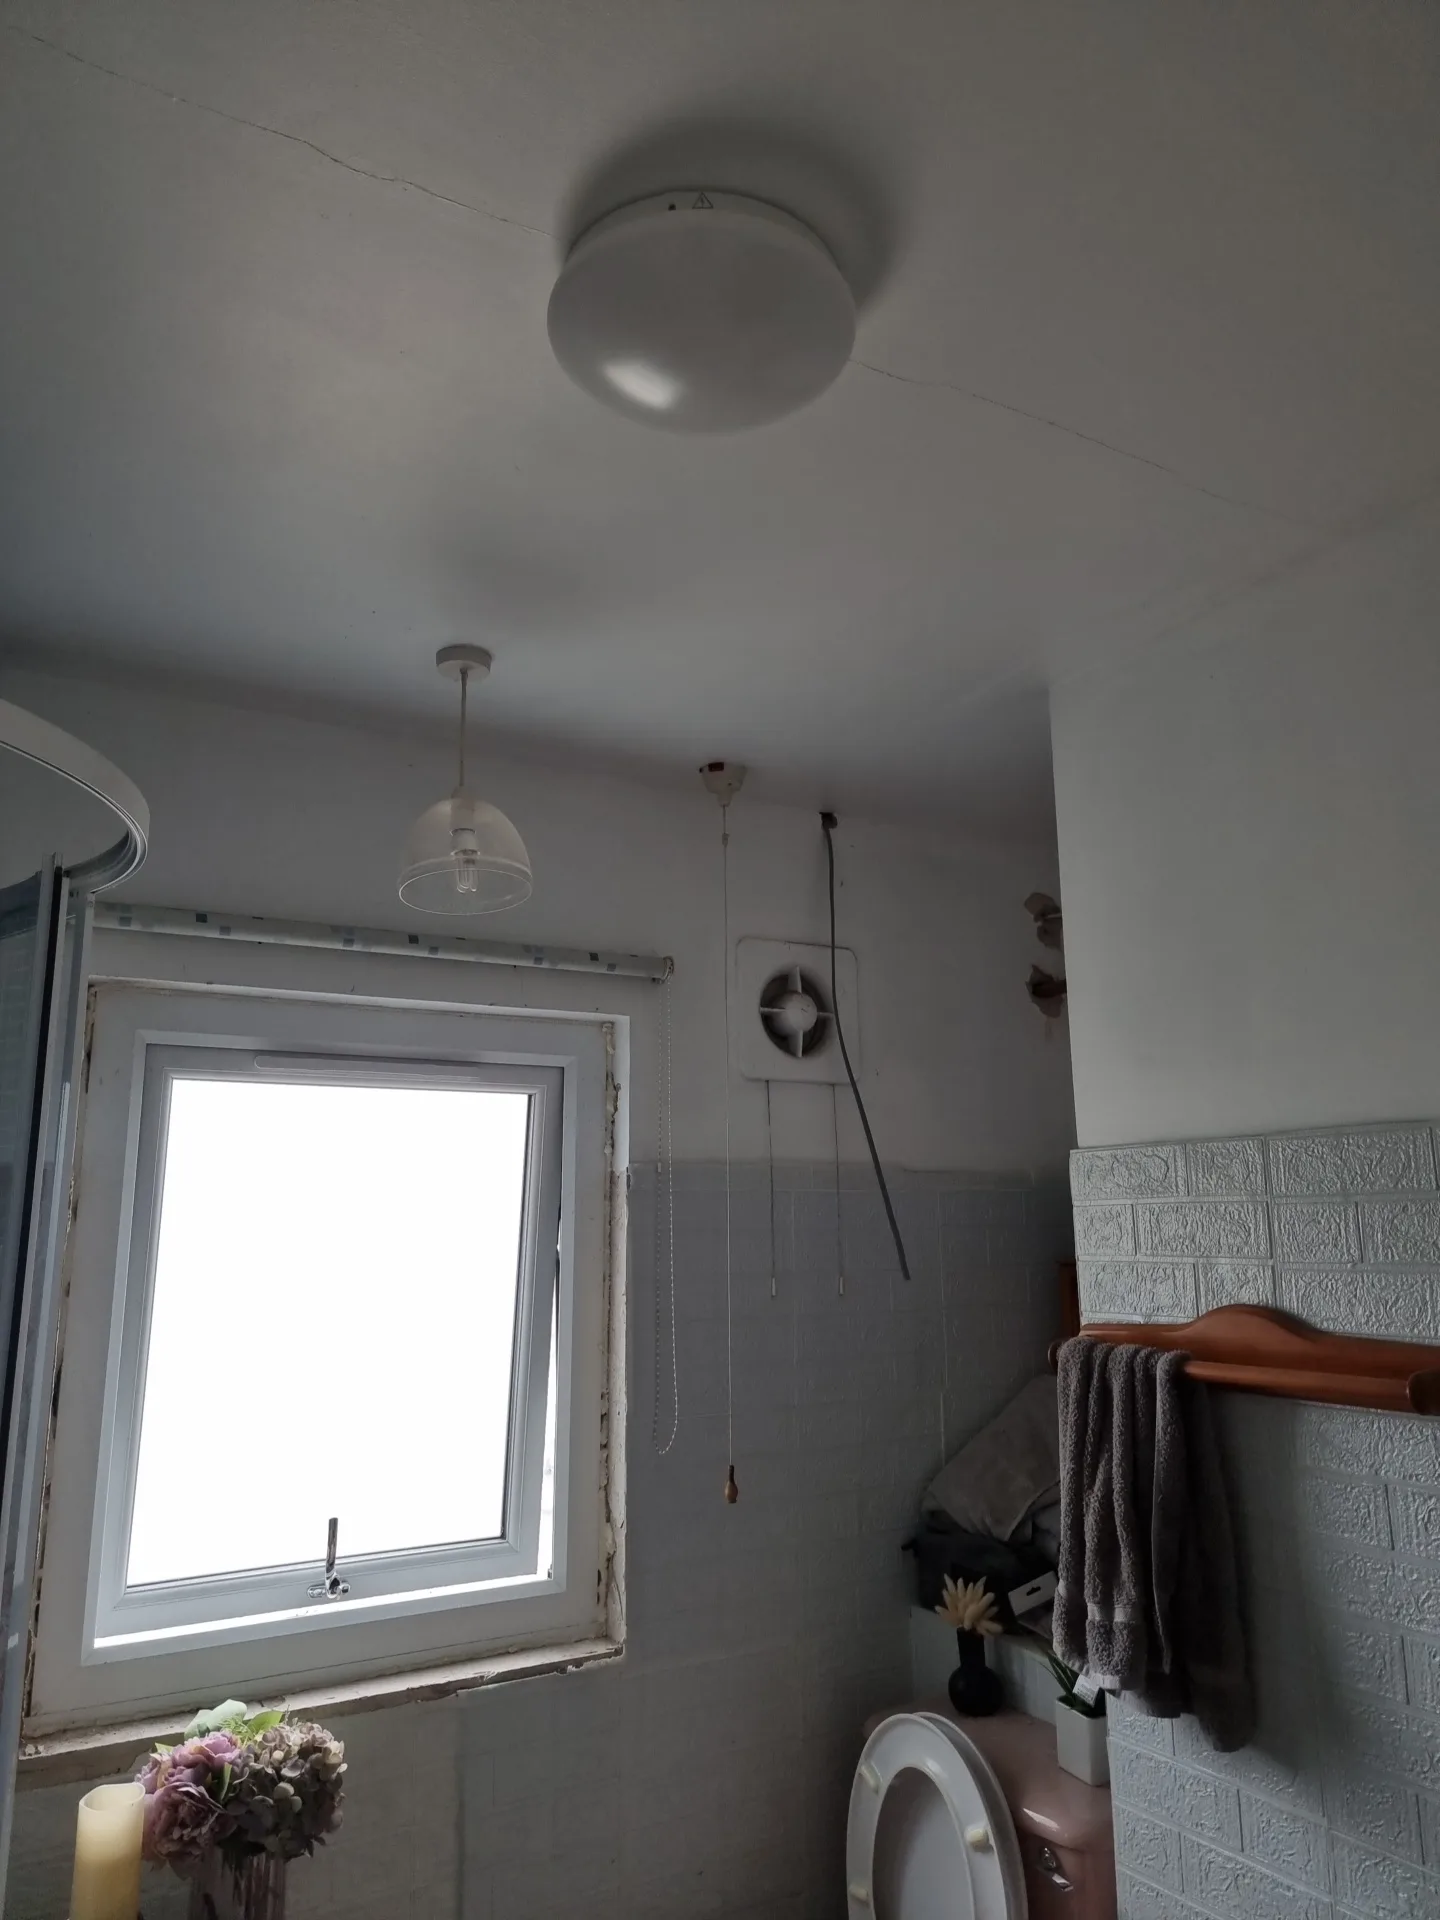
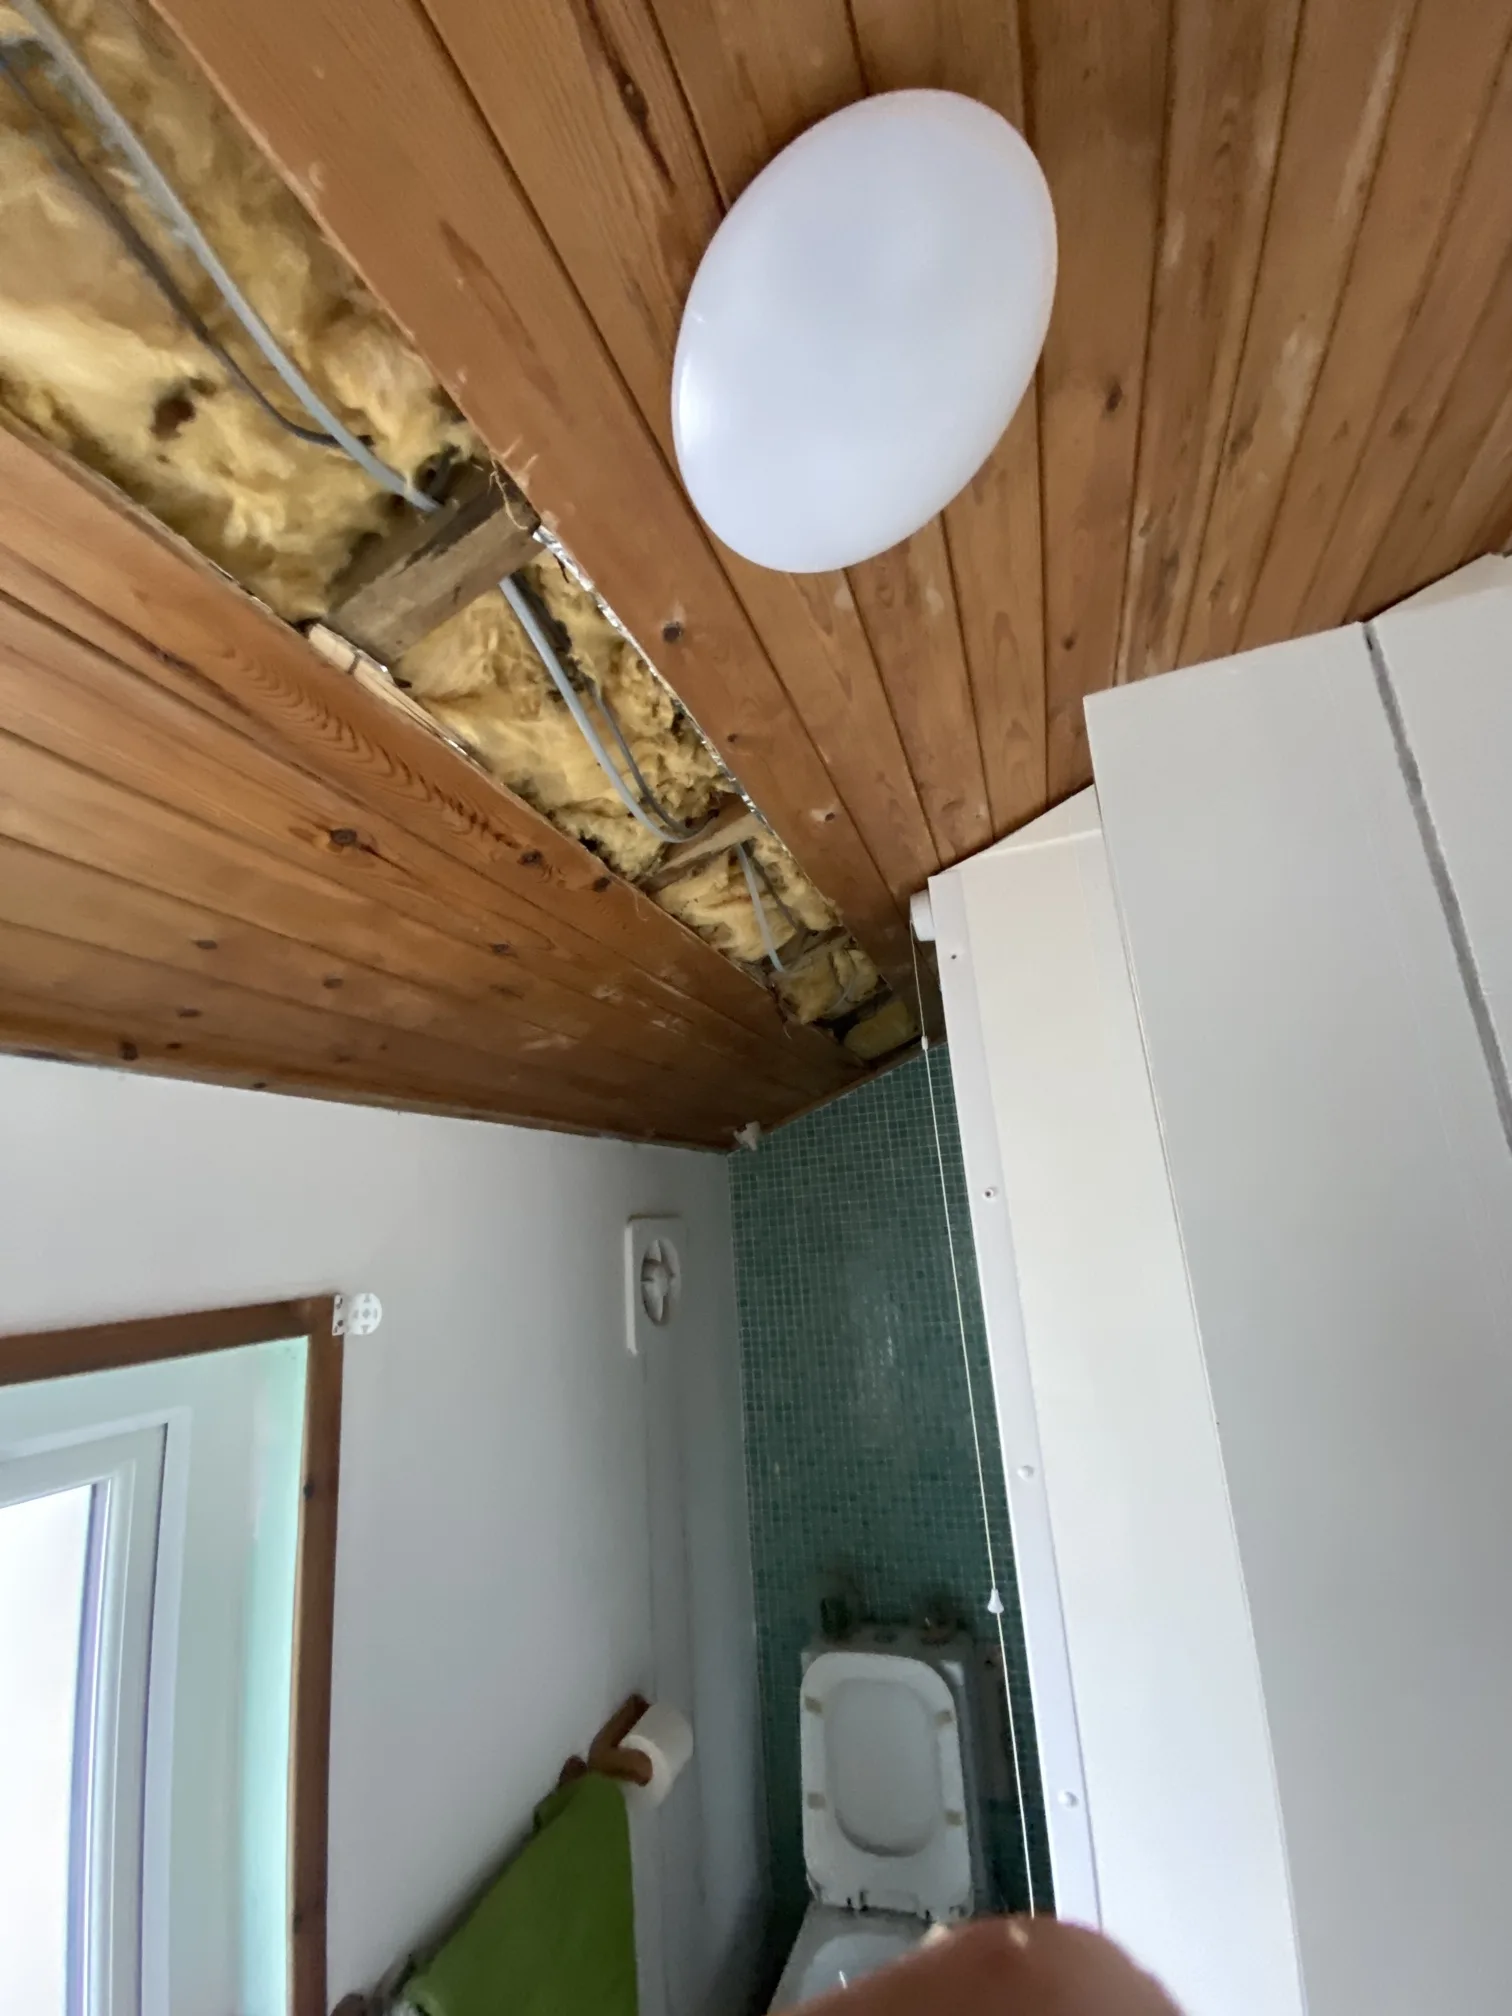
Both bathrooms required particular attention to meet current regulations for electrical installations in wet environments. The main bathroom and the master en-suite each needed new extractor fans with timer overrun facilities, controlled in conjunction with the lighting but with isolator switches positioned outside the bathroom zones. The existing fan apertures were oversized for the new installations, so each needed to be carefully reduced and finished to match the surrounding surfaces. IP-rated lighting fittings were installed to provide safe illumination in these moisture-prone areas, with all circuits protected by appropriate devices in the new consumer unit.
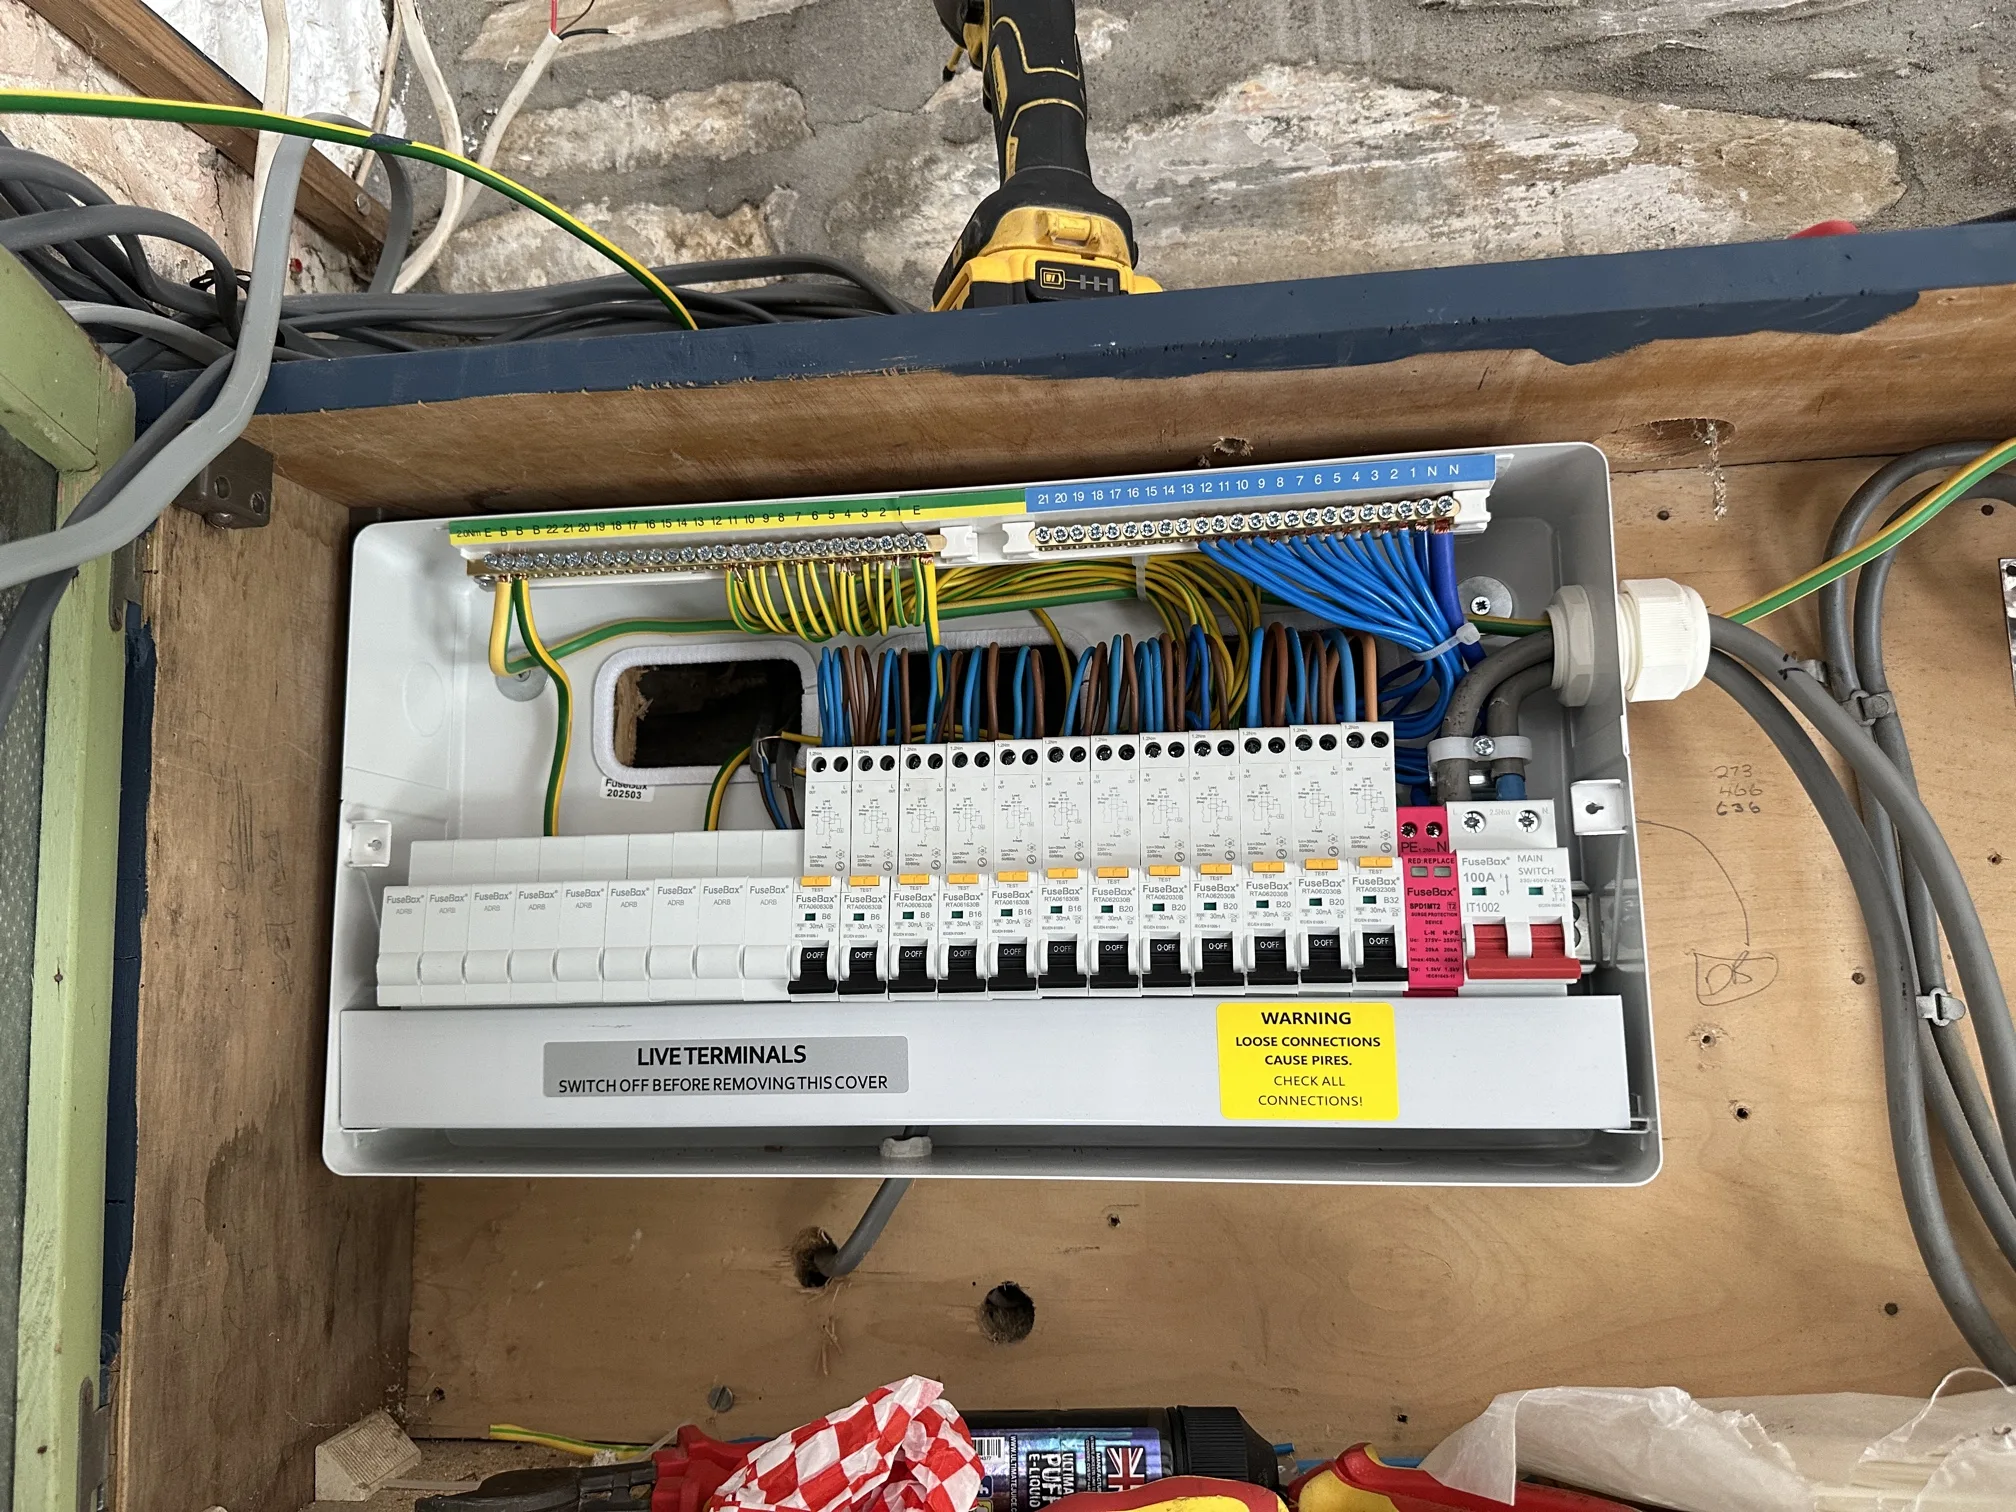
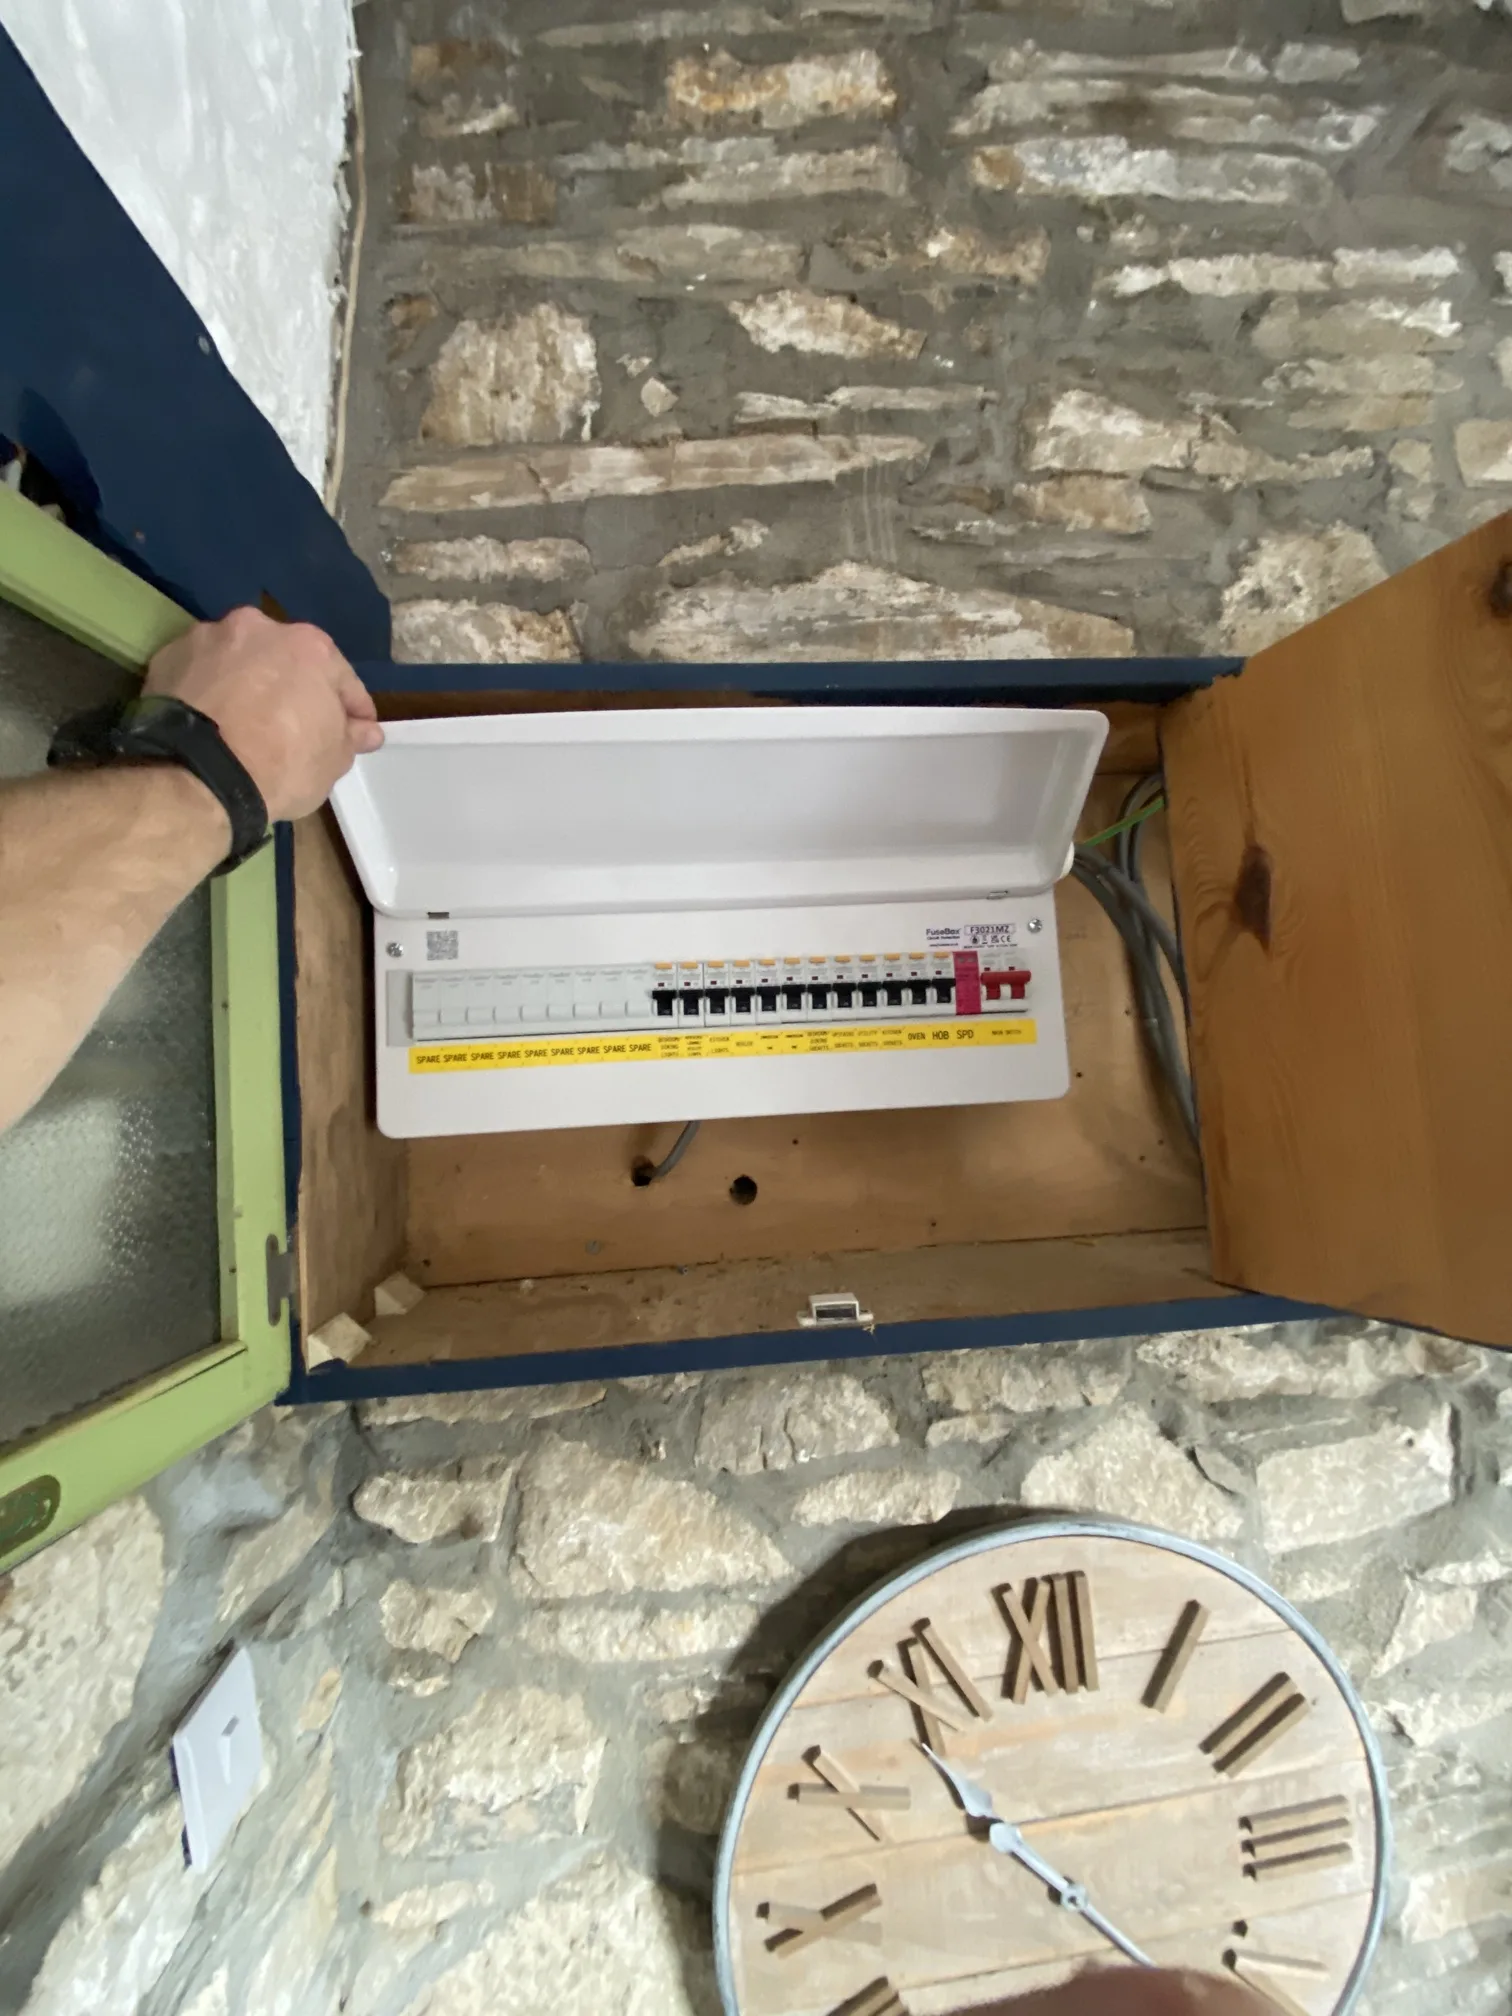
The property’s existing electrical installation was outdated, running on old wiring that no longer met current safety standards. Replacing everything meant installing a new 20-way consumer unit with individual RCBO protection for each circuit and an integrated surge protection device to guard sensitive electronics against voltage spikes from the grid. The incoming supply tails were upgraded to 25mm cable to handle modern electrical loads safely. This level of protection simply wasn’t available when the original wiring was installed, but it’s now considered standard practice for protecting homes and the people living in them.
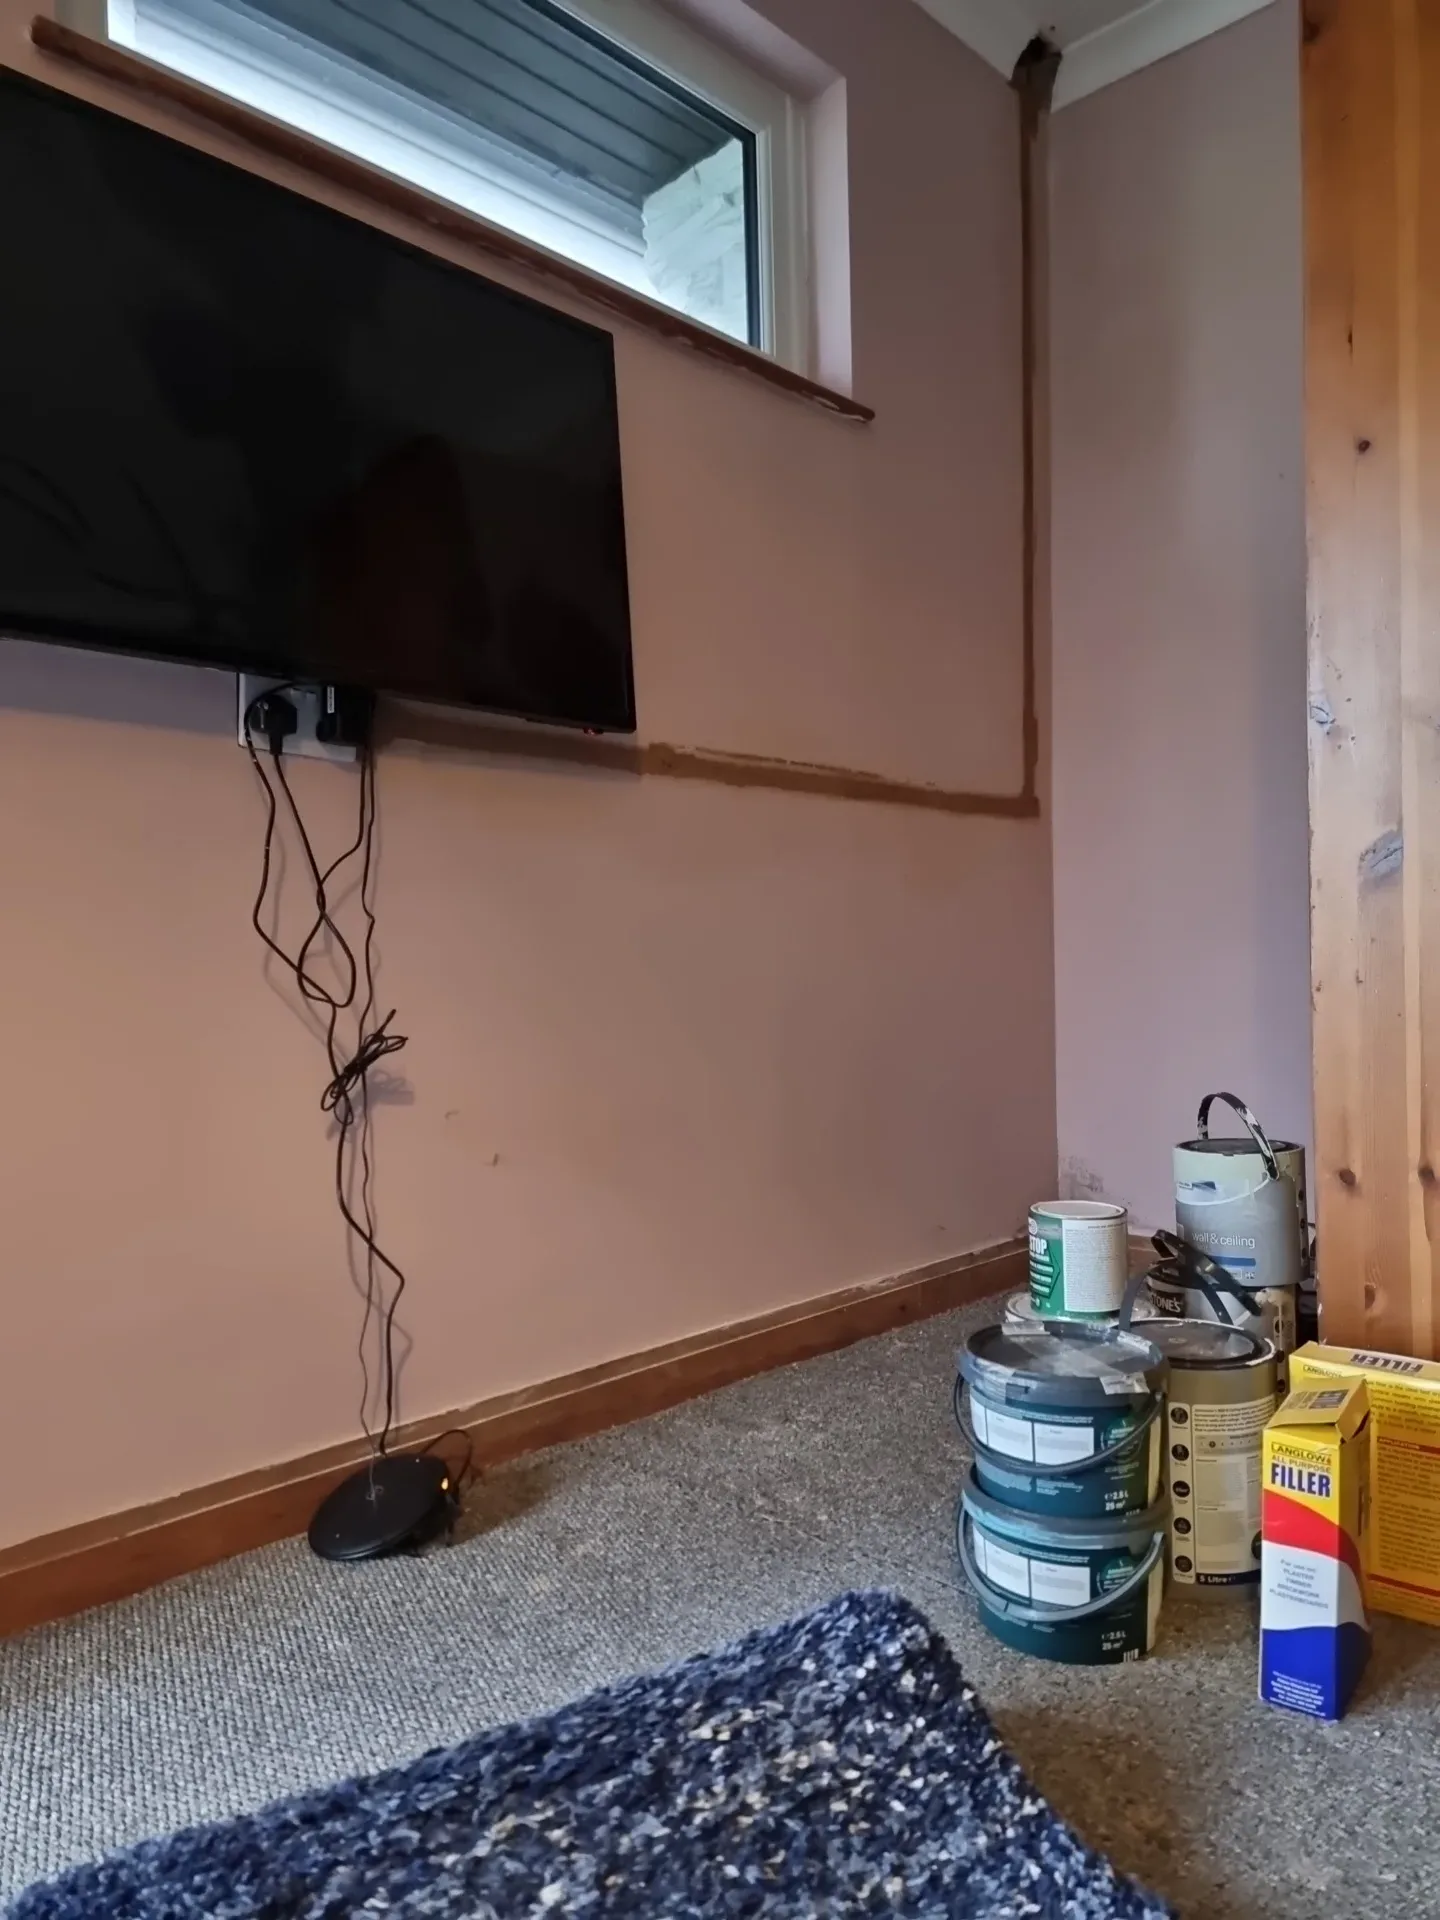
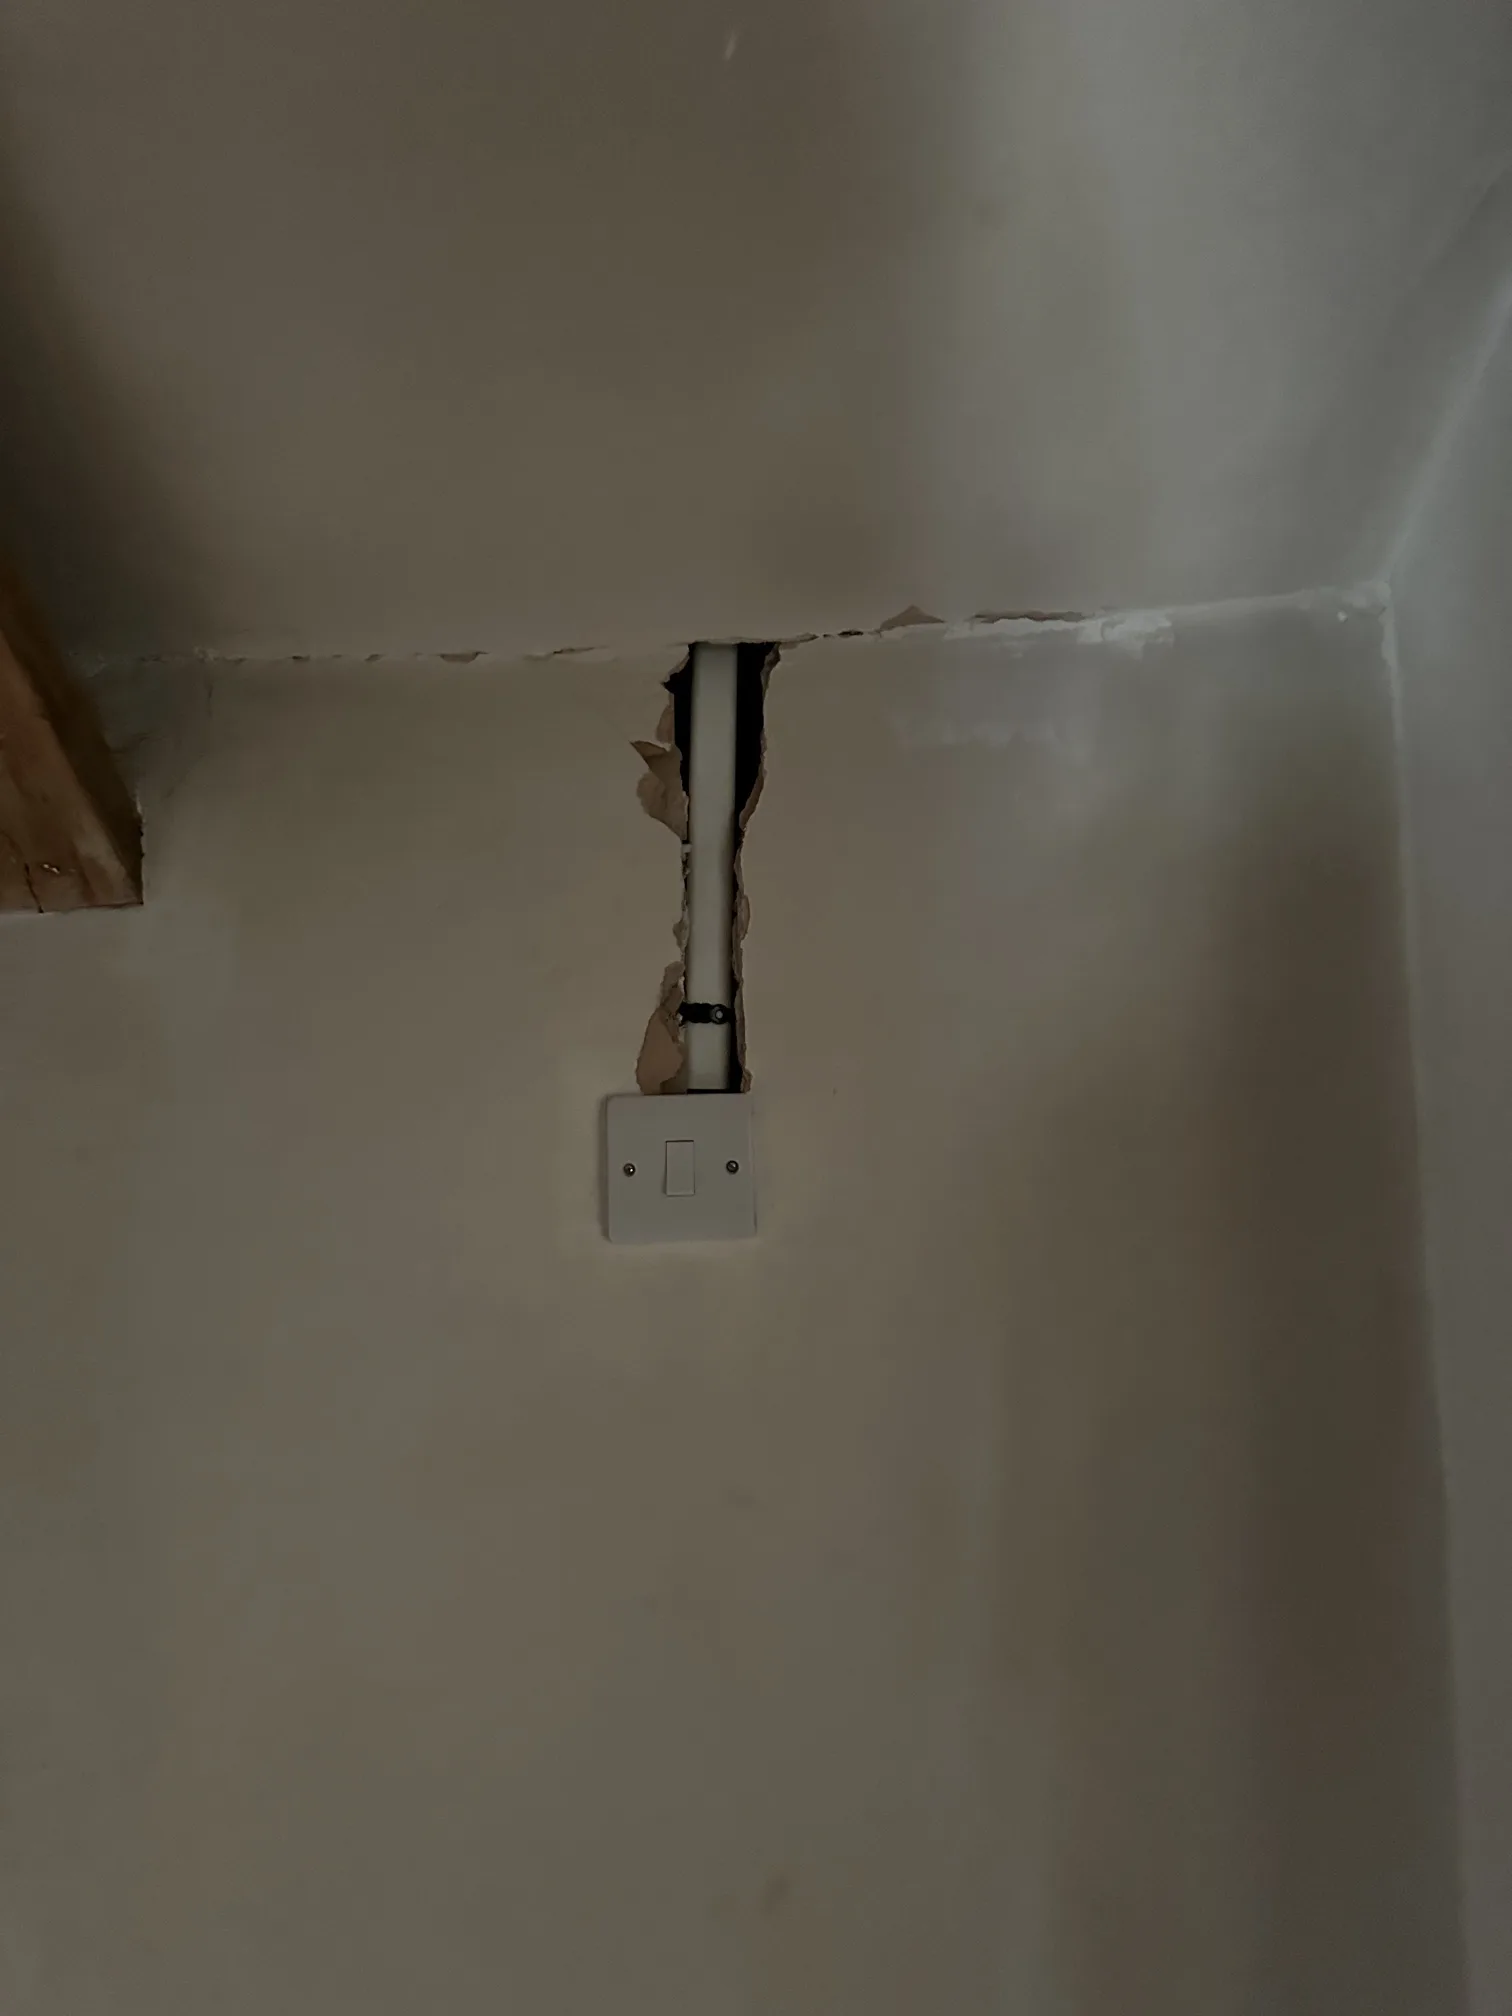
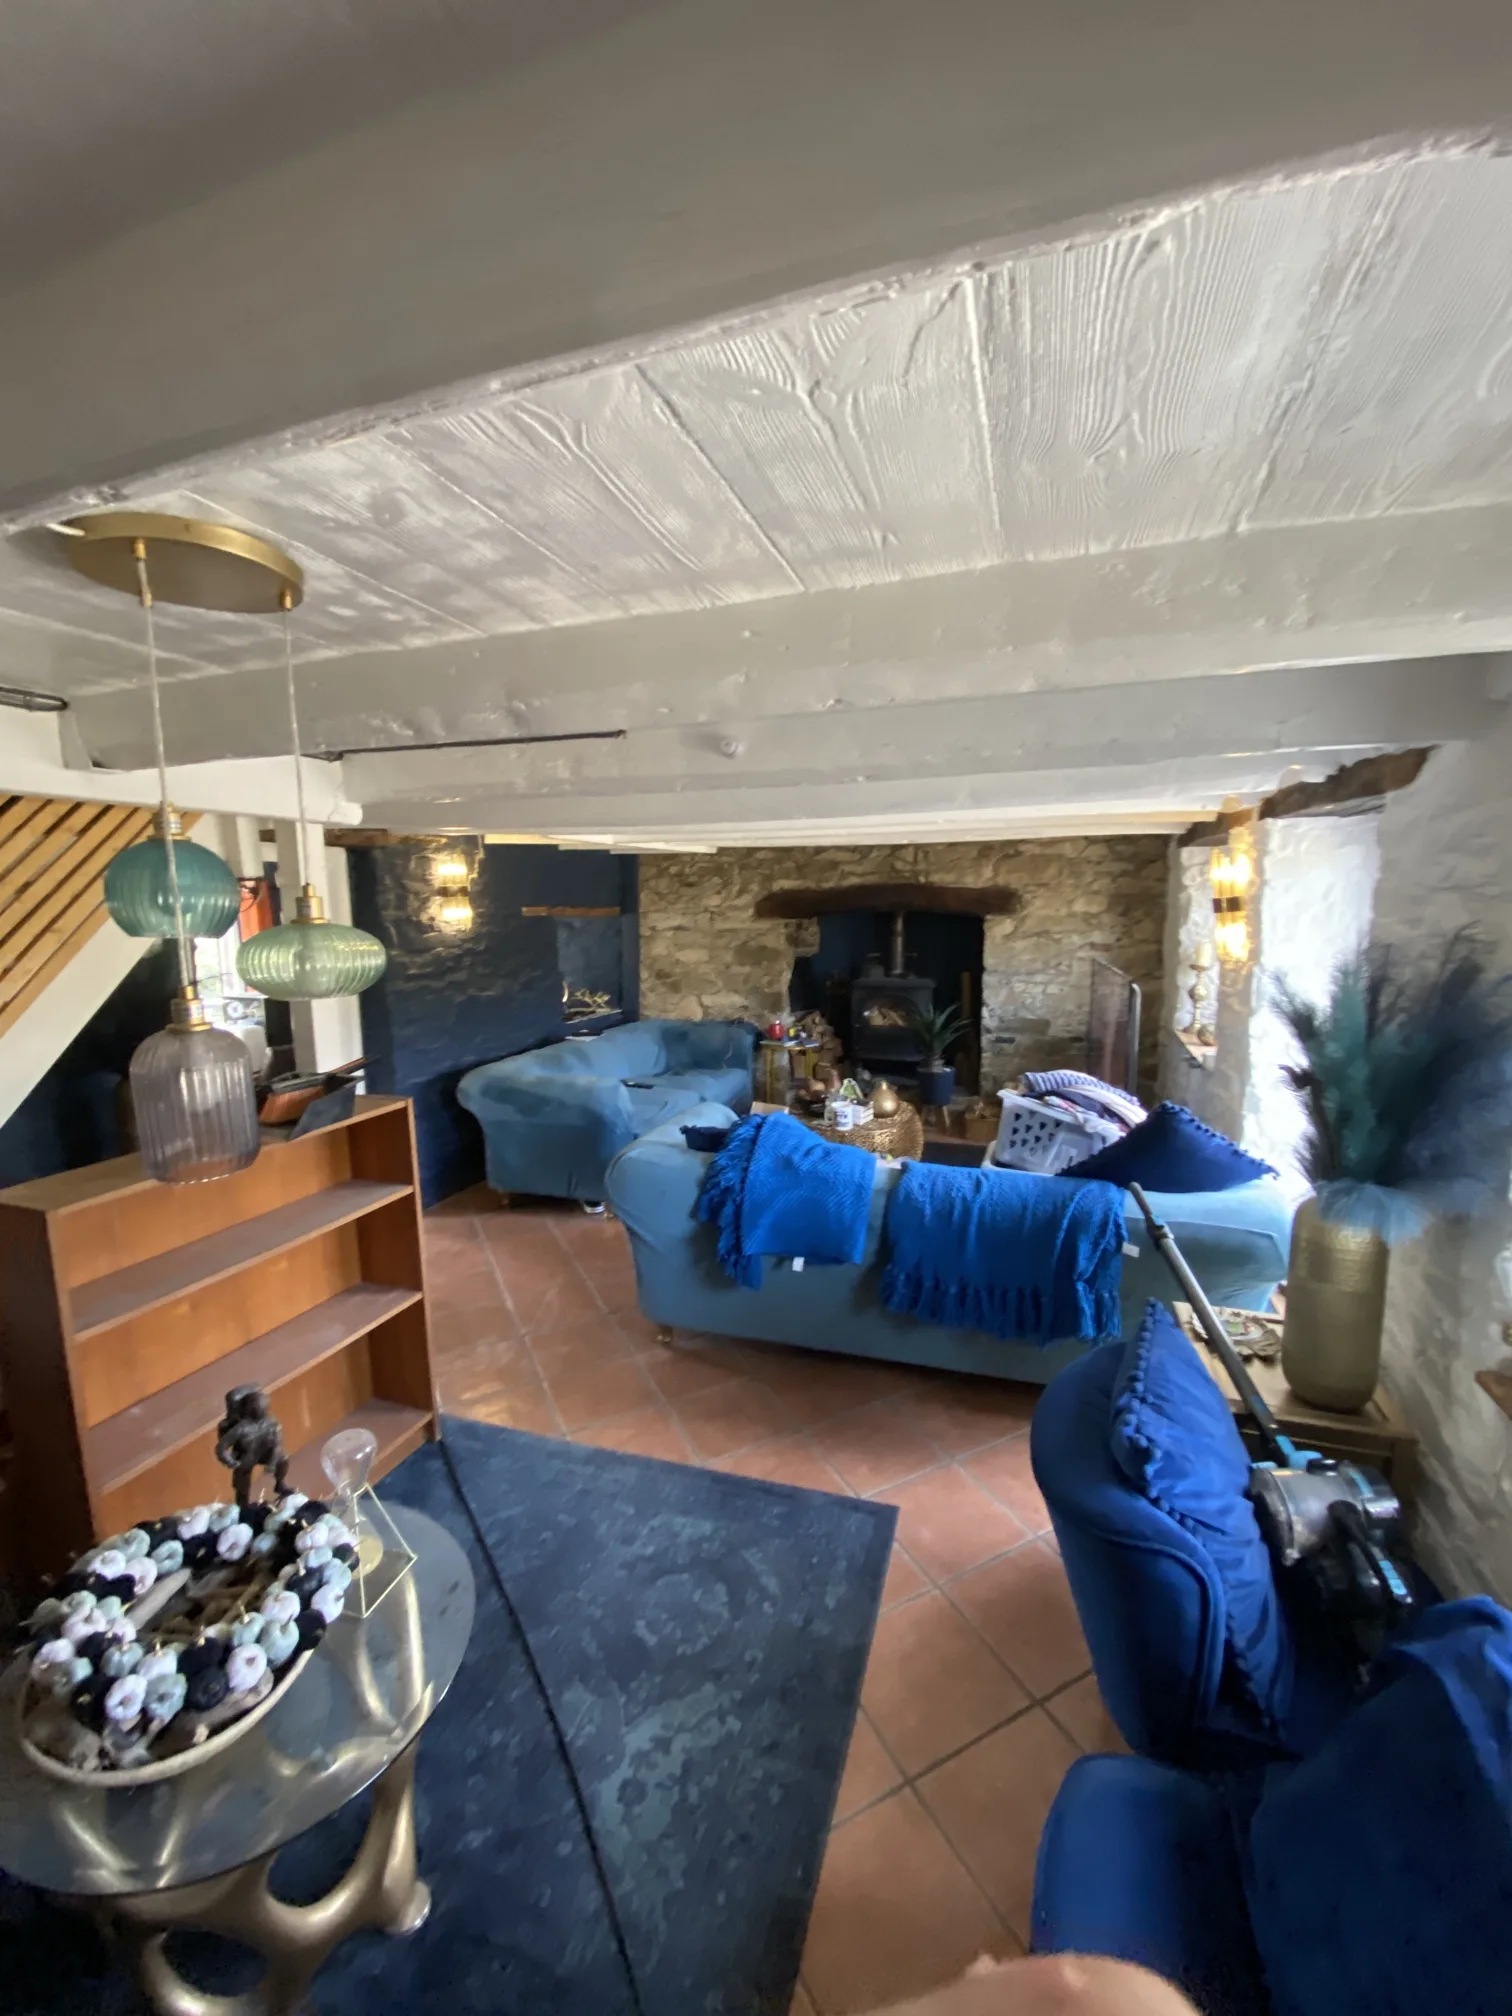
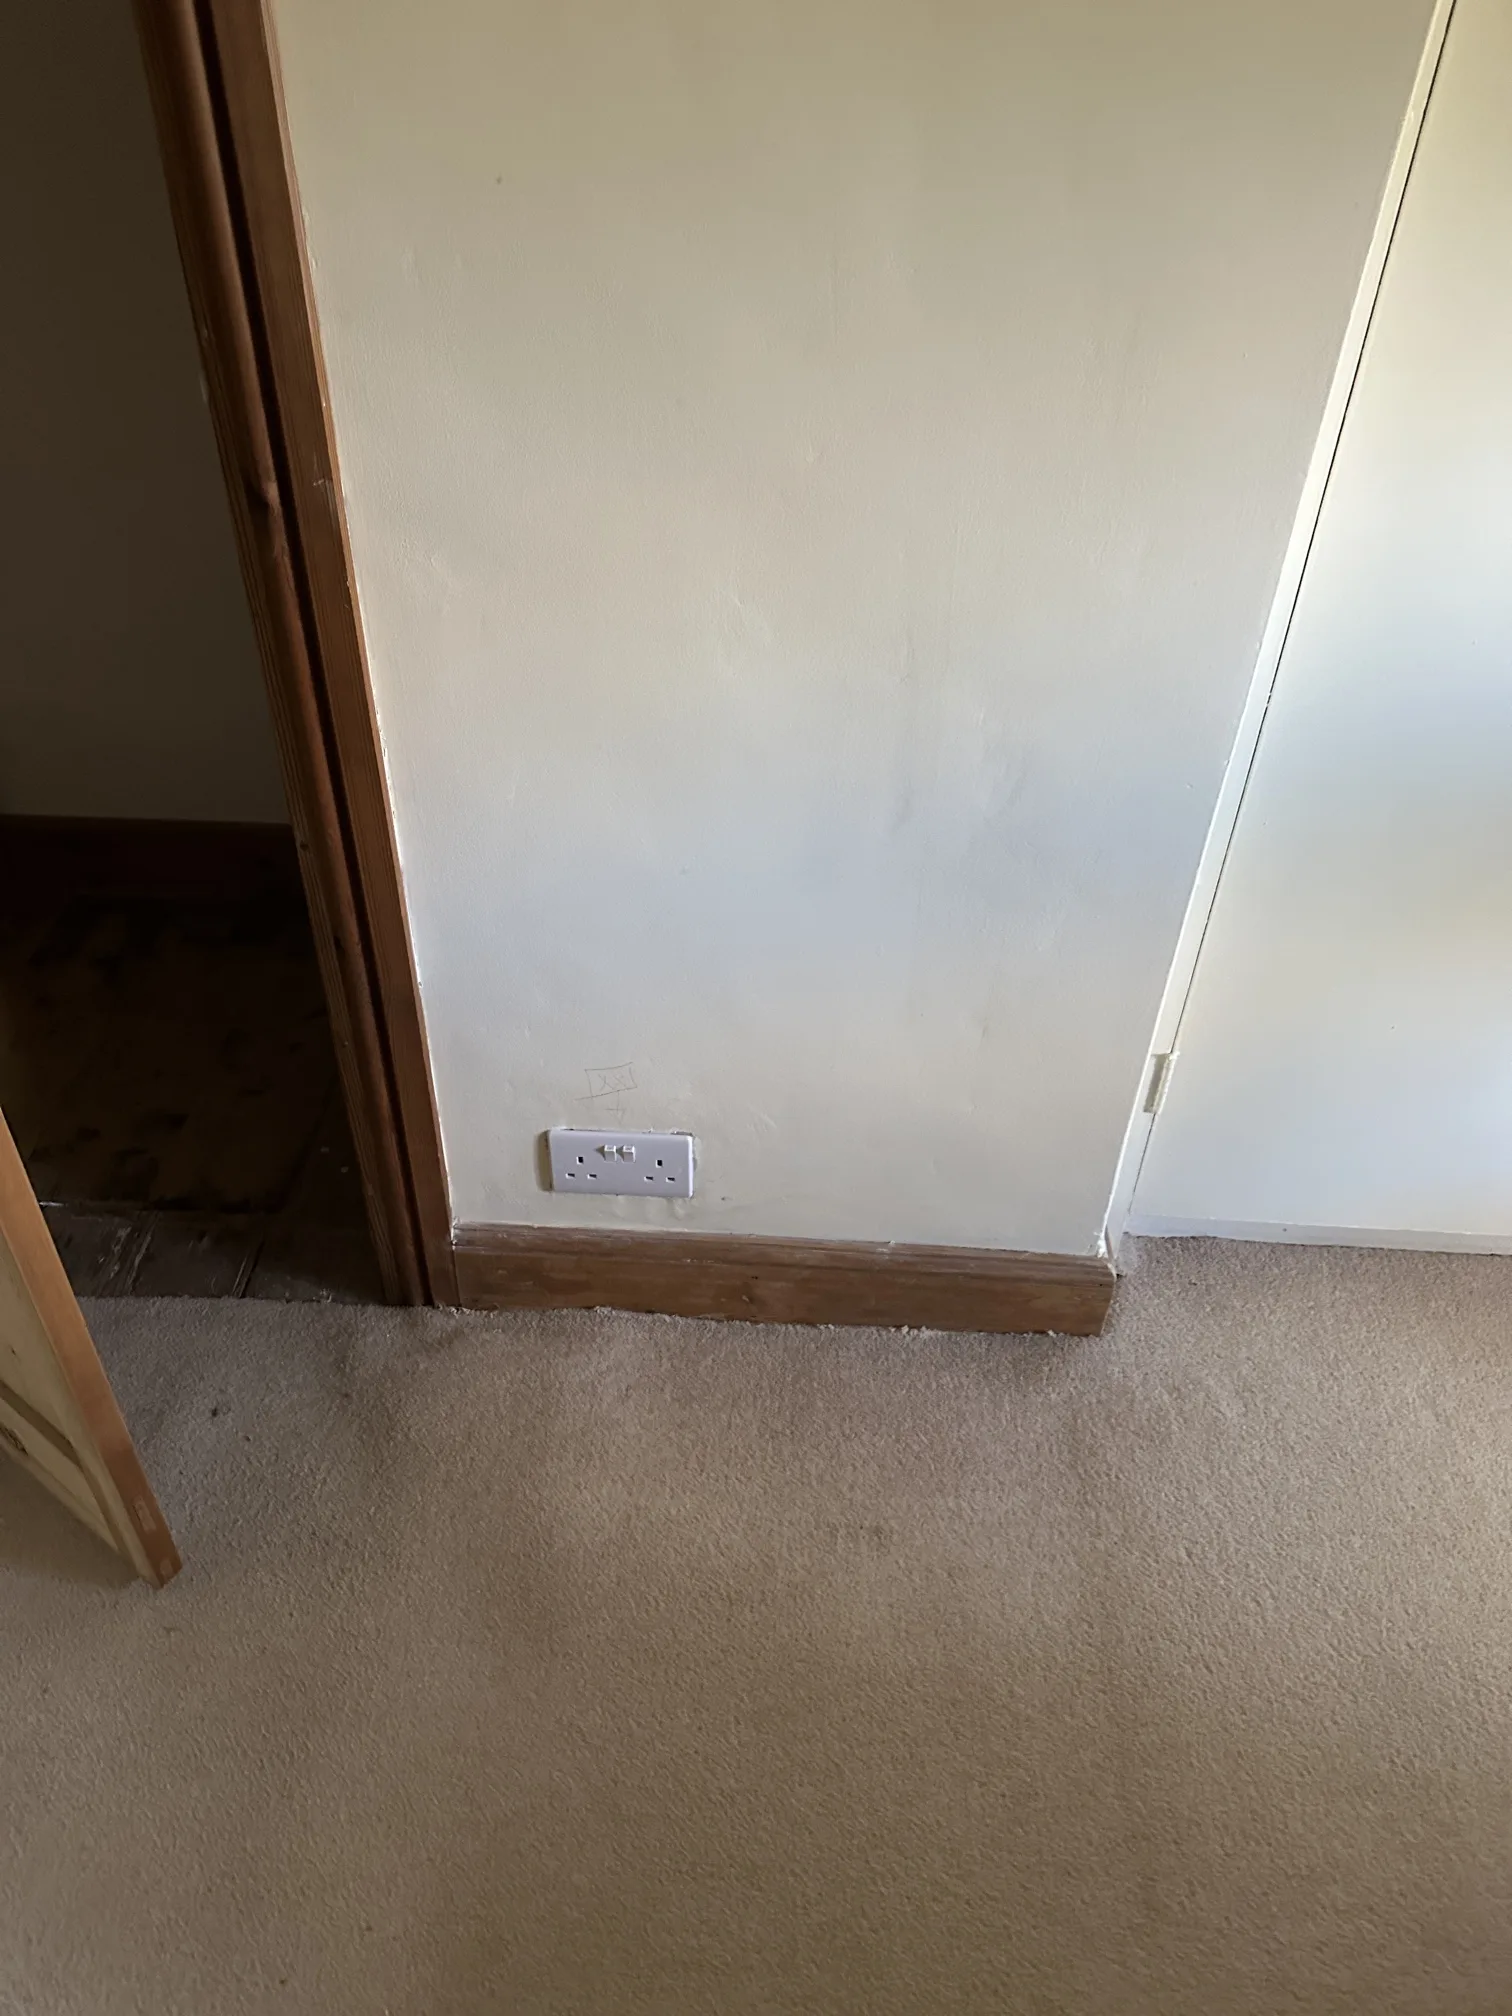
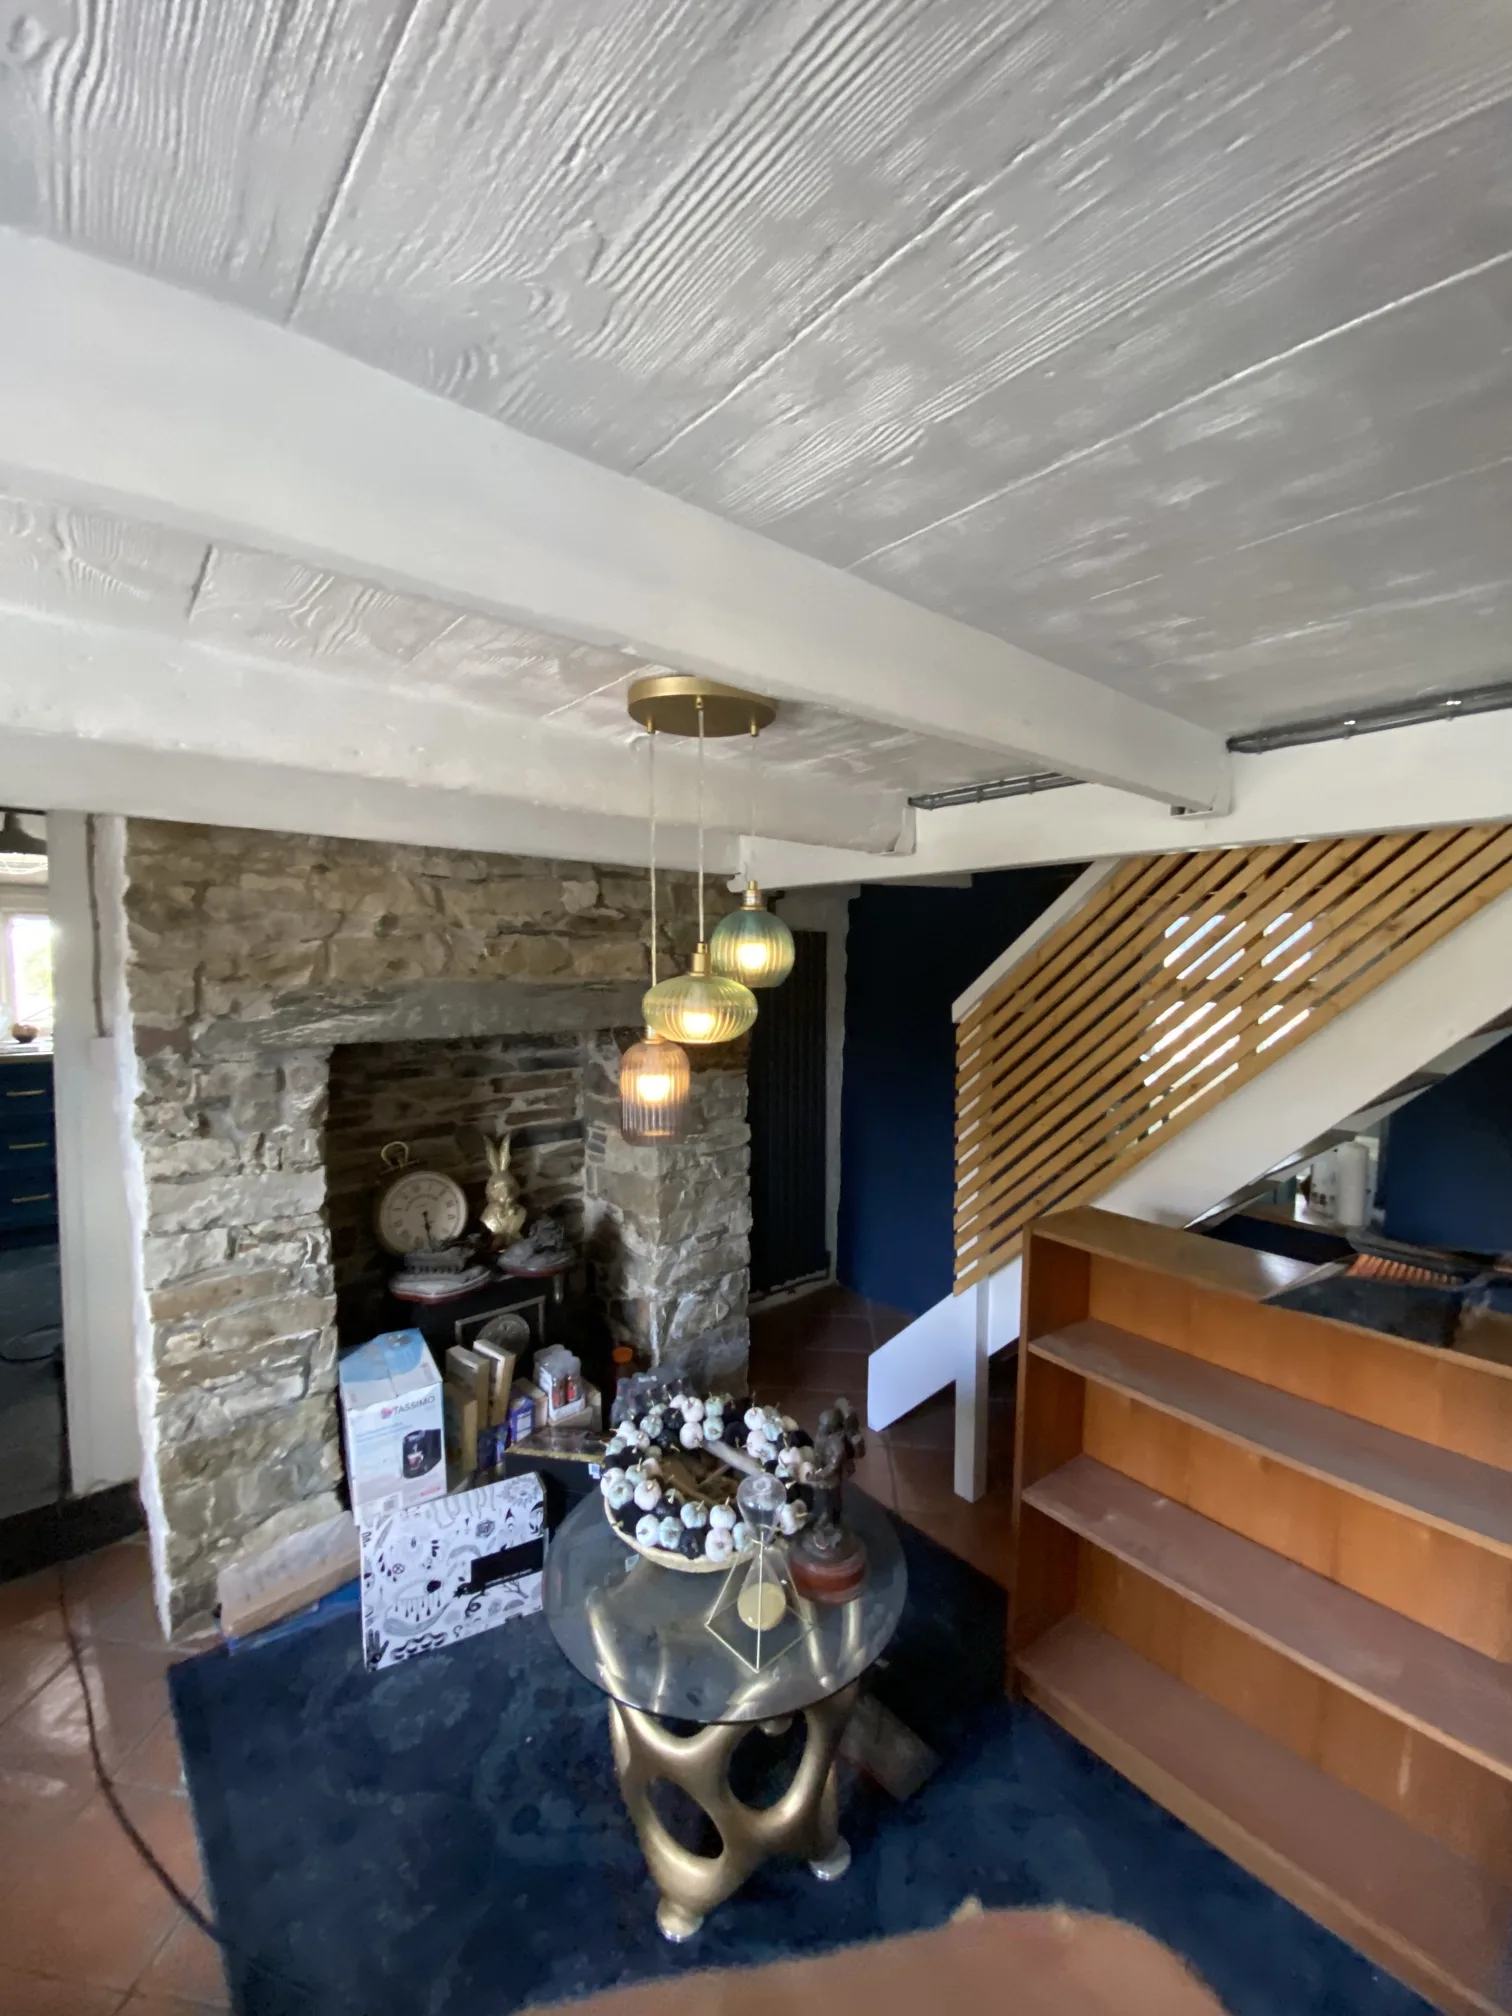
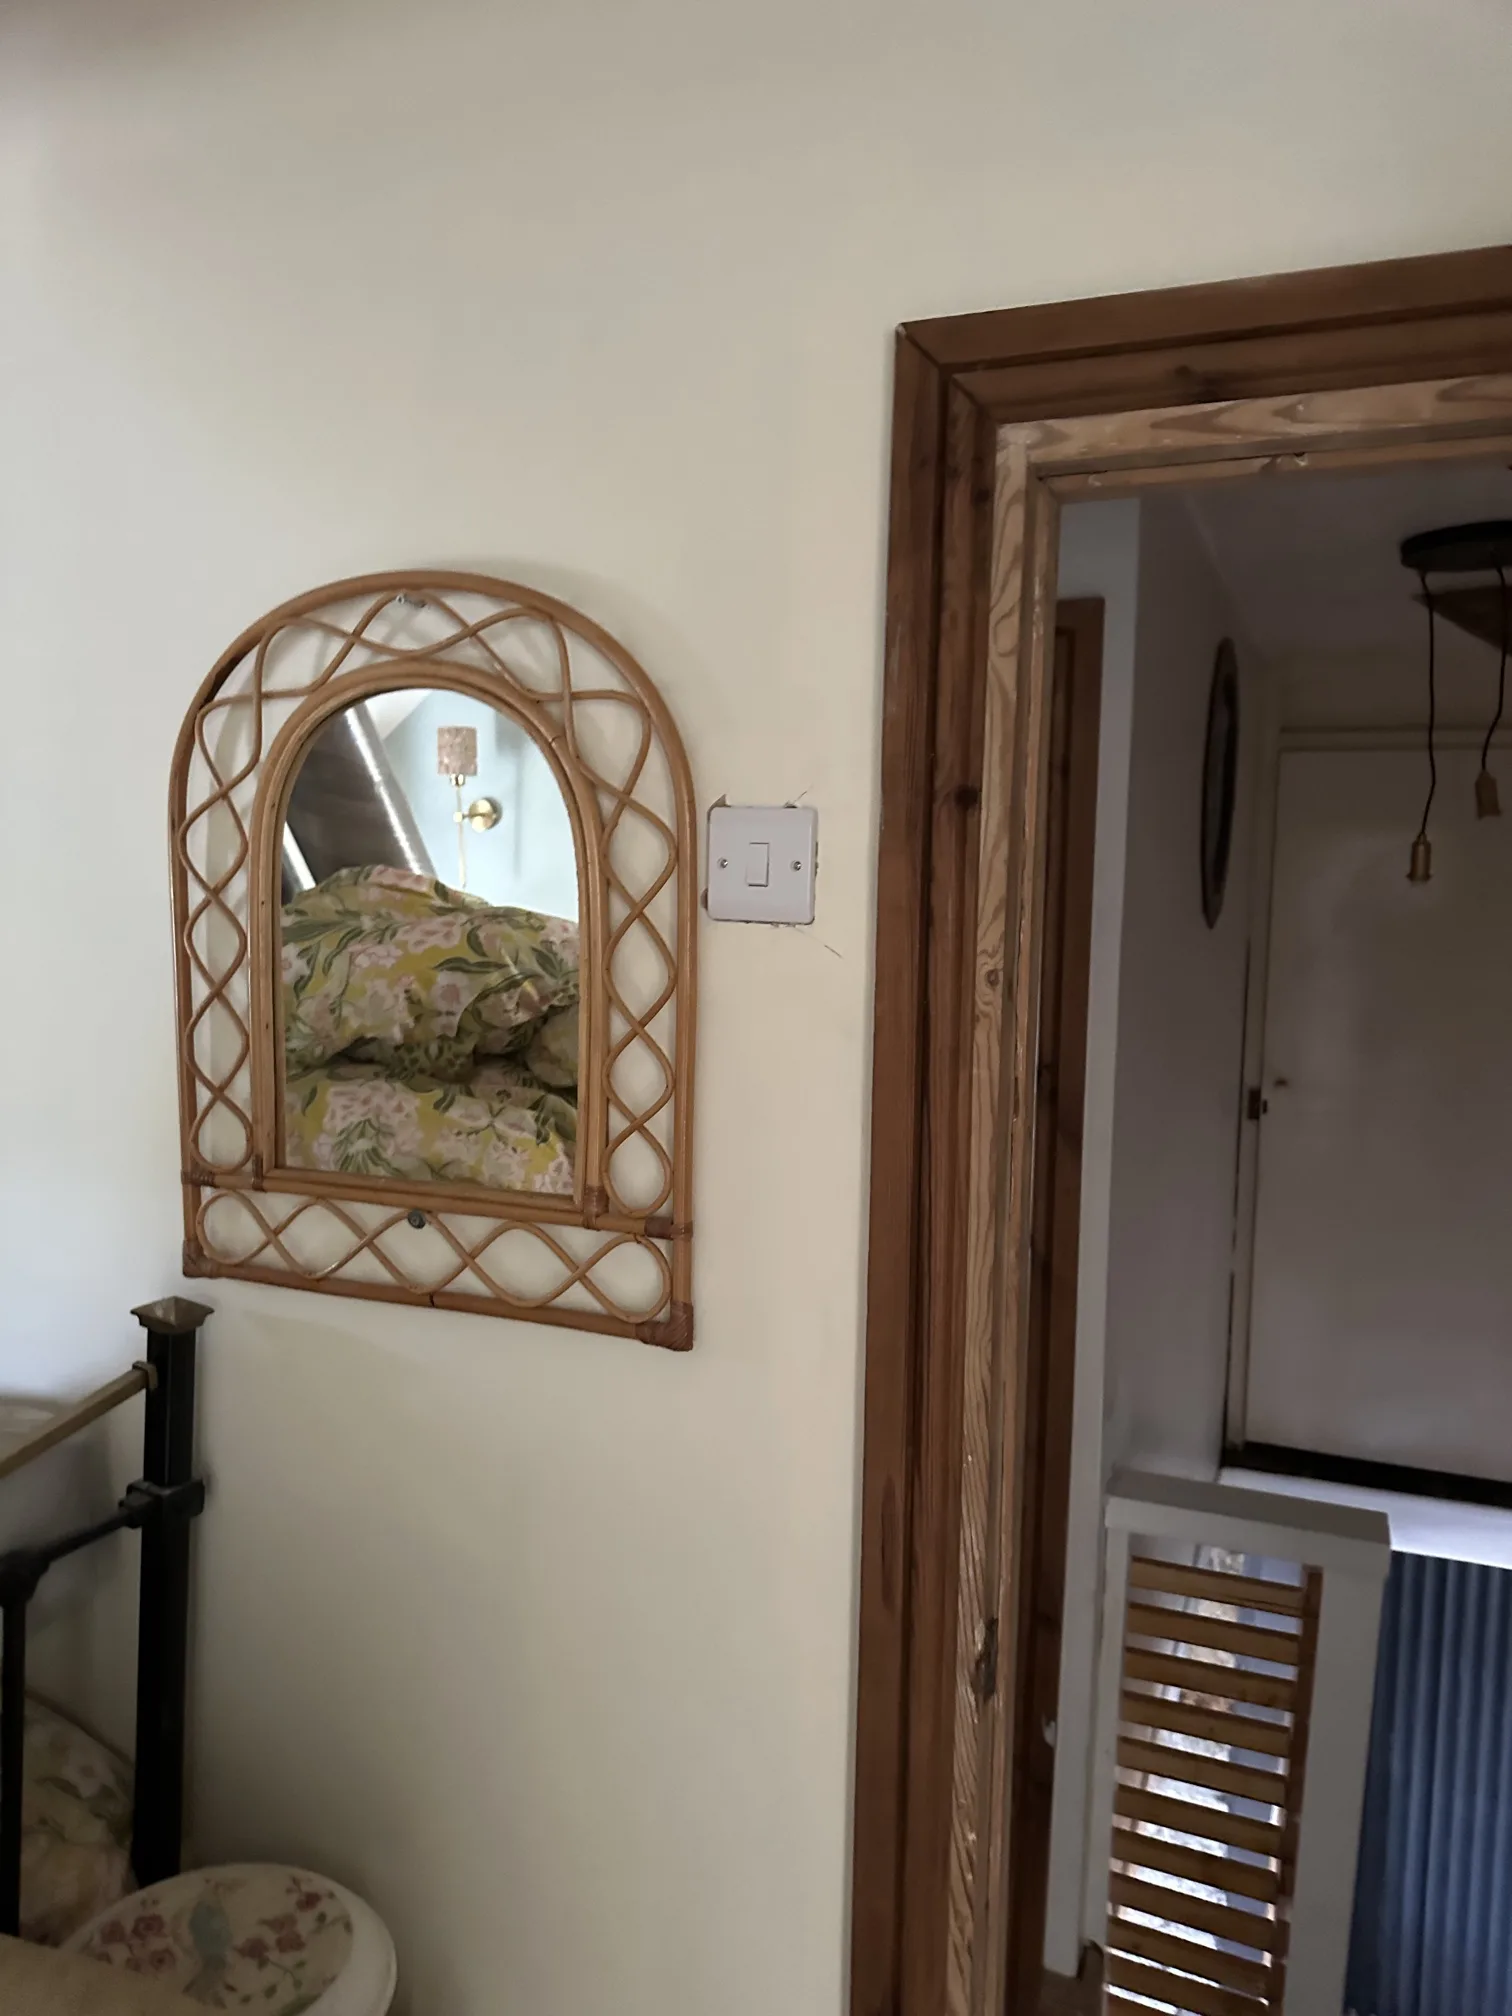
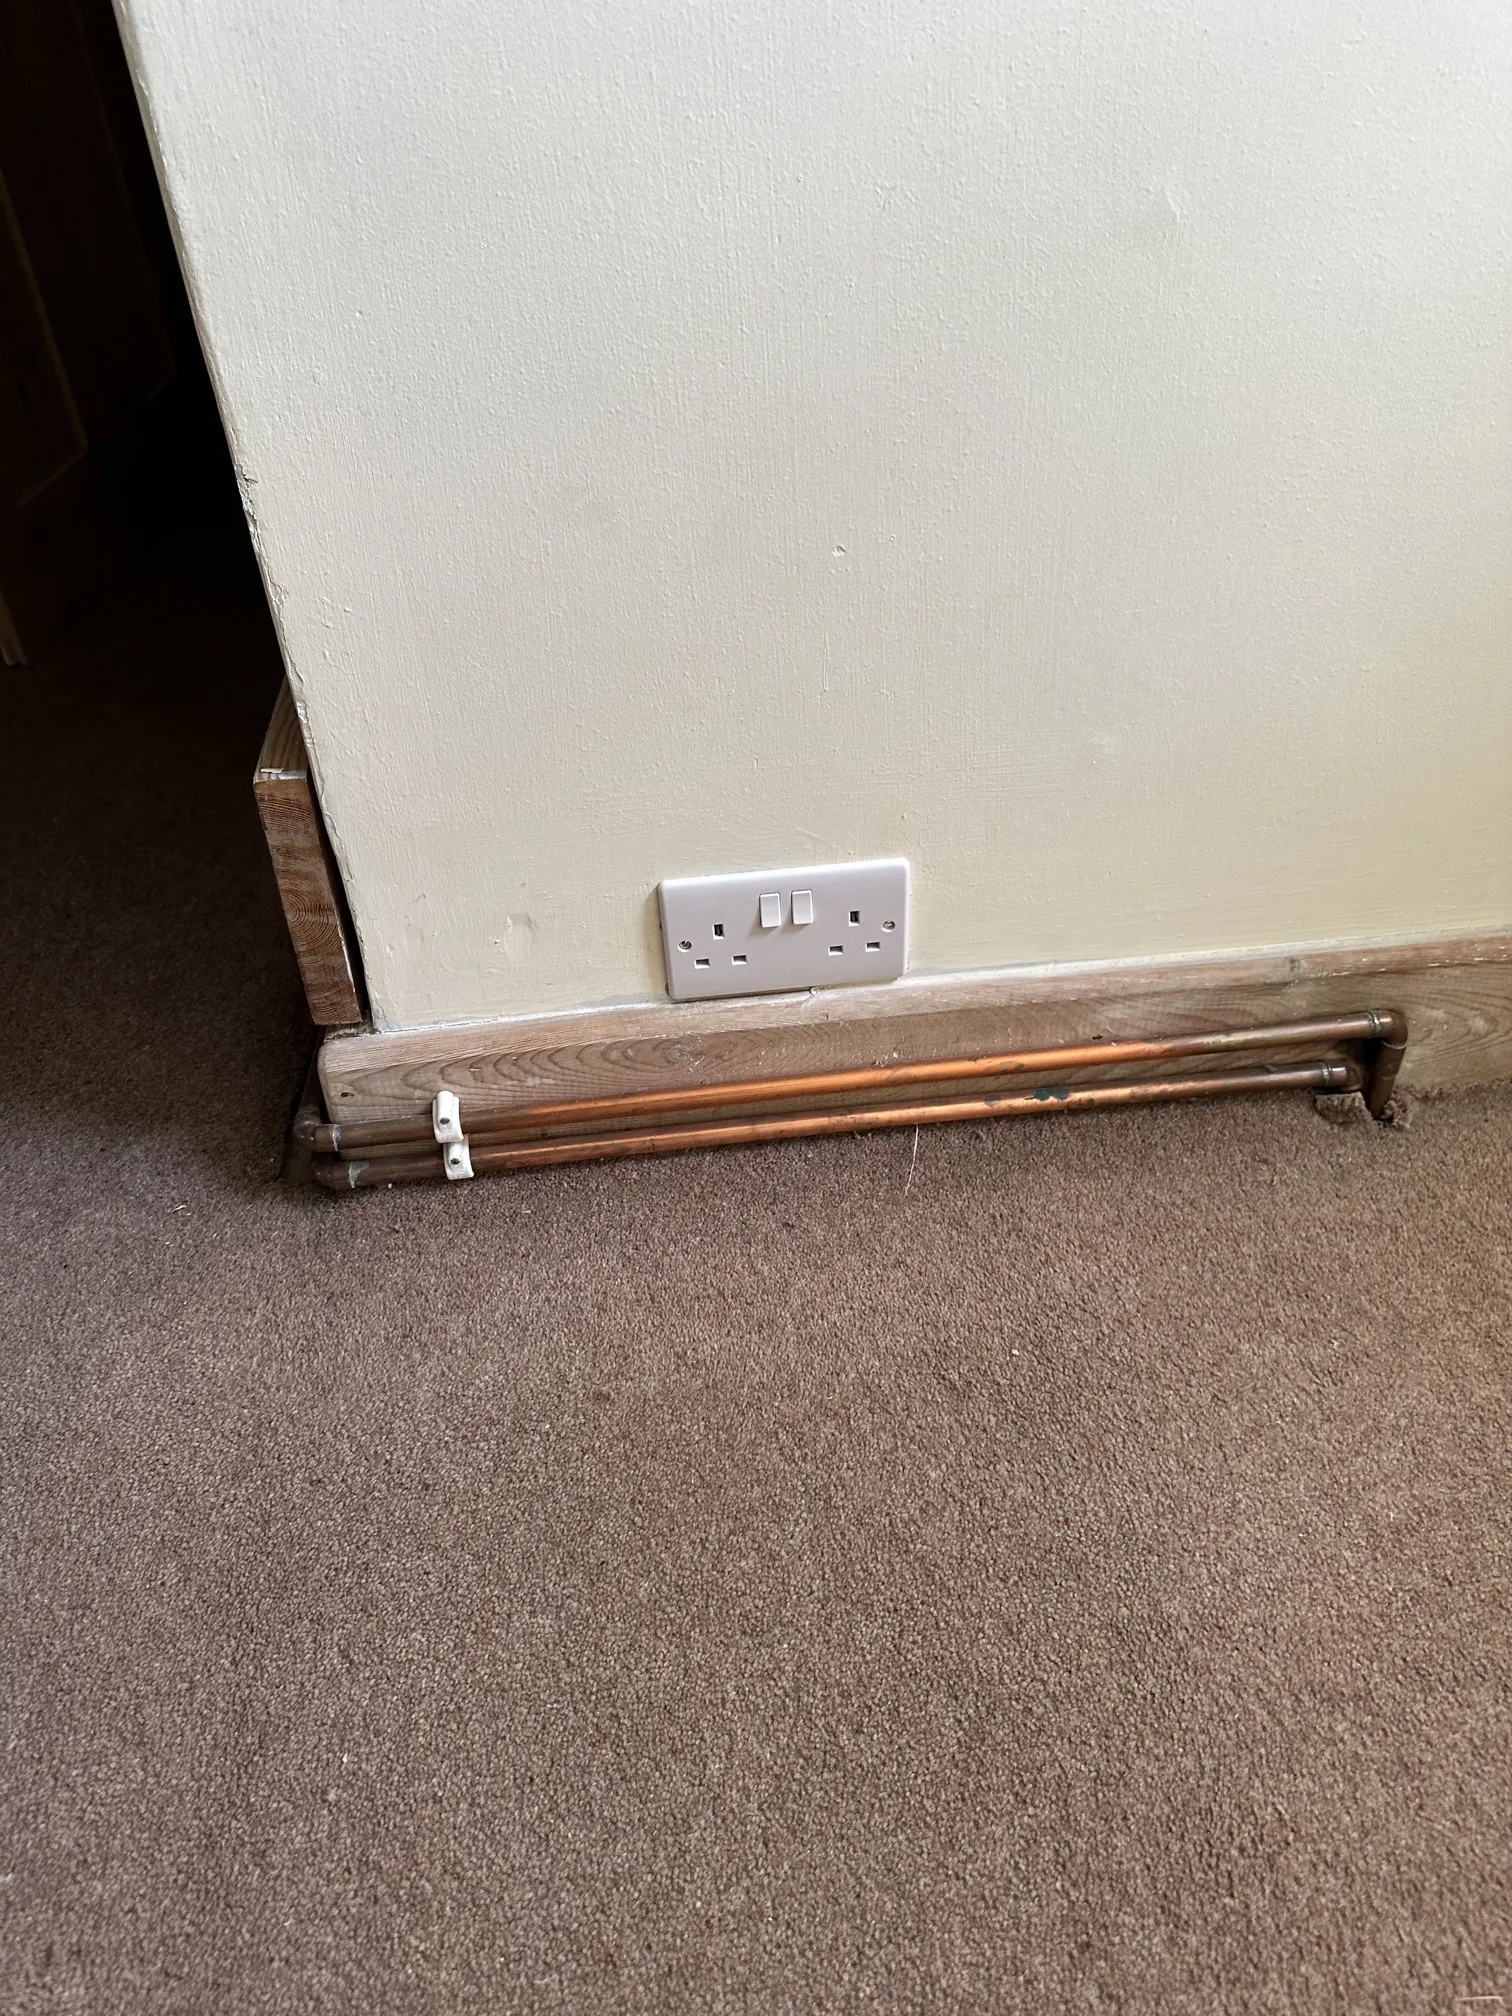
Throughout the property, two-way switching was installed where it made practical sense – at the top and bottom of the stairs for the landing light, and at multiple entry points to the dining room. Socket outlets were positioned thoughtfully in each bedroom, considering where beds, televisions, and other furniture would typically sit. The living room received additional sockets to meet modern demands for electronics and devices, along with new wall lights and pendant lighting controlled by separate switches.
The heating system wiring had to be carefully integrated with the existing Hive smart controls, making sure the new installation would work seamlessly with the technology the family relied on daily. The boiler supply, heating controls, and immersion heater circuits all needed proper isolation and protection, installed to current regulations but compatible with the existing control system.
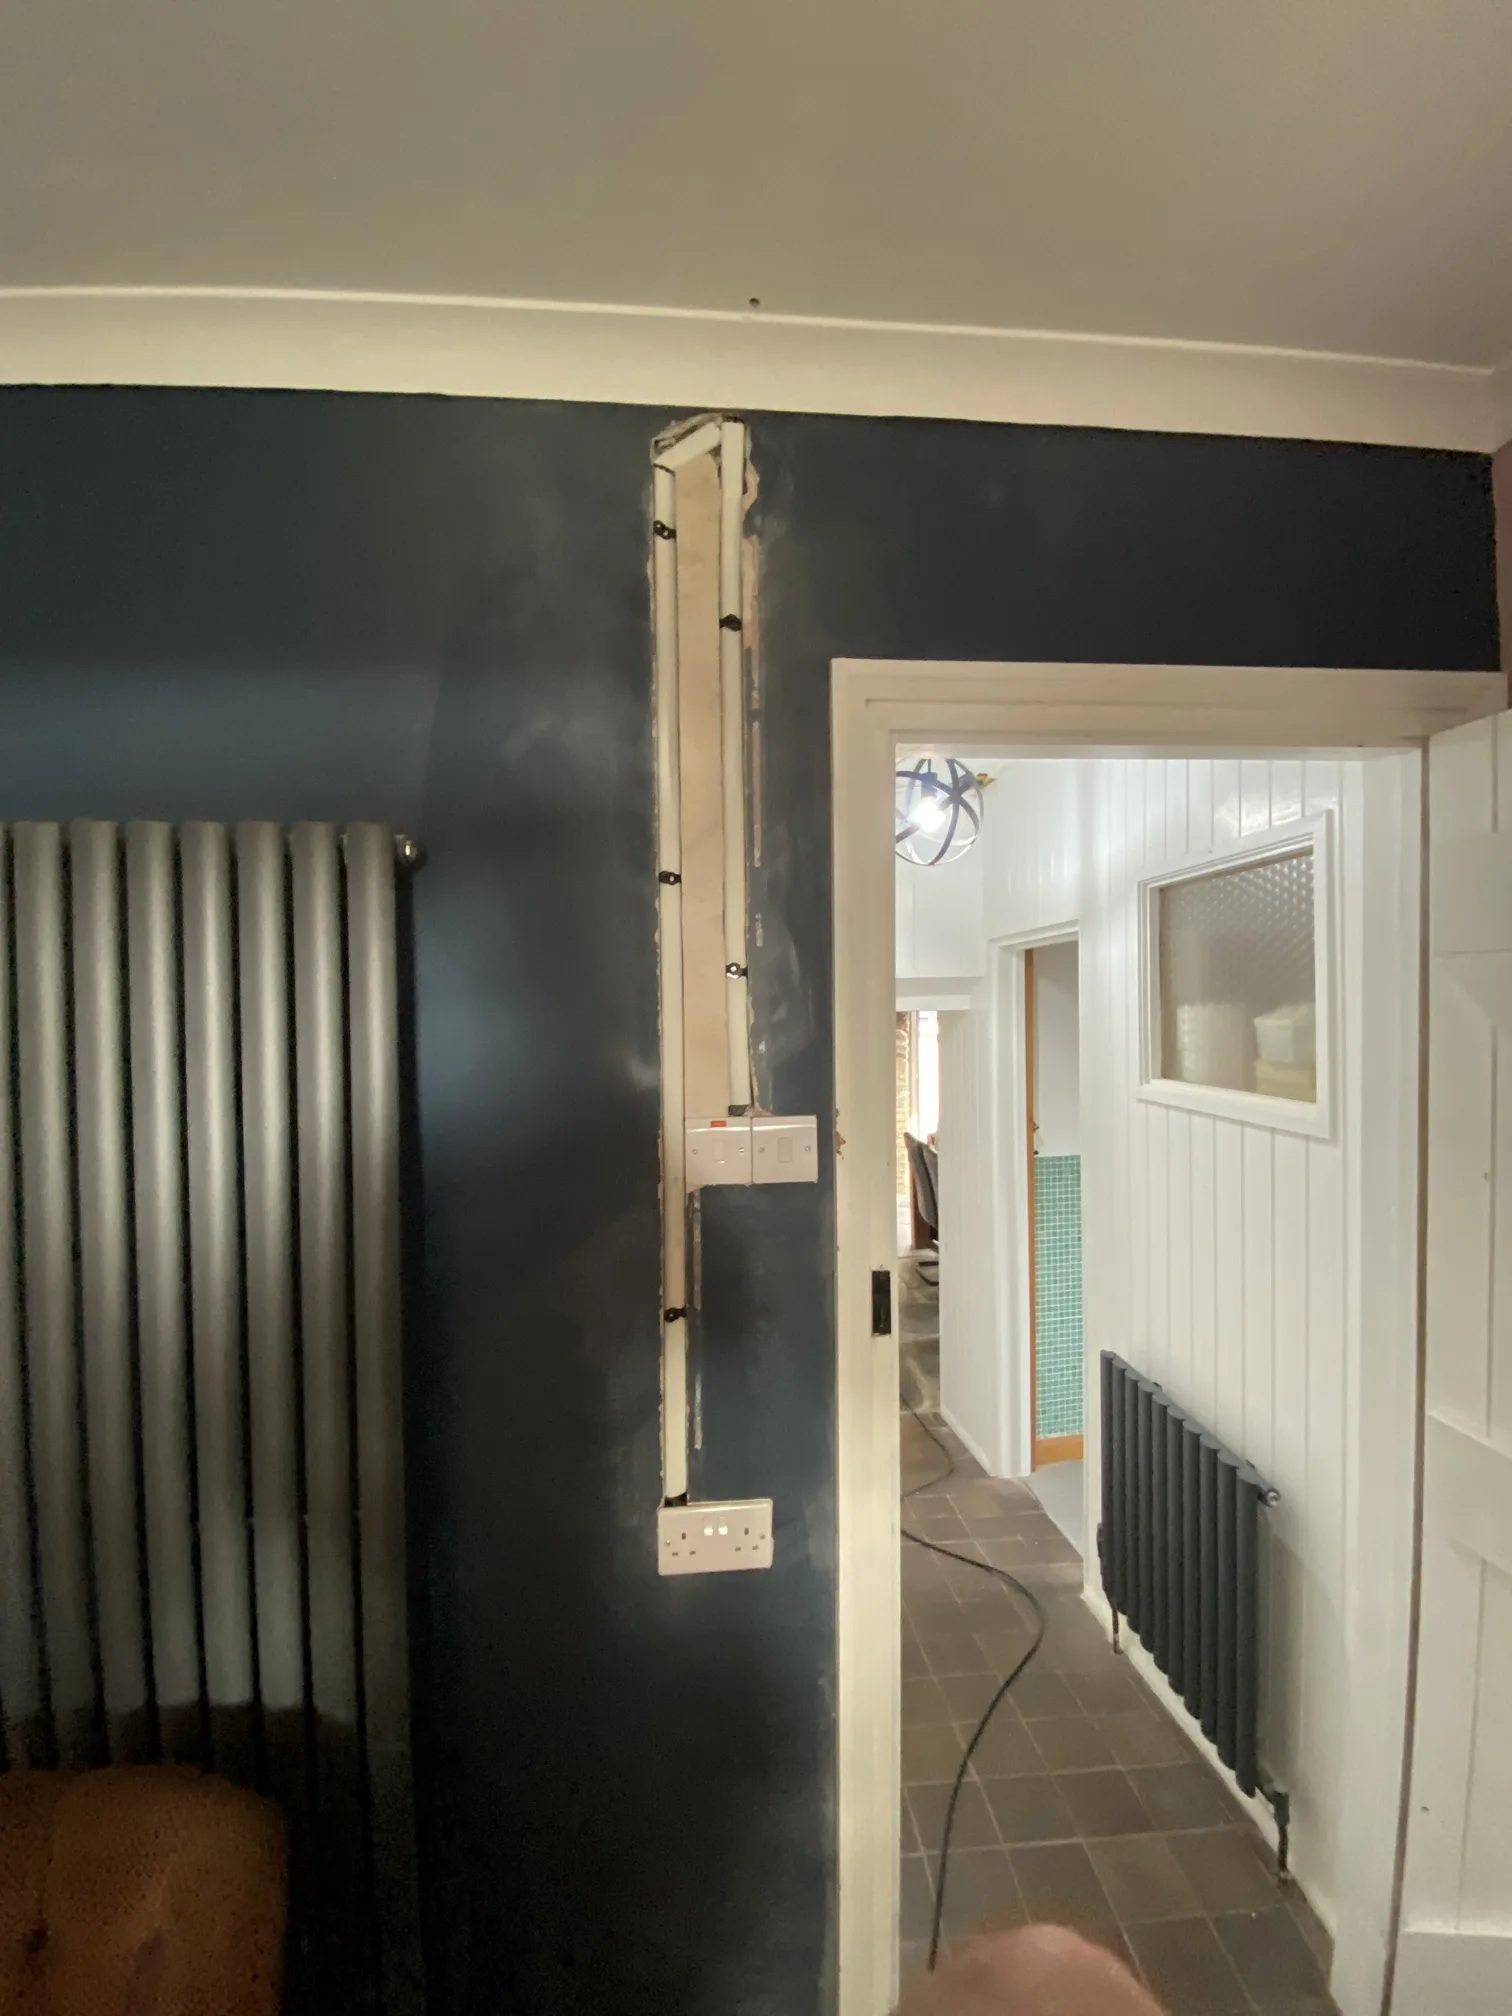
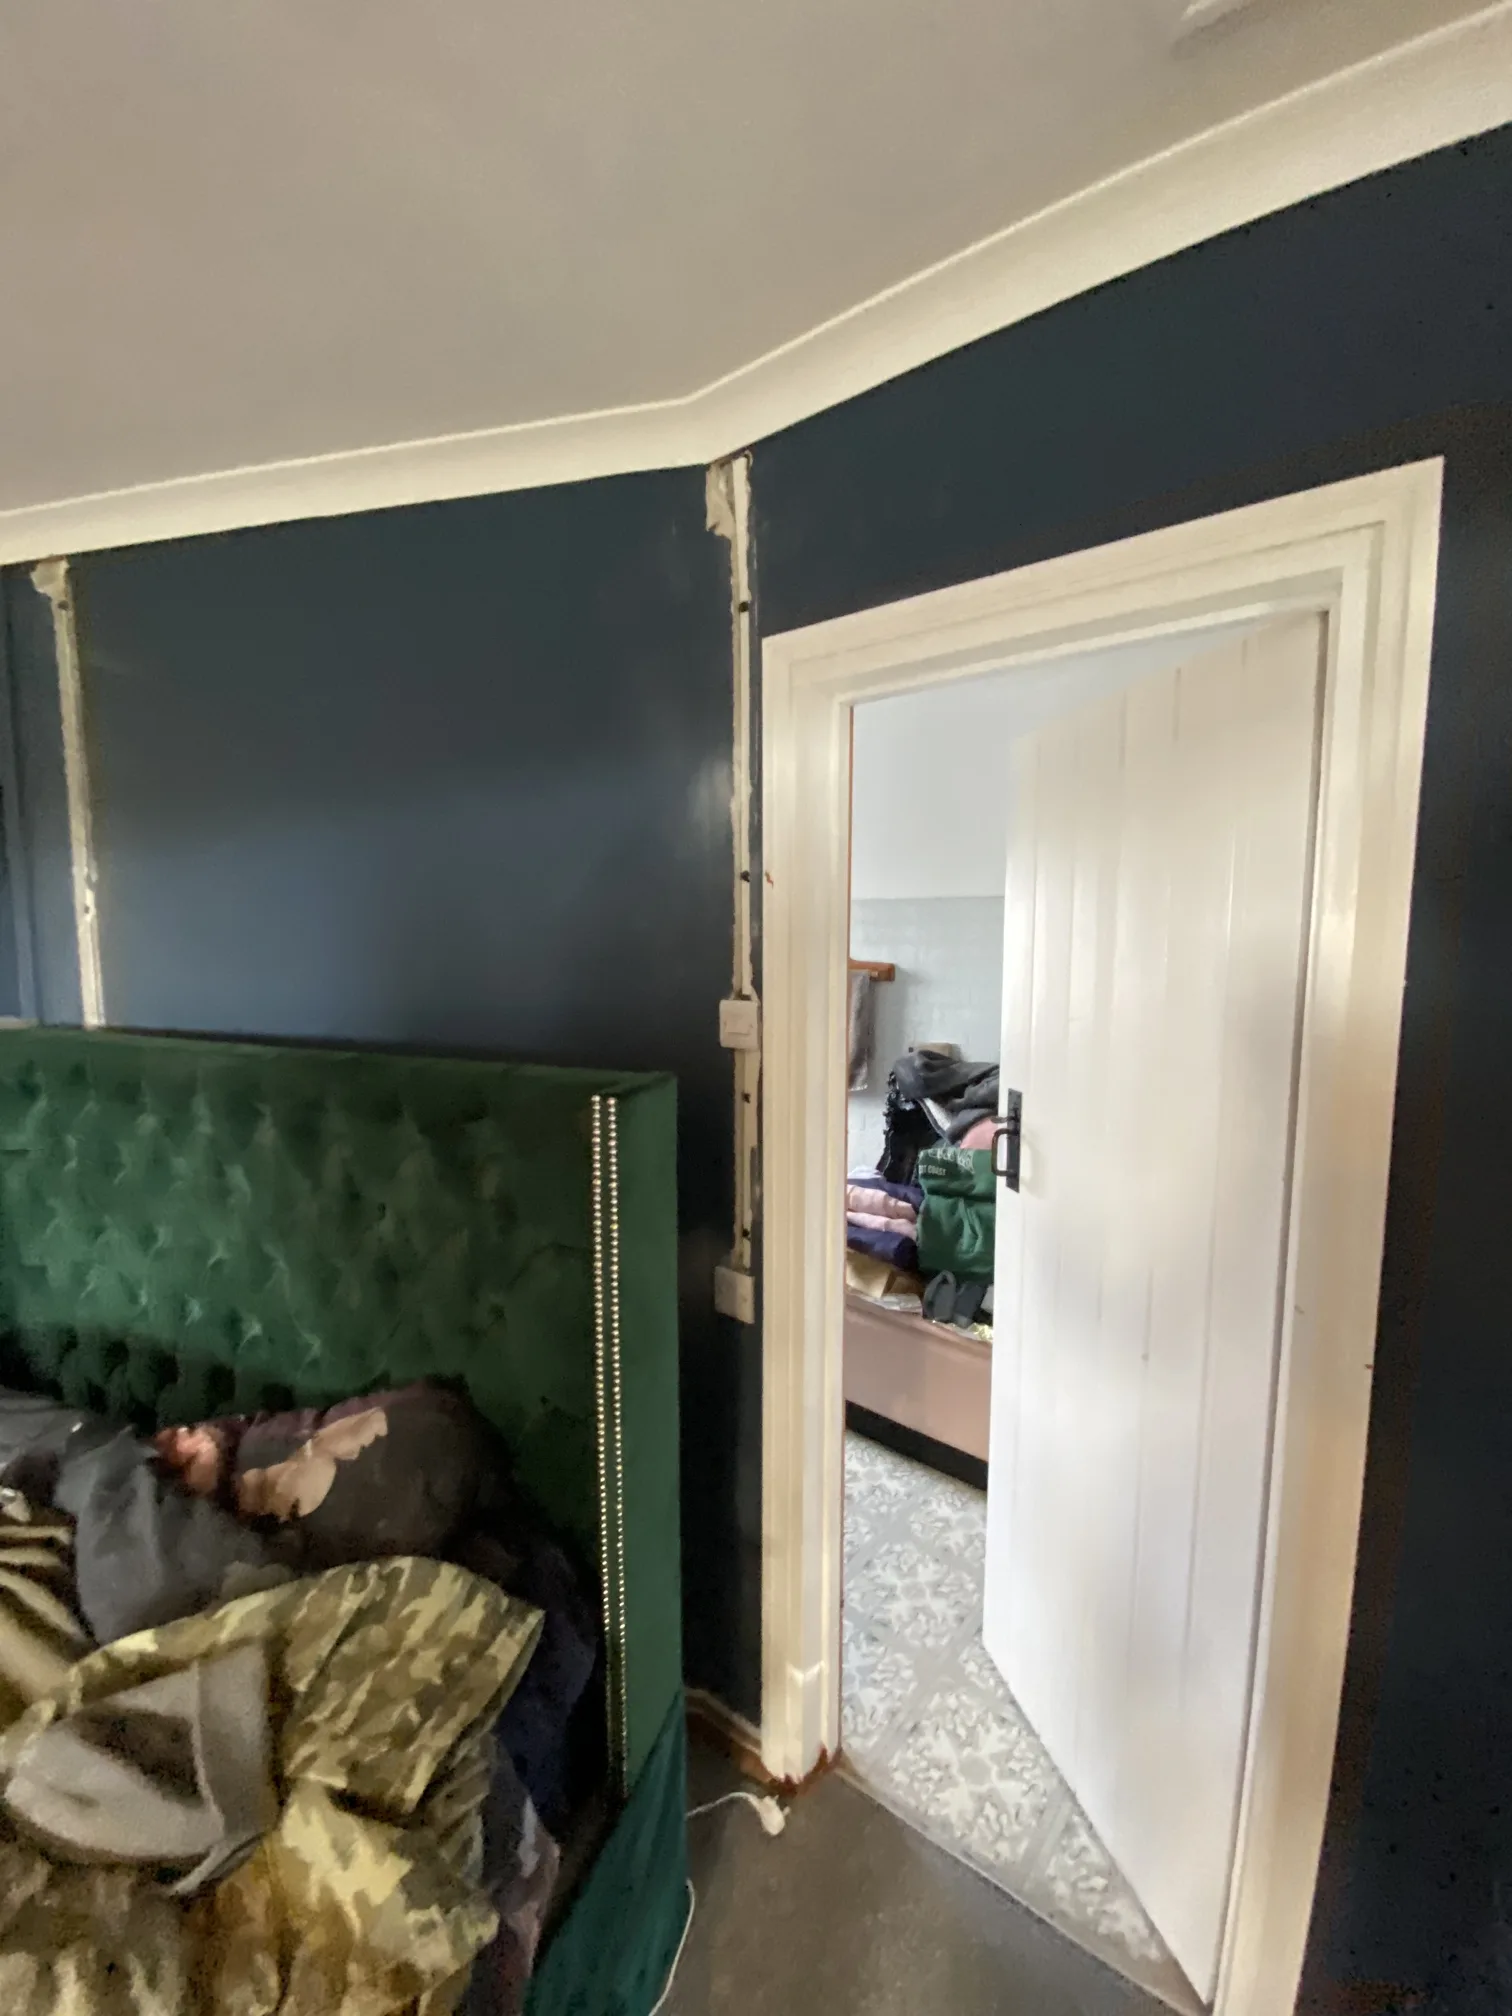
Stone walls don’t offer easy solutions for cable routing. Every channel cut into stonework needs to be done thoughtfully, minimising damage to the historic fabric of the building whilst still creating safe, compliant routes for modern electrical cables. Where walls were plastered, channels could be cut and then filled with bonding coat plaster, ready for fine filling and decoration. Where walls were more problematic – particularly the thick stone sections – we used dustless extraction equipment to contain the mess as much as possible, though there’s no disguising the fact that this kind of work is intrusive when you’re living through it.
Some sections of timber cladding that concealed wall surfaces had to be temporarily removed to access cable routes. Each piece was carefully taken down, the necessary electrical work completed behind it, and then reinstated once the cables were secured. This approach preserved the room’s character whilst allowing the essential infrastructure upgrades to take place. It’s painstaking work that doesn’t photograph particularly well when you’re halfway through it, but that’s the reality of domestic electrical installation – it looks messy and disruptive before it looks finished and professional.
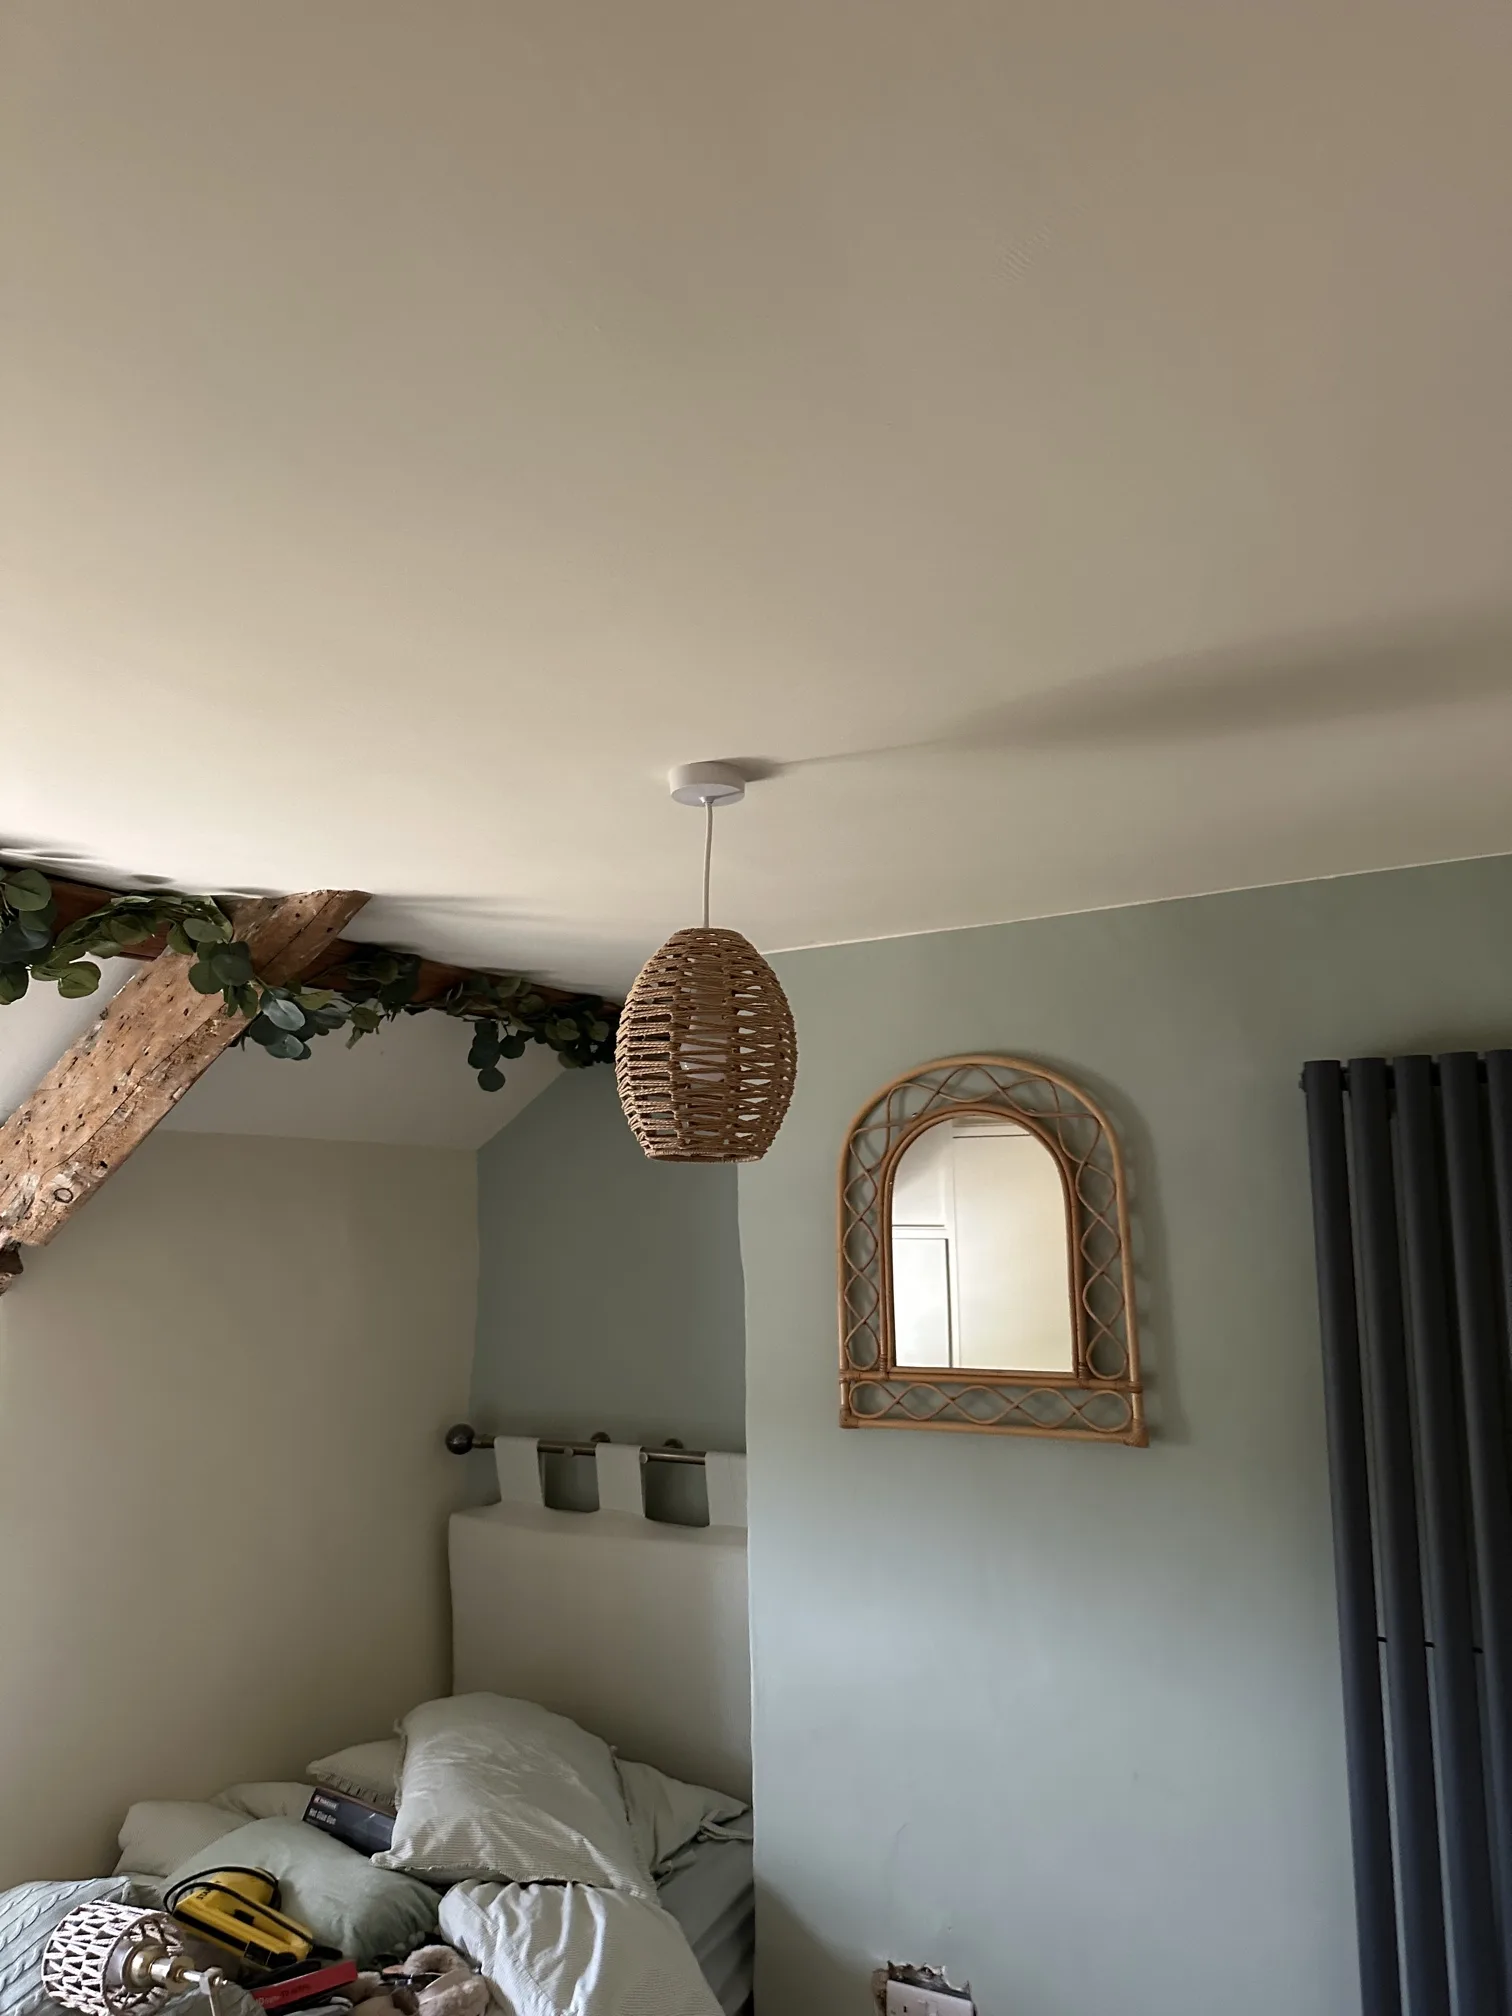
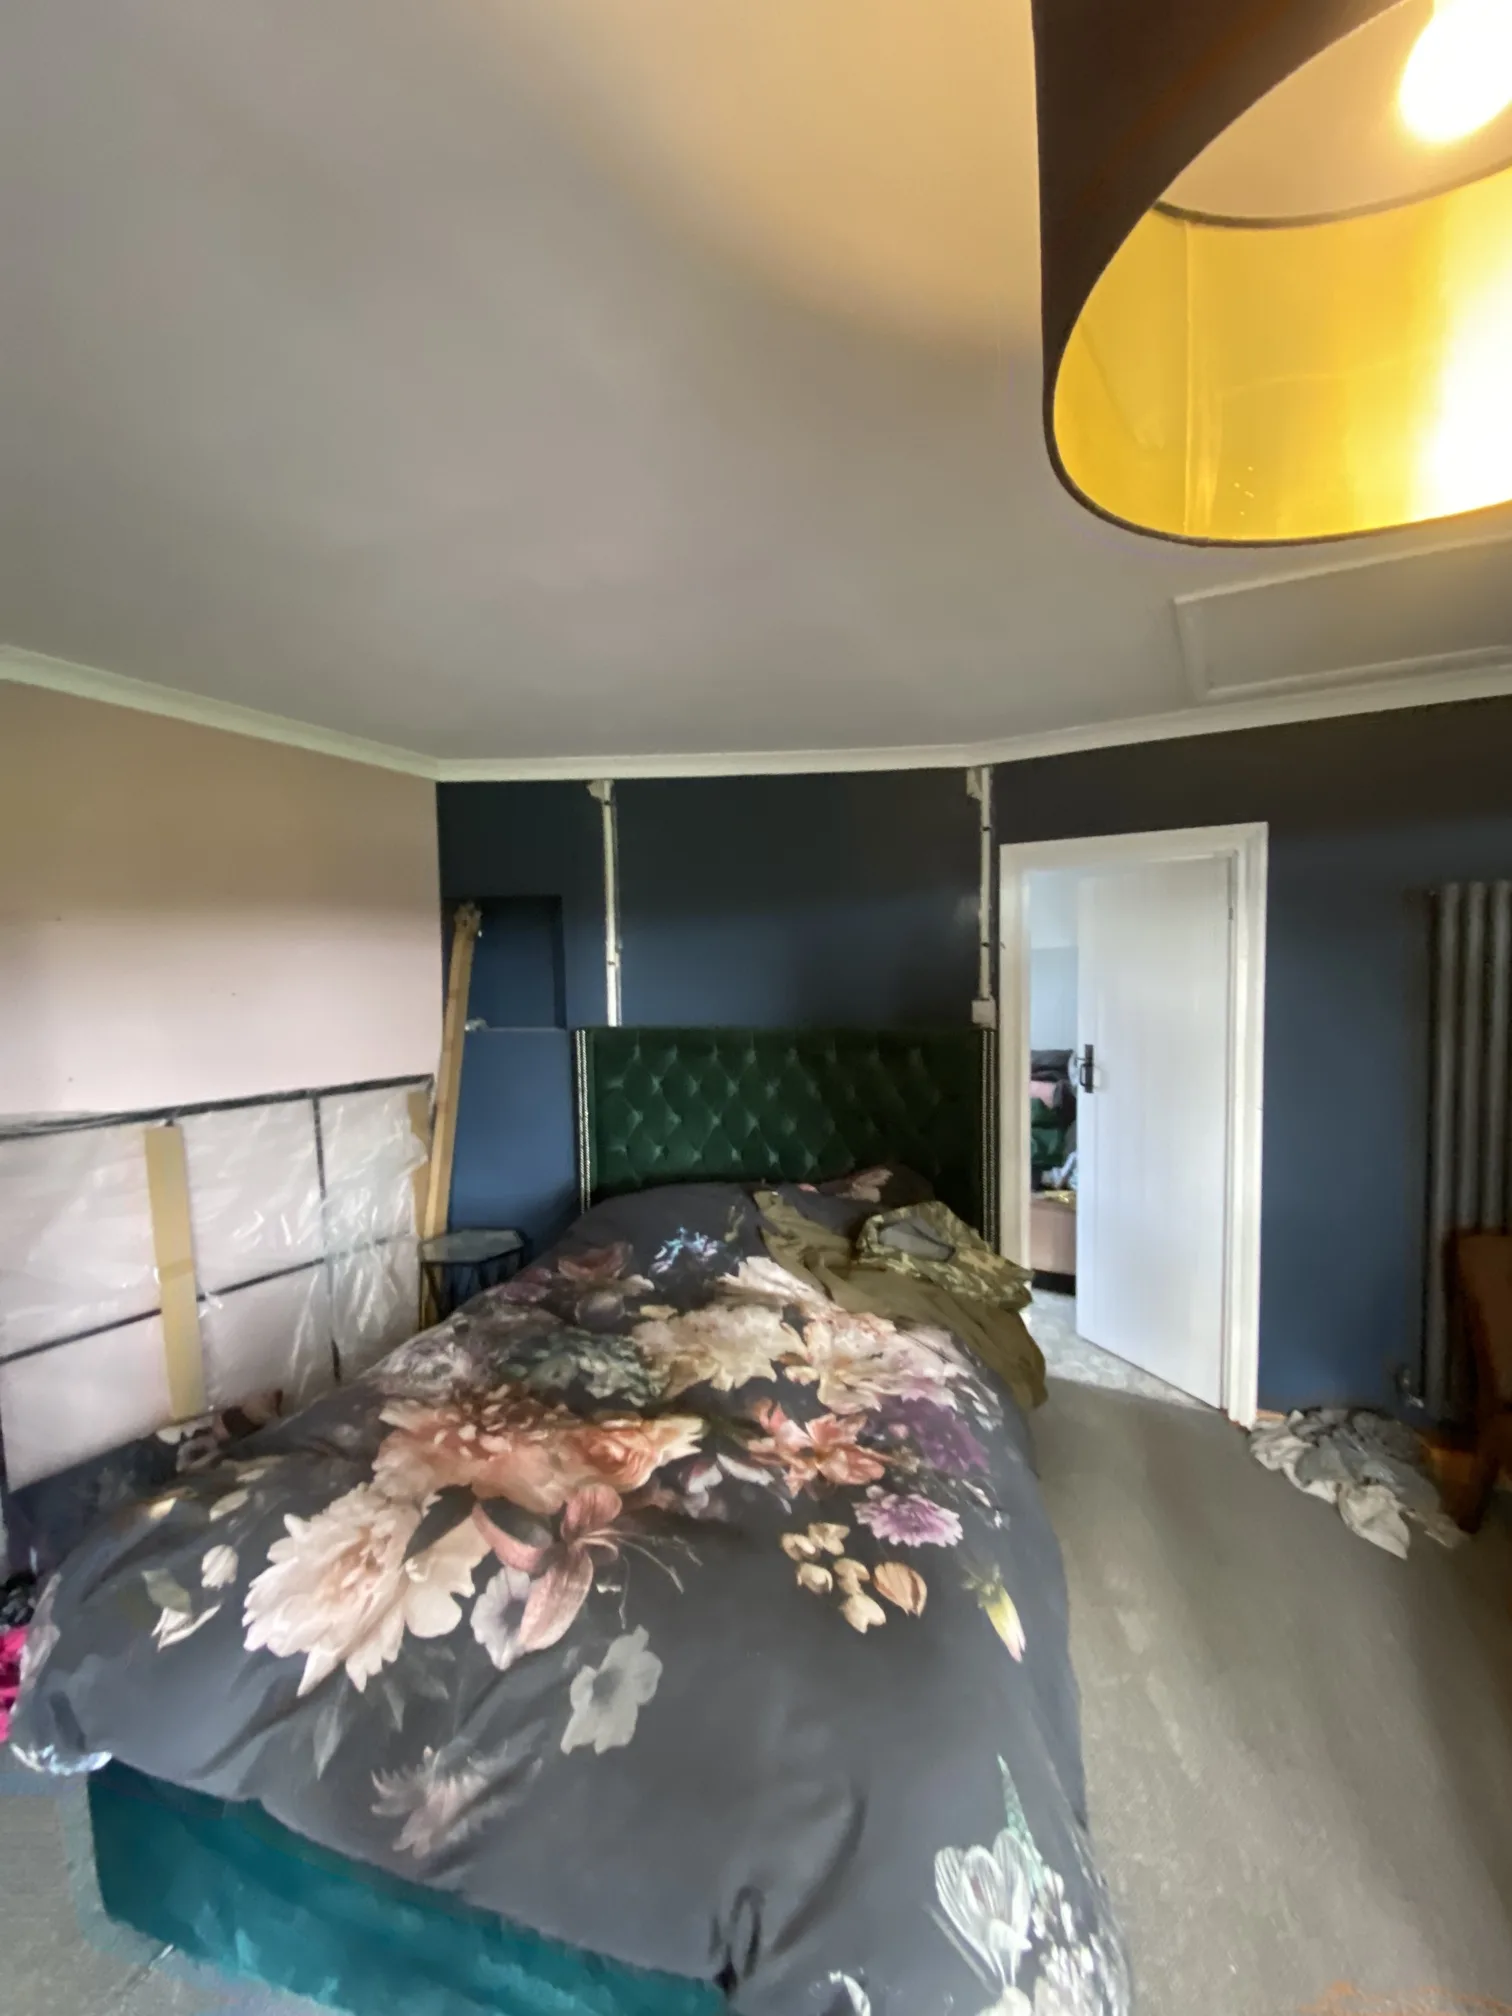
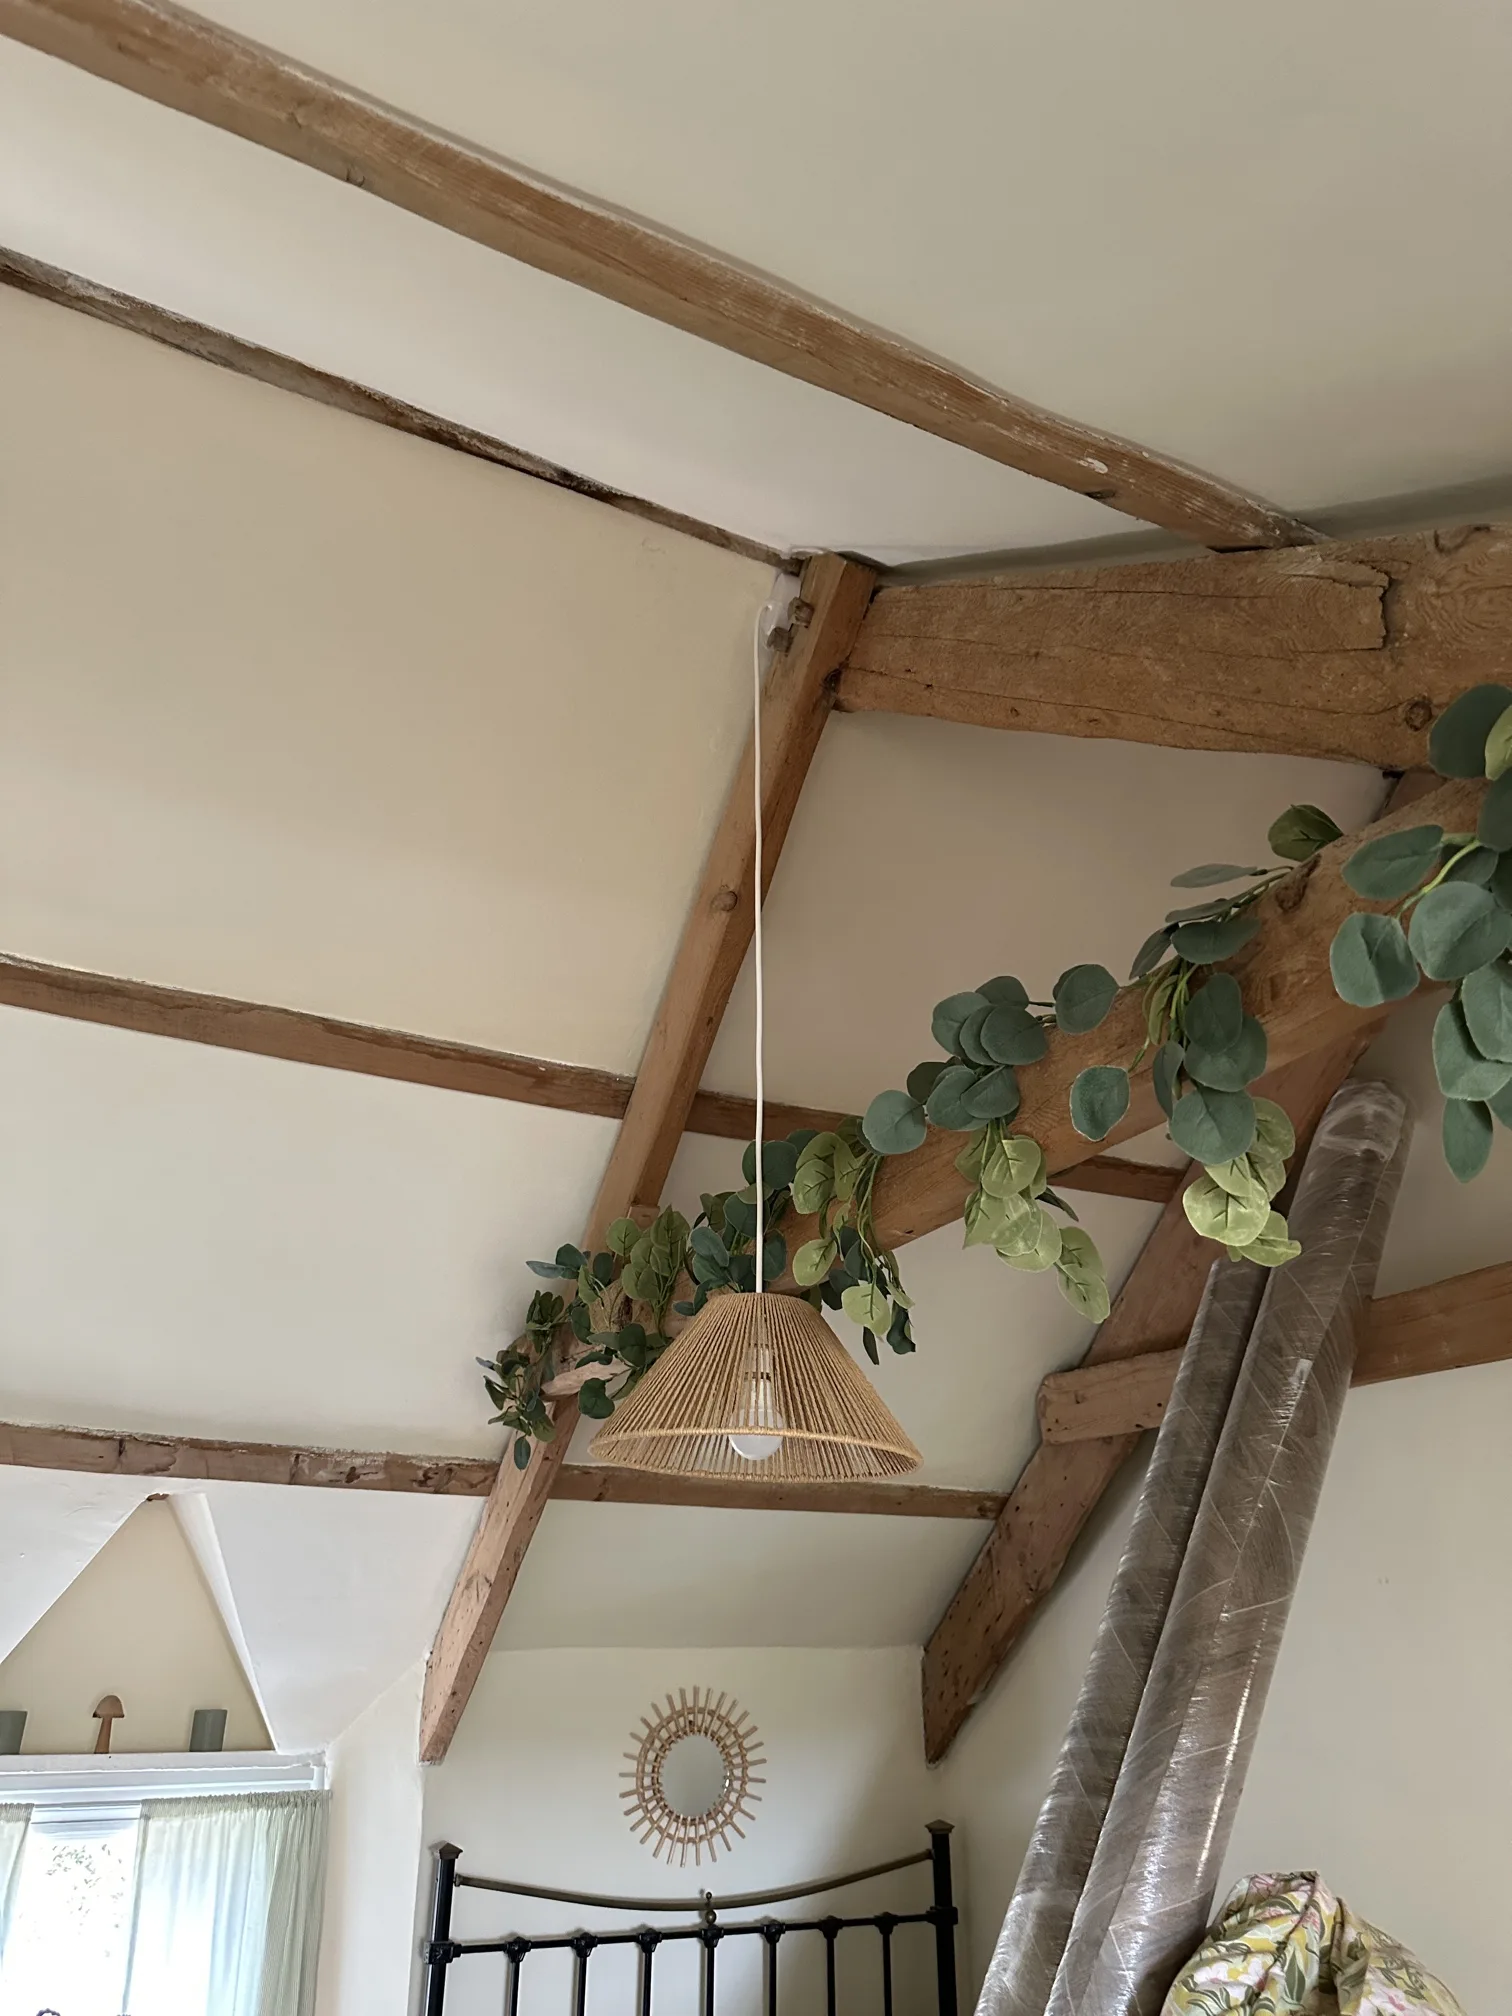
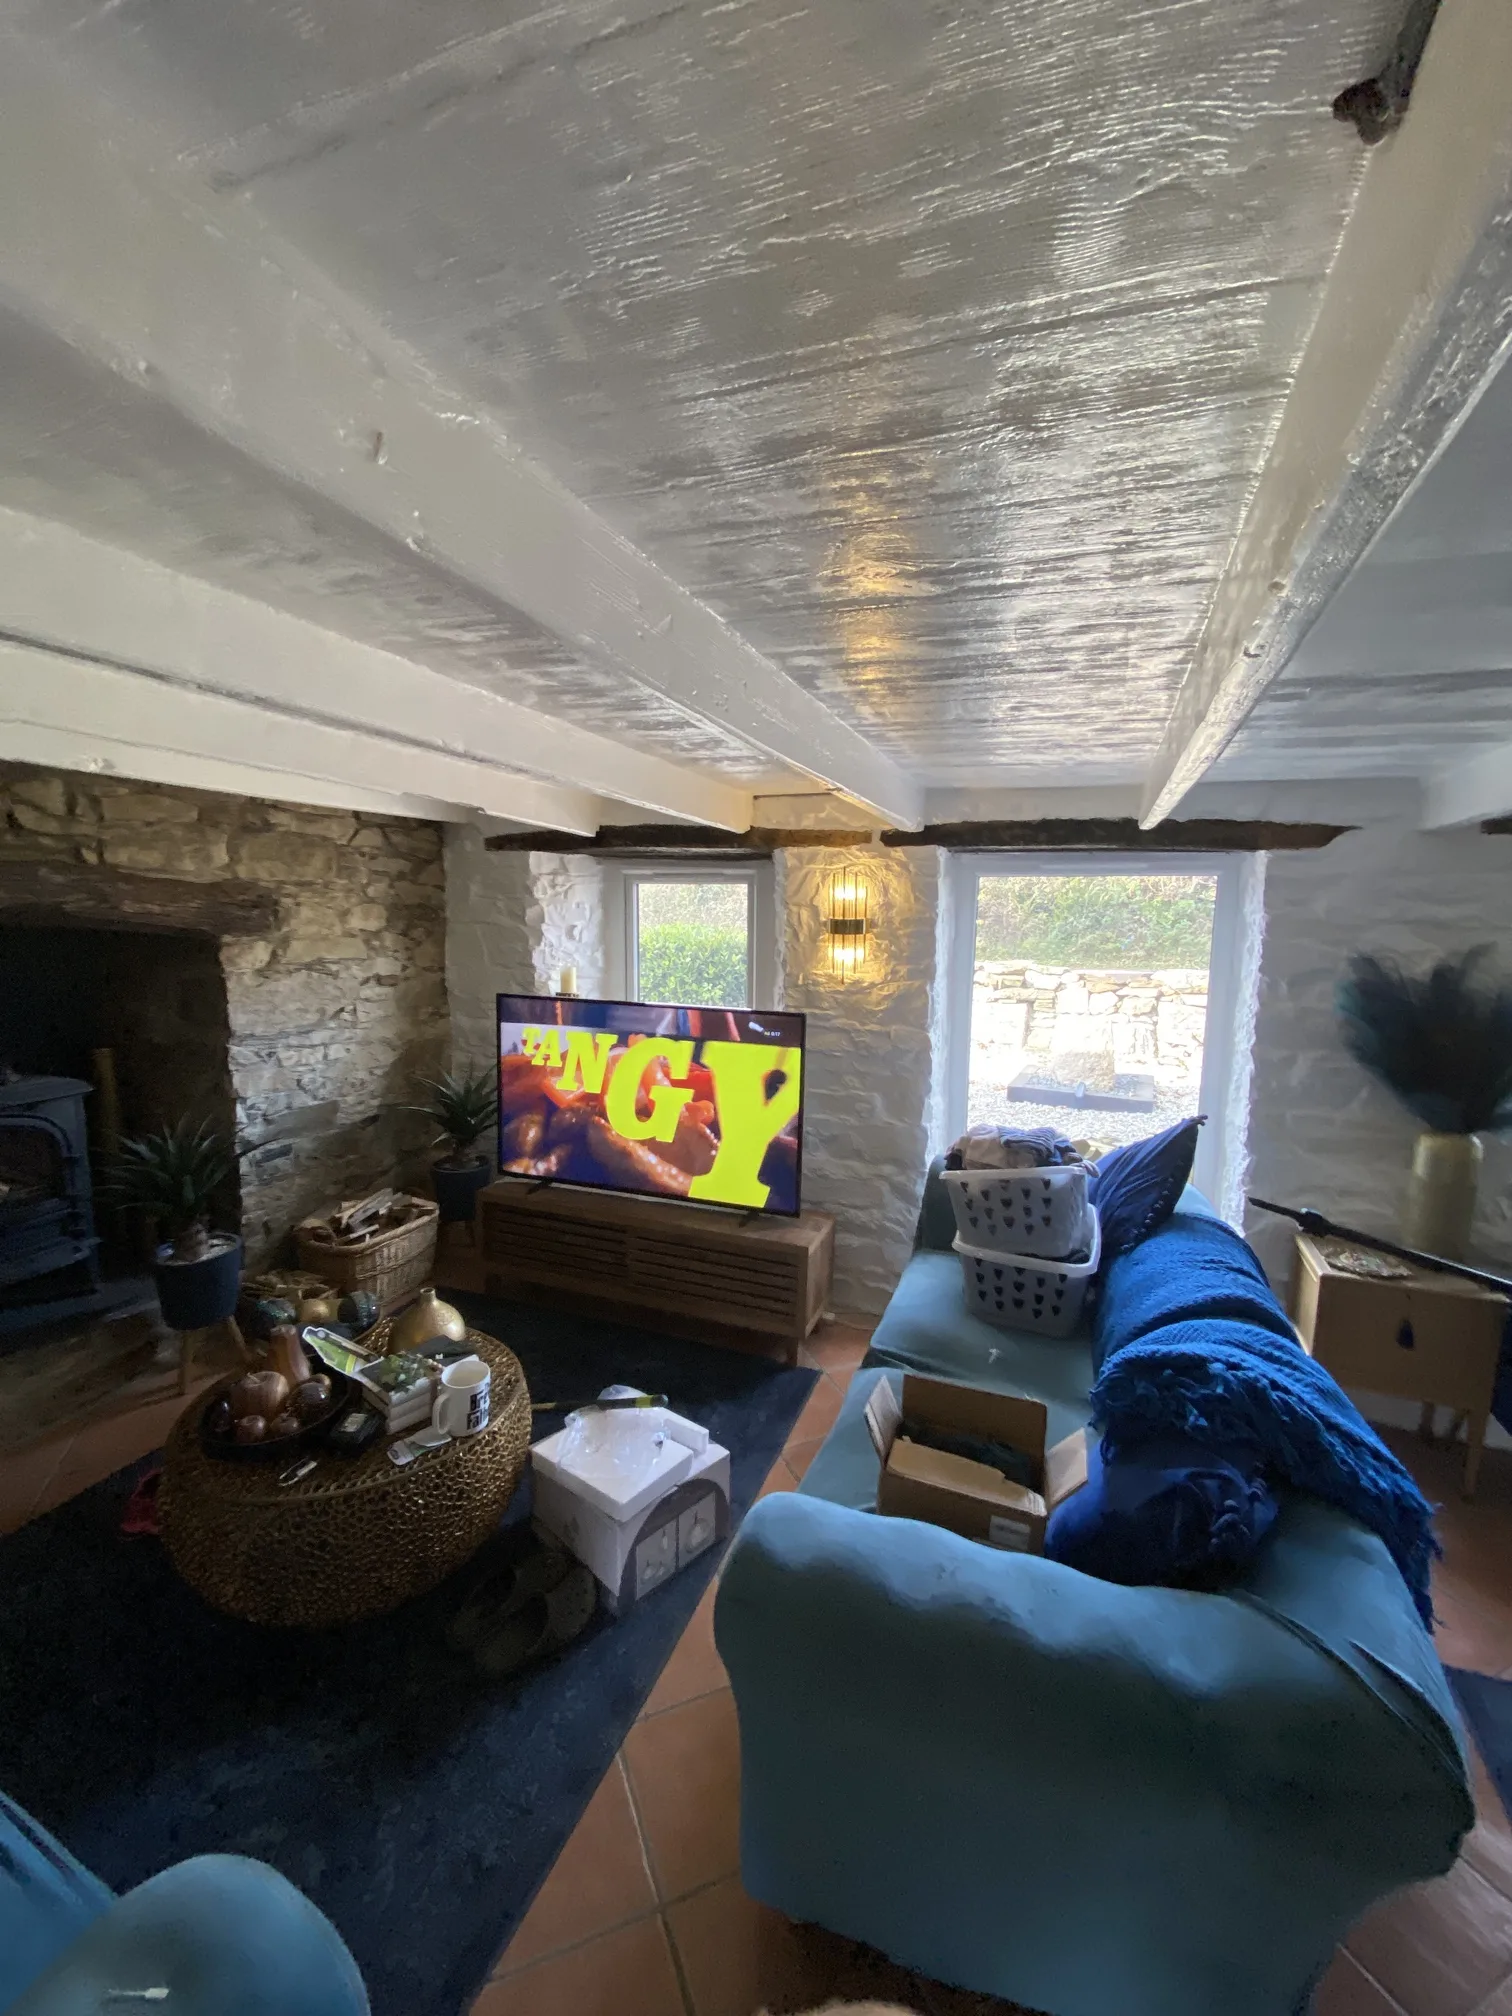
Pendant lighting throughout the property was installed with centre ceiling positions carefully measured and new mounting points created where needed. In rooms with decorative ceilings or exposed beams, light fittings had to be positioned to work with the architecture rather than against it. The property’s vaulted ceiling in the master bedroom, supported by exposed timber beams, meant working at height whilst respecting the character features that made the space distinctive.
The en-suite bathroom installation required working in a compact space where every surface was either tiled or finished, leaving little room for error when positioning new electrical points. The wall-mounted extractor fan had to be fitted precisely into an existing opening that had been sized for different equipment, then adapted to suit the new installation whilst maintaining a weatherproof external finish.
All of the electrical work was completed in accordance with the 18th Edition of the BS 7671 Wiring Regulations, with full testing carried out on every circuit to verify safe operation. An Electrical Installation Certificate was produced documenting the entire installation, providing the homeowners with the necessary paperwork for building control notification and insurance purposes. Every circuit was tested for continuity, insulation resistance, polarity, and earth fault loop impedance to confirm it met the required safety standards.
Living through a house rewire isn’t easy. There’s dust, despite the best extraction equipment. There’s disruption, despite careful planning. There are tools and materials stored in corners, cables temporarily draped where permanent routes are being planned, and rooms that can’t quite be used normally whilst work is ongoing. The photographs accompanying this project don’t show a pristine showroom or a carefully staged after shot – they show the actual process of rewiring a lived-in home, with all the complexity that entails.
But that’s exactly what makes this kind of work valuable. Anyone can rewire an empty shell property with unlimited access and no constraints. The real skill lies in delivering a complete electrical installation that meets modern standards and provides reliable service for years to come, whilst respecting the people living in the home, preserving its character features, and working around the practical realities of solid stone construction. This Camelford rewire demonstrates exactly that kind of approach – professional electrical work delivered in real-world conditions, with all the challenges that involves.
