We arrived at the property in Newquay ready to carry out a comprehensive Electrical Installation Condition Report. The initial scope covered testing the main consumer unit up to eight circuits, but as with many older or extended properties, the electrical layout held a few surprises. Tucked away on site, we located a secondary consumer unit housing three additional circuits that fed specific areas of the home. We adapted our testing schedule on the fly to include these extra circuits, making sure the entire installation was thoroughly inspected and documented on the final report.
A significant aspect of this particular inspection was the presence of a Loxone smart home automation system. When dealing with intricate home automation, the testing procedure requires a modified approach to protect sensitive electronic components. These systems run on extra-low voltage, typically 12v or 24v, meaning the standard 500v insulation resistance test would immediately damage the control modules. We carefully isolated all the Loxone circuits before proceeding with the dead testing phase. Taking the time to properly disconnect delicate equipment is standard procedure and prevents costly damage during routine safety checks.
While working through the main inspection, we also investigated an issue the client had raised regarding an RCD that kept tripping unexpectedly. Nuisance tripping can be incredibly frustrating to live with, and it often requires a methodical process of elimination to find the root cause. We disconnected the appliances and used our testing equipment to measure the insulation resistance on the affected circuit. The readings pointed us towards an earth fault, which we subsequently tracked down to an area suffering from suspected water ingress. Moisture creating a bridge between the neutral and earth conductors is a classic trigger for RCDs, which are designed to cut the power the moment they detect even a tiny leakage current. Alongside this fault finding, we took a look at the property’s solar PV setup just to confirm the panels were actively generating electricity and feeding the system as intended.
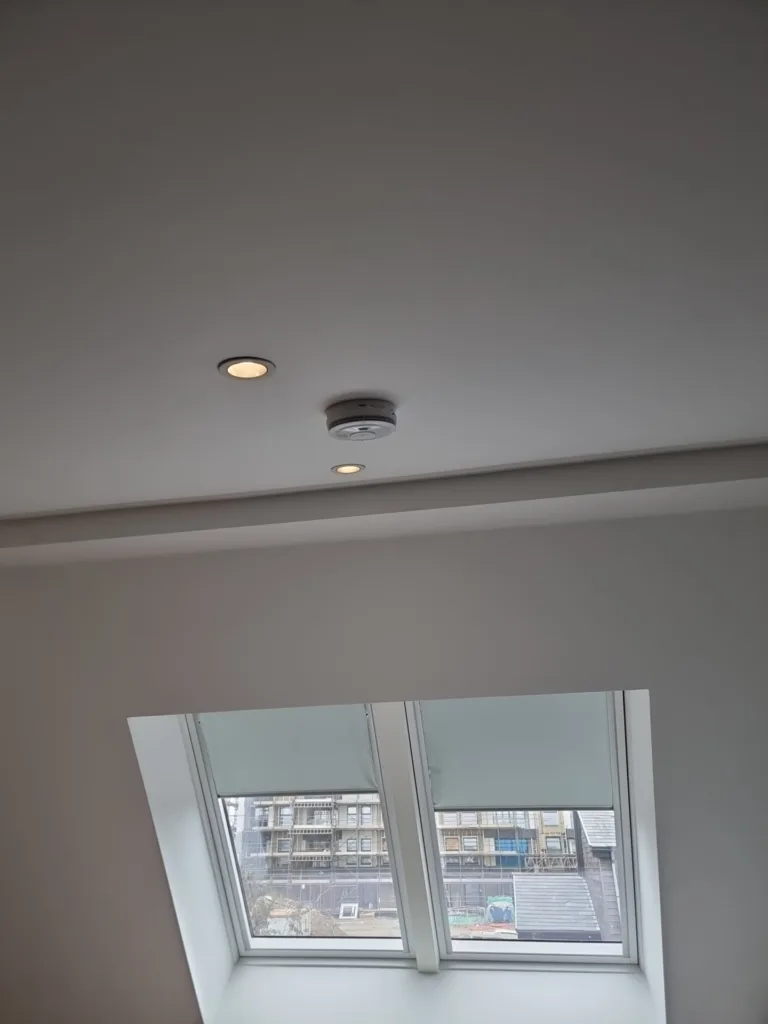
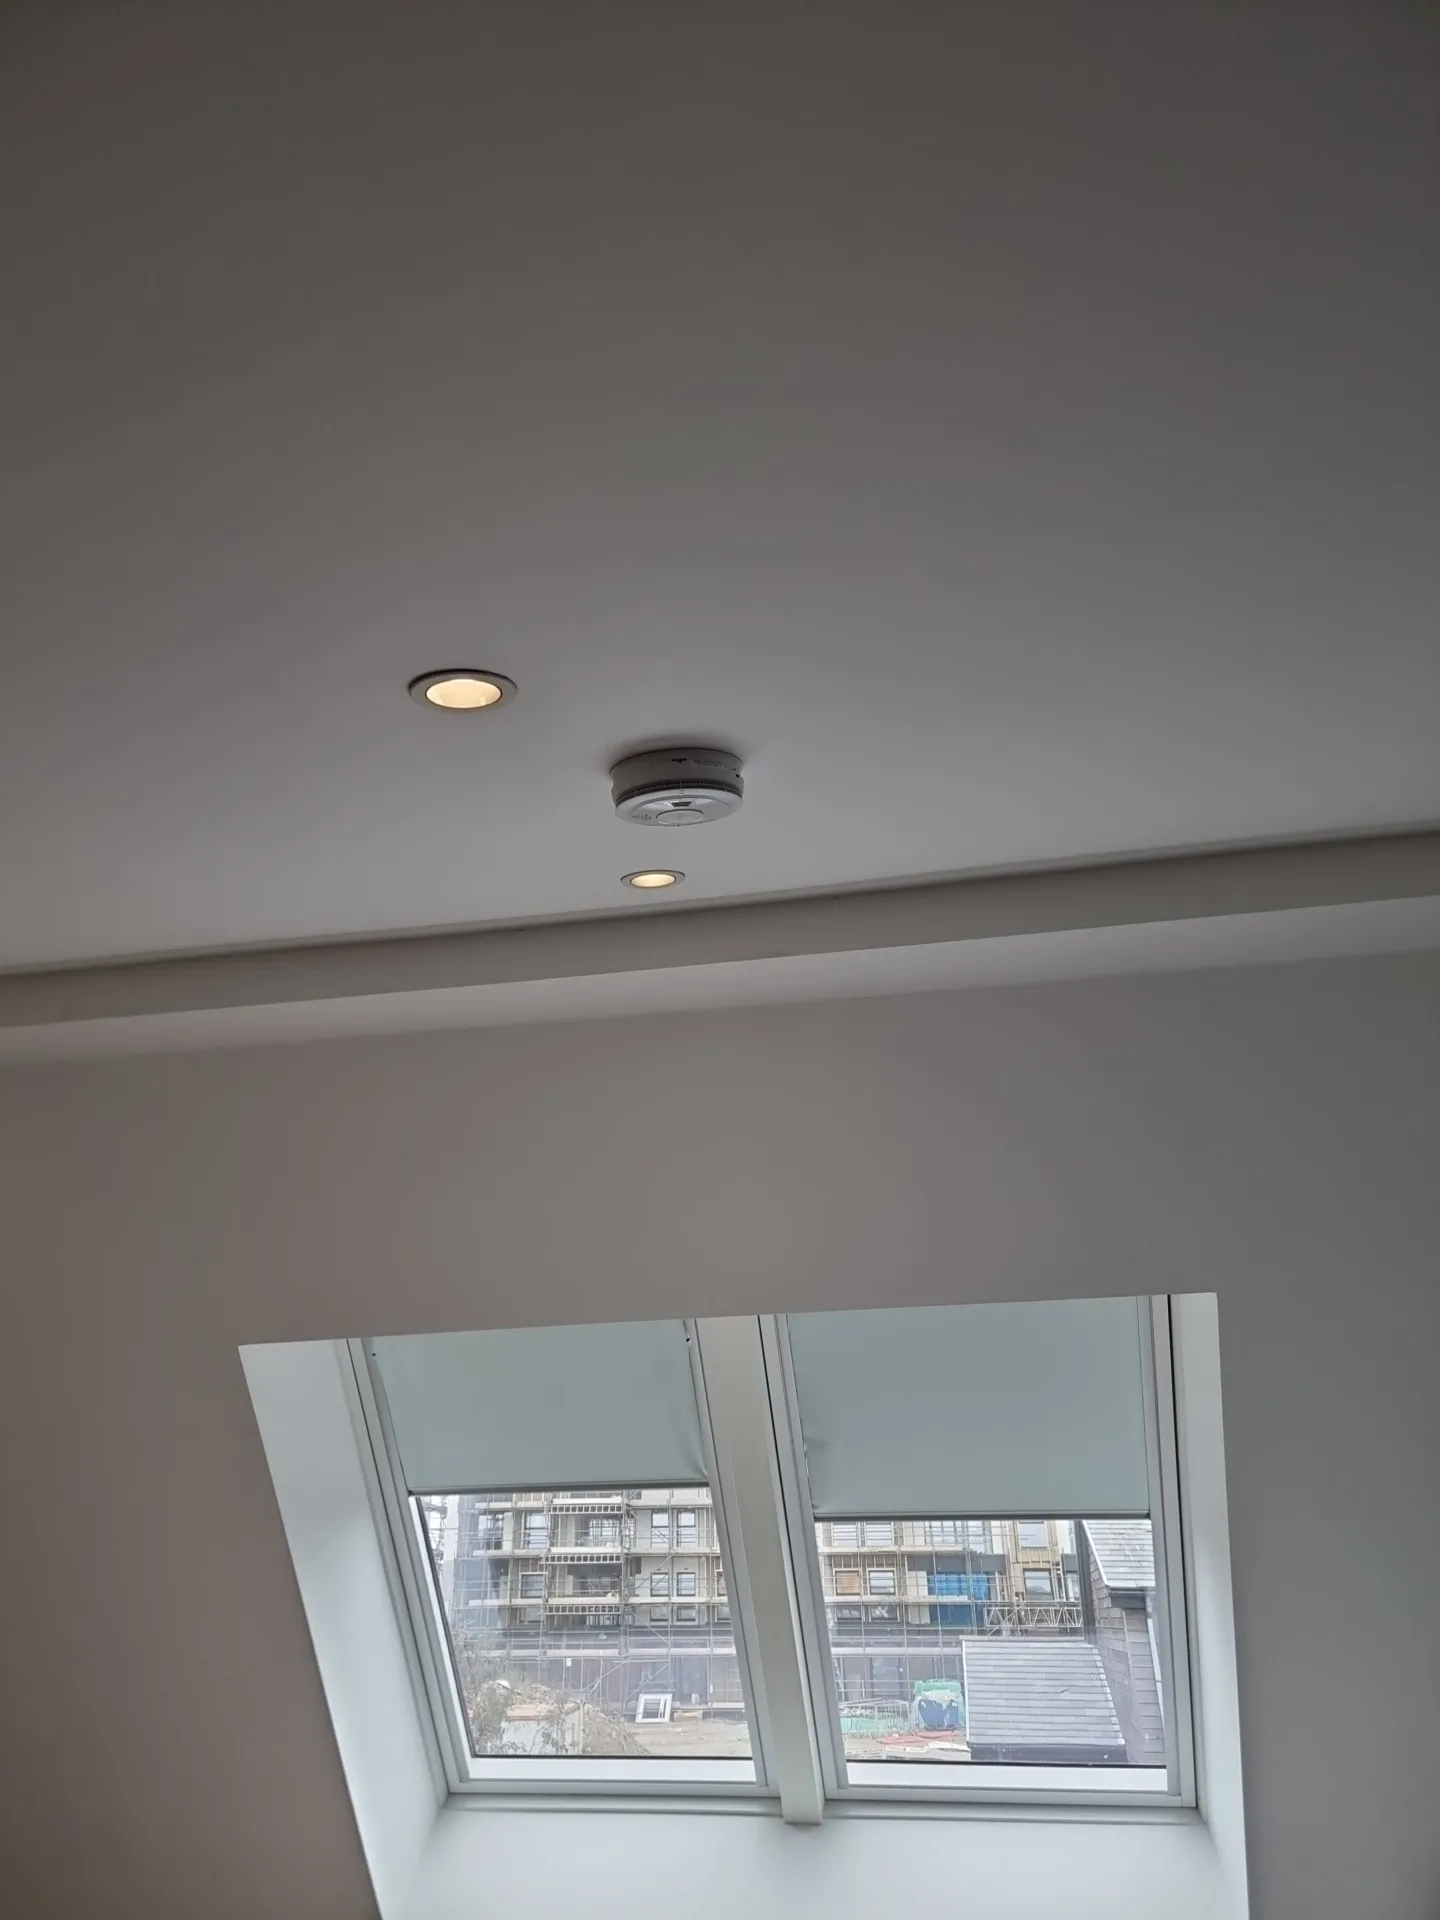
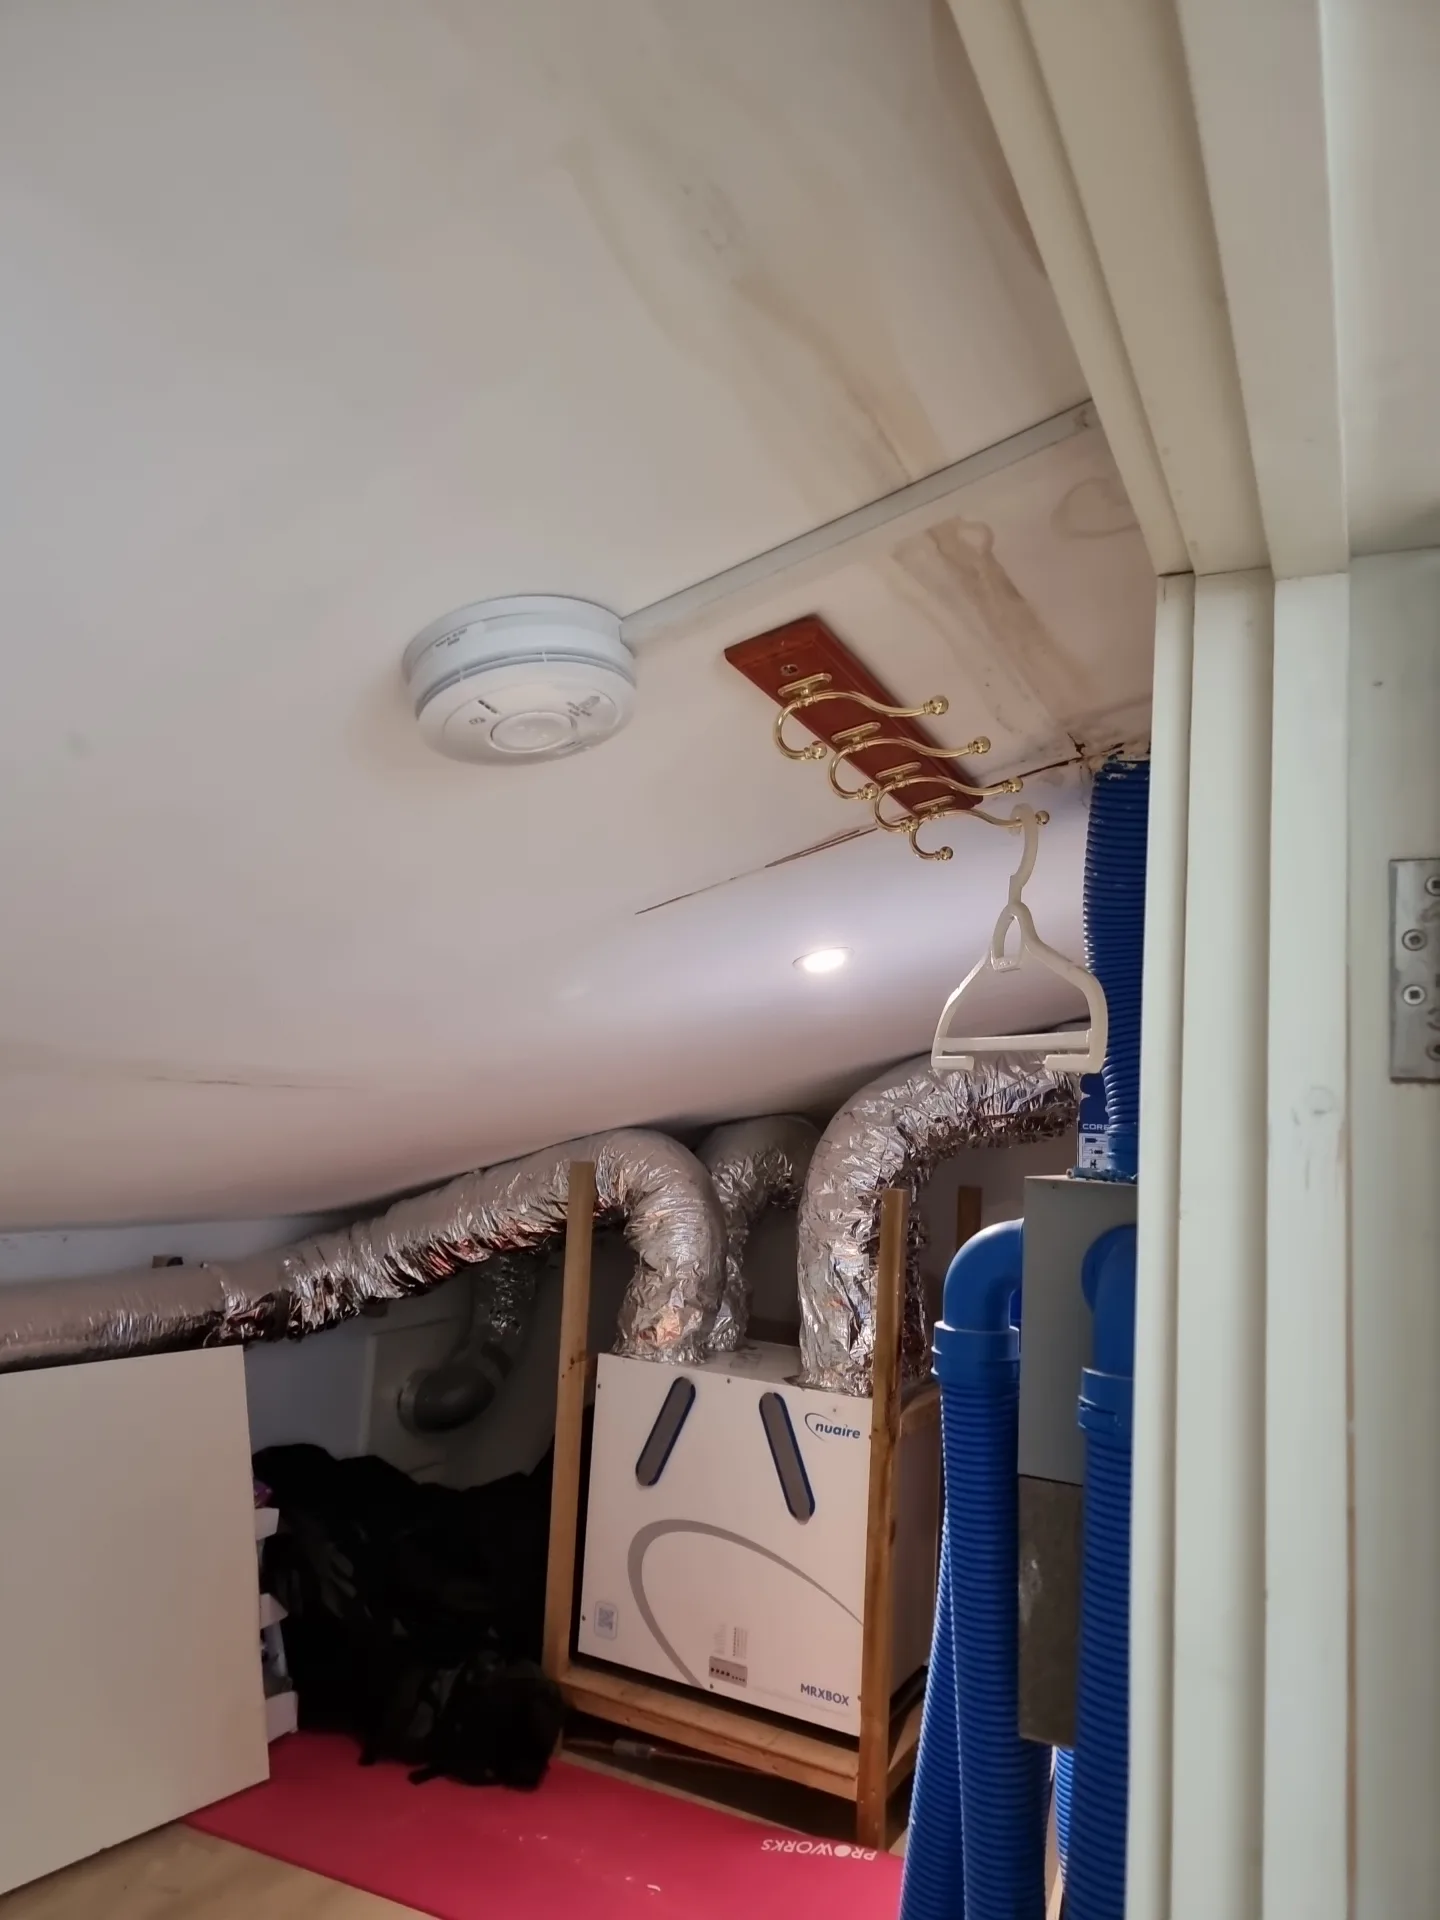
The afternoon was dedicated to upgrading the property’s fire detection capabilities. The primary task was adding a new mains-powered smoke alarm inside a second-floor storage cupboard that was effectively being used as a plant room. Because this room housed mechanical equipment, adding a dedicated smoke detector was a sensible safety upgrade. We sourced the power for this new alarm directly from the local lighting circuit switch. To keep the installation looking clean and tidy, we contained the new cabling within white PVC surface trunking. We routed this trunking carefully up the wall, tucking it behind the doorframe where it was least visible, before running it across the ceiling. We positioned the alarm base as high as the sloping ceiling structure would allow, measuring out a strict 300mm minimum clearance from the adjacent walls to avoid the dead air zones where smoke struggles to circulate.
The plan was to wirelessly link this new plant room alarm to an existing smoke detector located just outside in the hallway. We use radio frequency modules for this, which plug straight into the back of the alarms. It saves the disruption of having to lift floorboards or channel out plaster to run a physical interconnect cable between the devices. However, when we removed the existing hallway alarm from its base, we discovered it was an older generation unit. The manufacturer had since updated their design, meaning the old alarm simply didn’t have the internal slot required to accept the modern RF chip.
We took a quick drive to our local electrical wholesaler to pick up a brand new, RF-compatible alarm to replace the outdated one. Back on site, we sat down with the customer to explain the situation. We held the old and new units side by side to show them exactly why the communication chip wouldn’t fit. With the new hallway alarm fitted, we slotted the RF modules into both bases and initiated the house coding process. This involves pressing a button on one unit to put it into pairing mode, then doing the same on the second unit. The alarms emit a specific sequence of flashes to confirm they have recognised each other and formed a secure wireless network. We triggered a test from the plant room, and a second later, the hallway alarm began sounding in perfect synchronisation, confirming the interlinked system was fully operational.