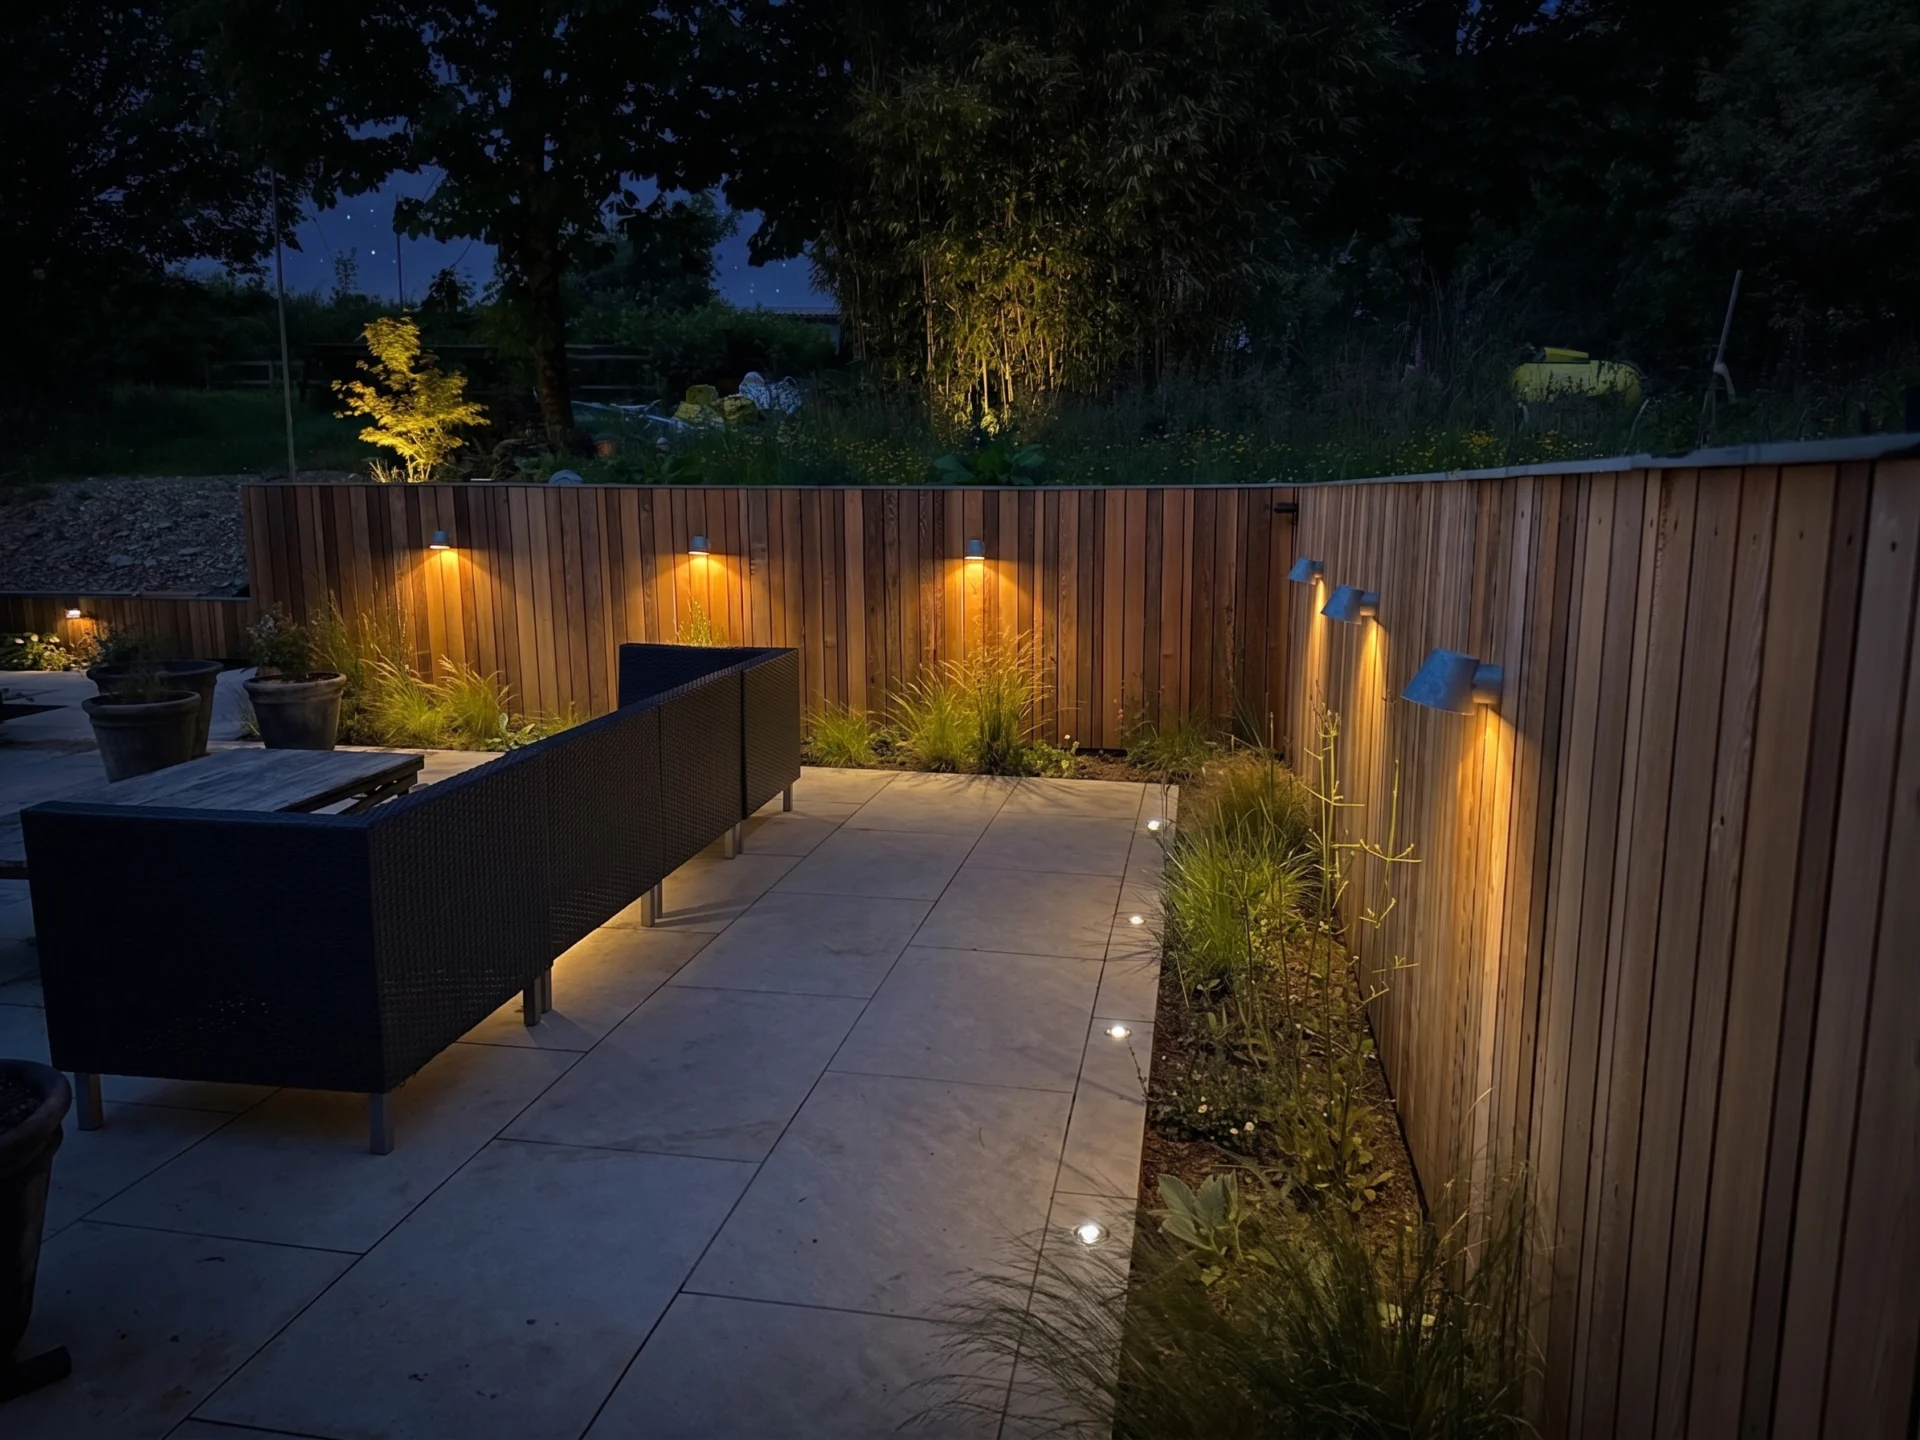
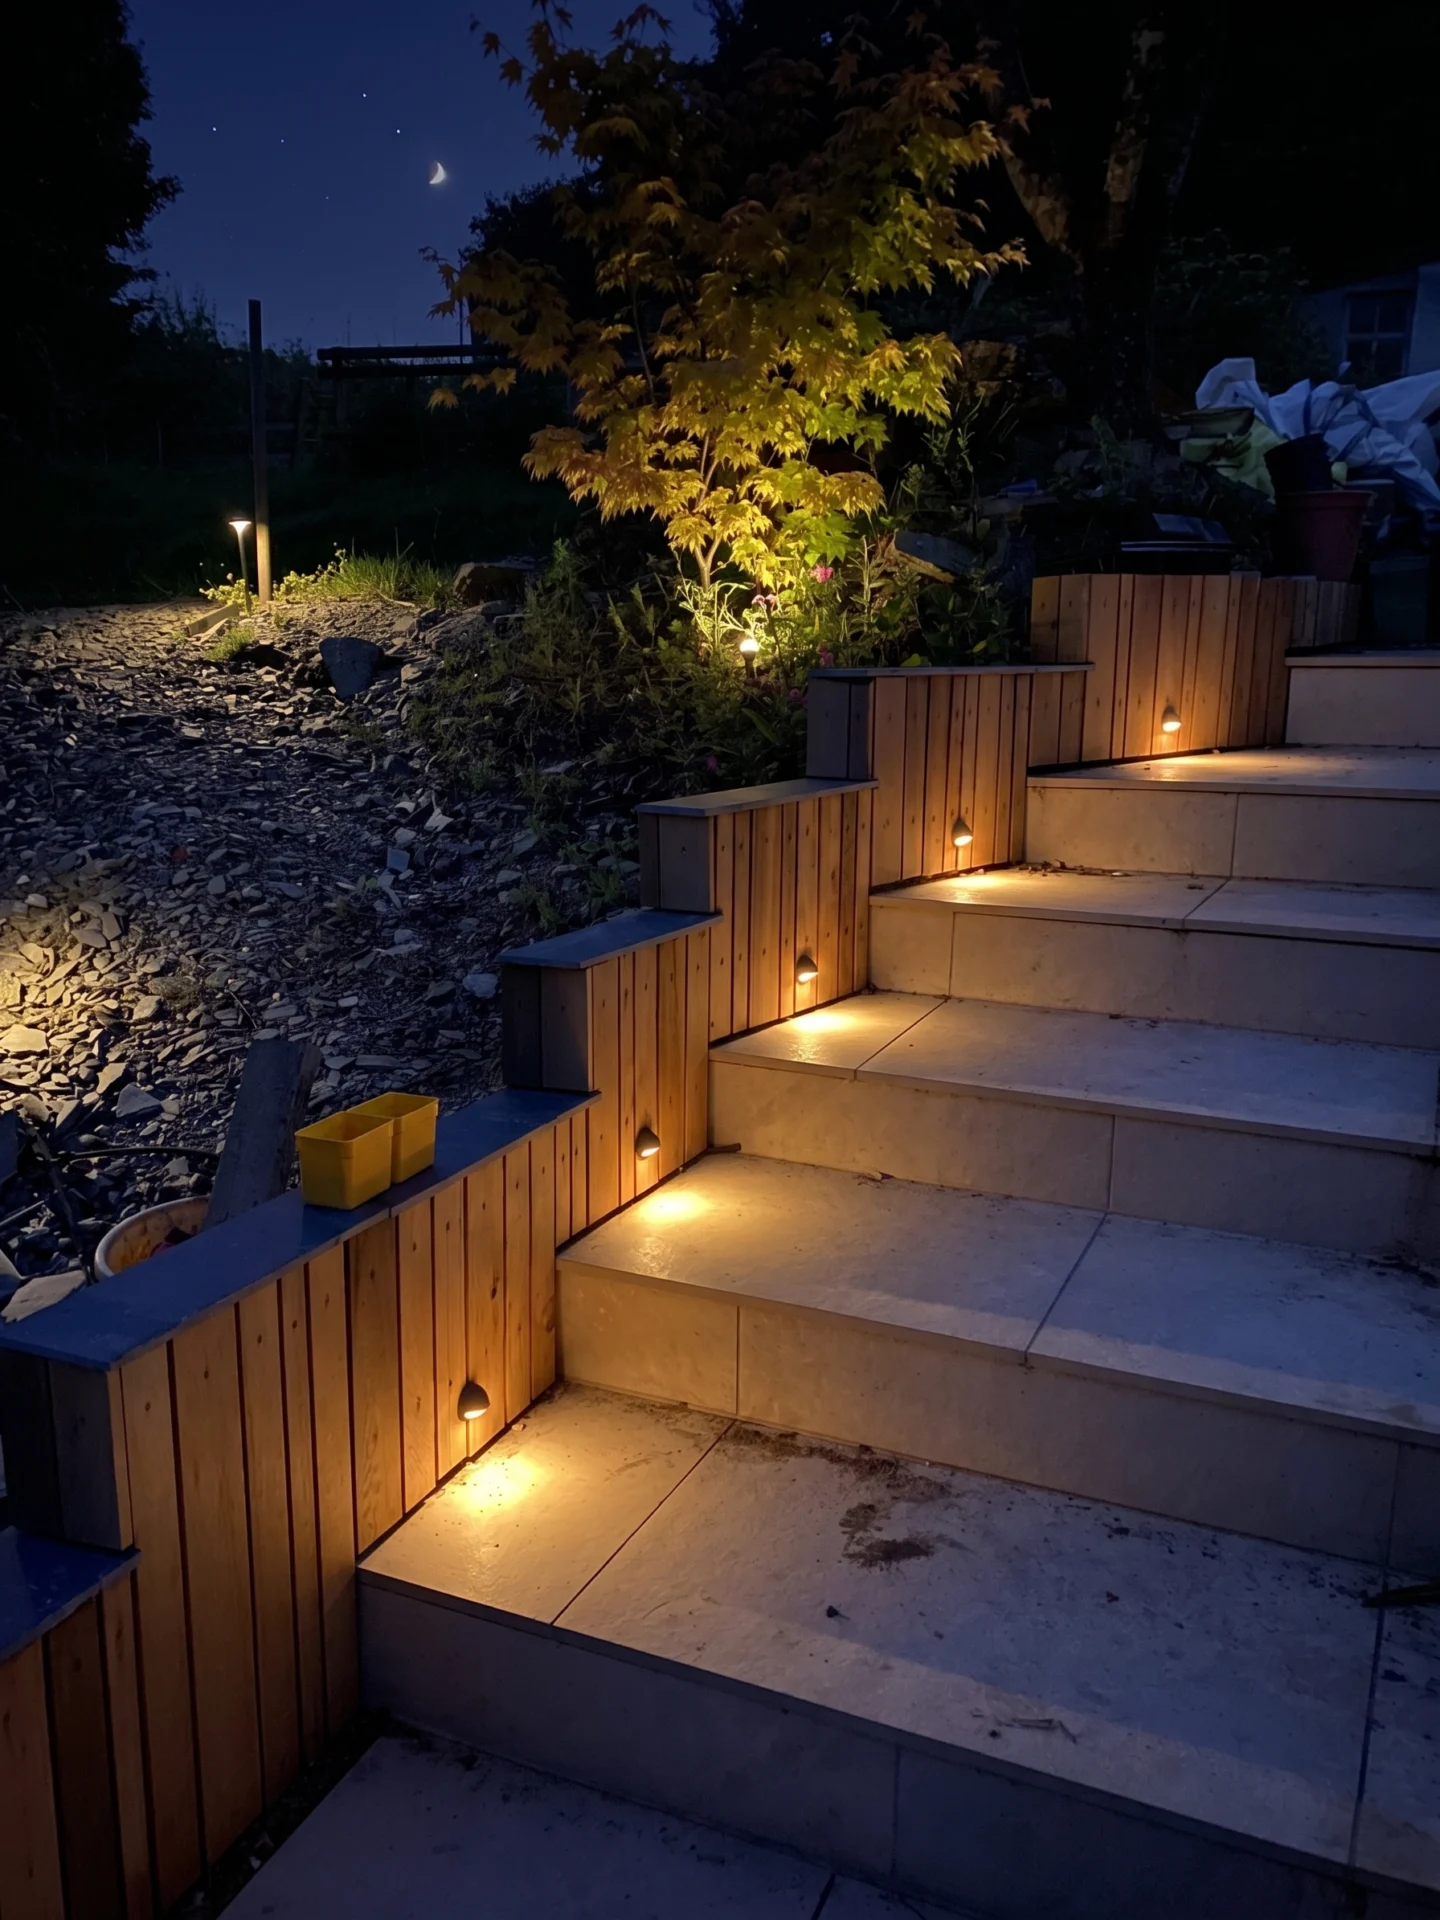
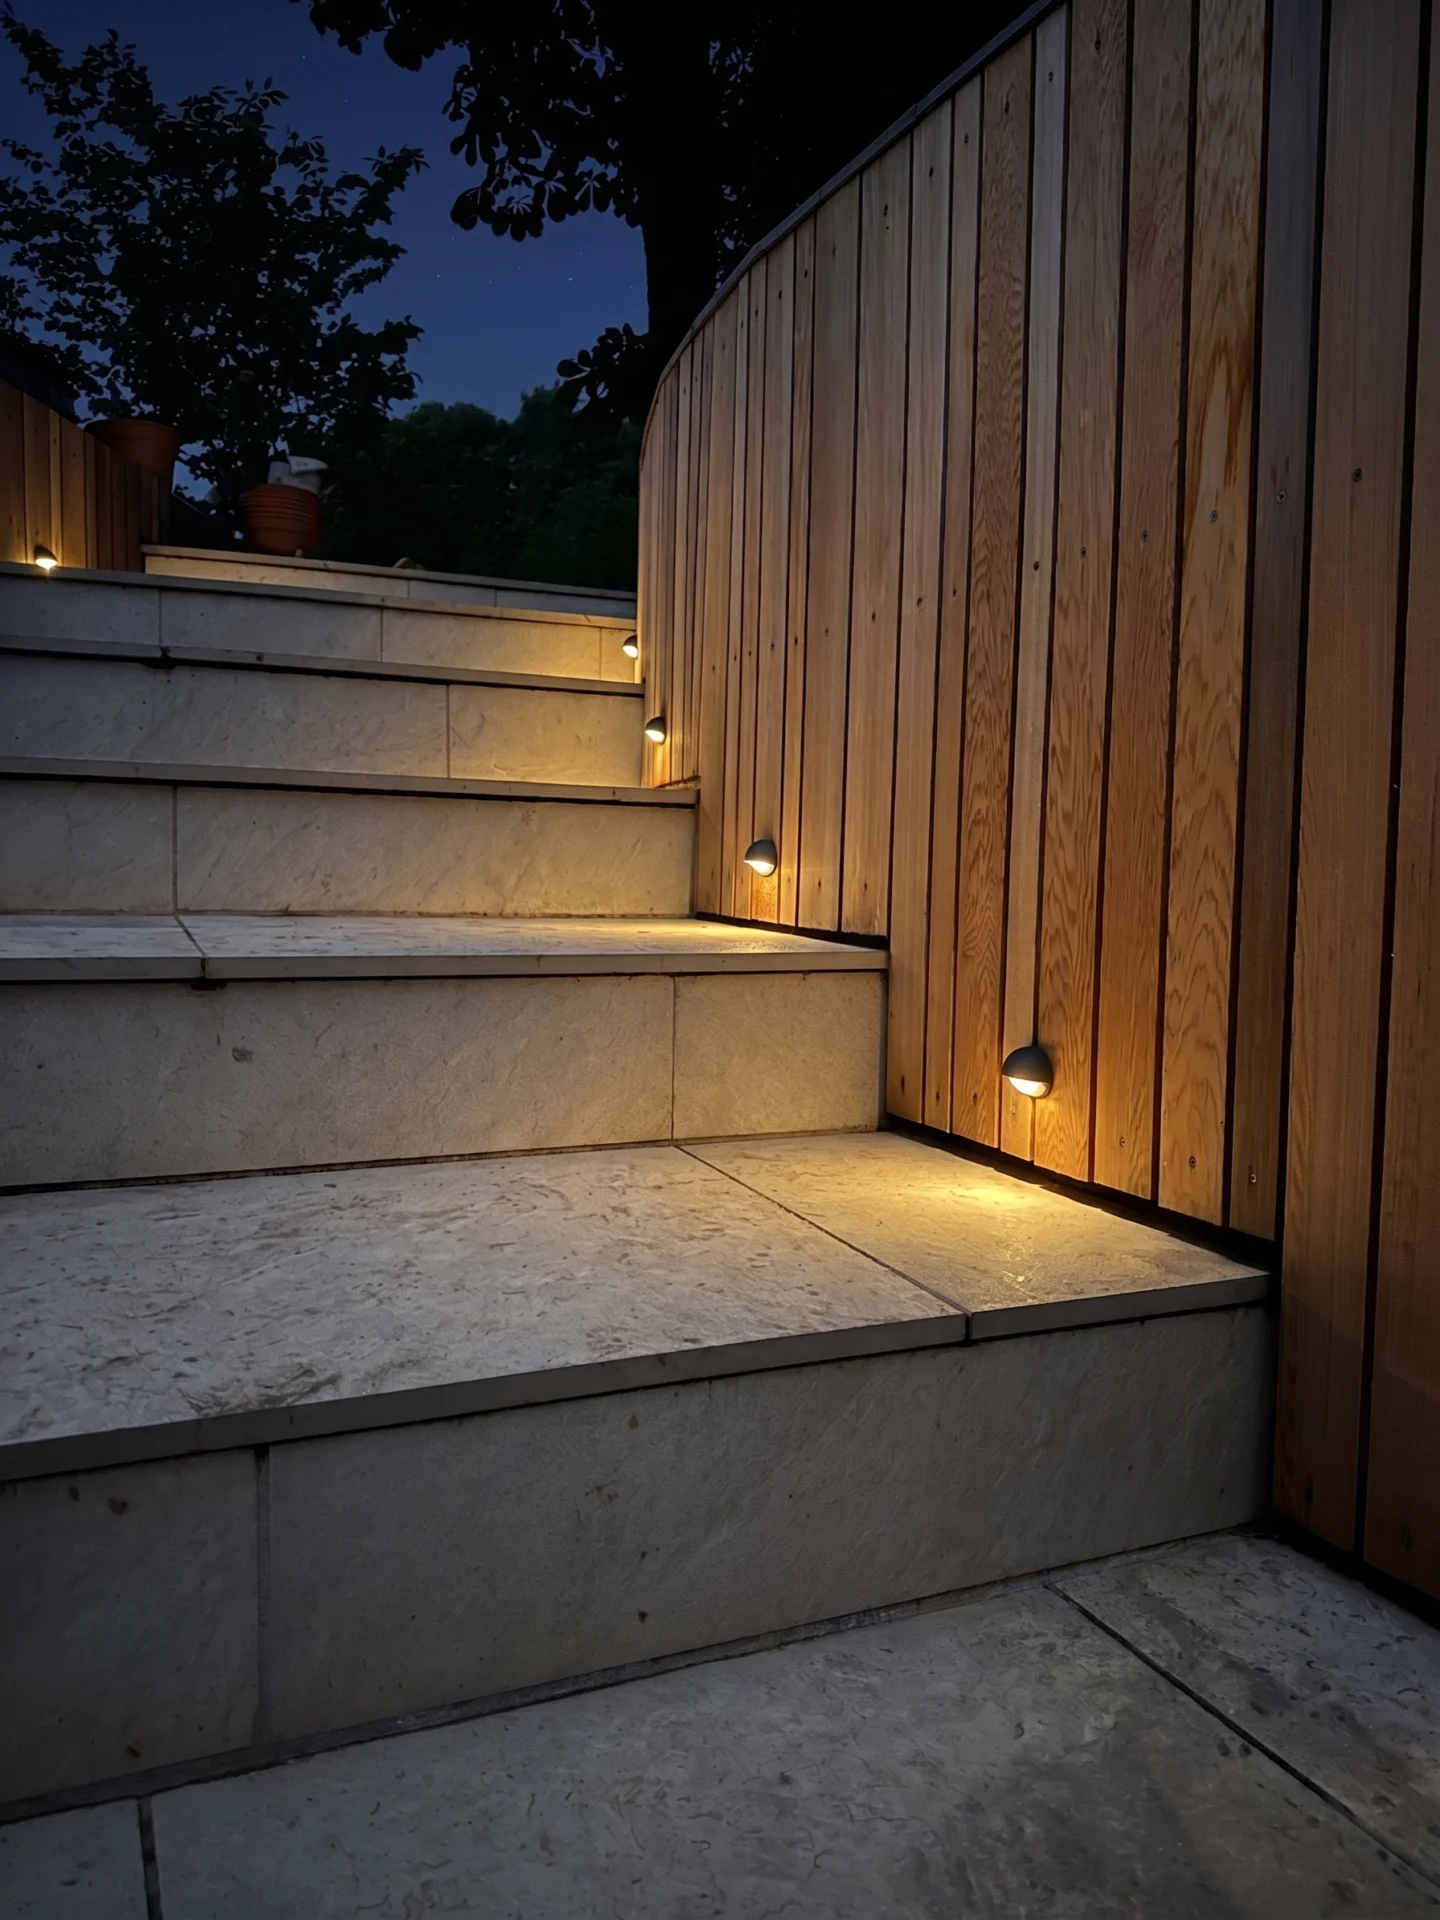
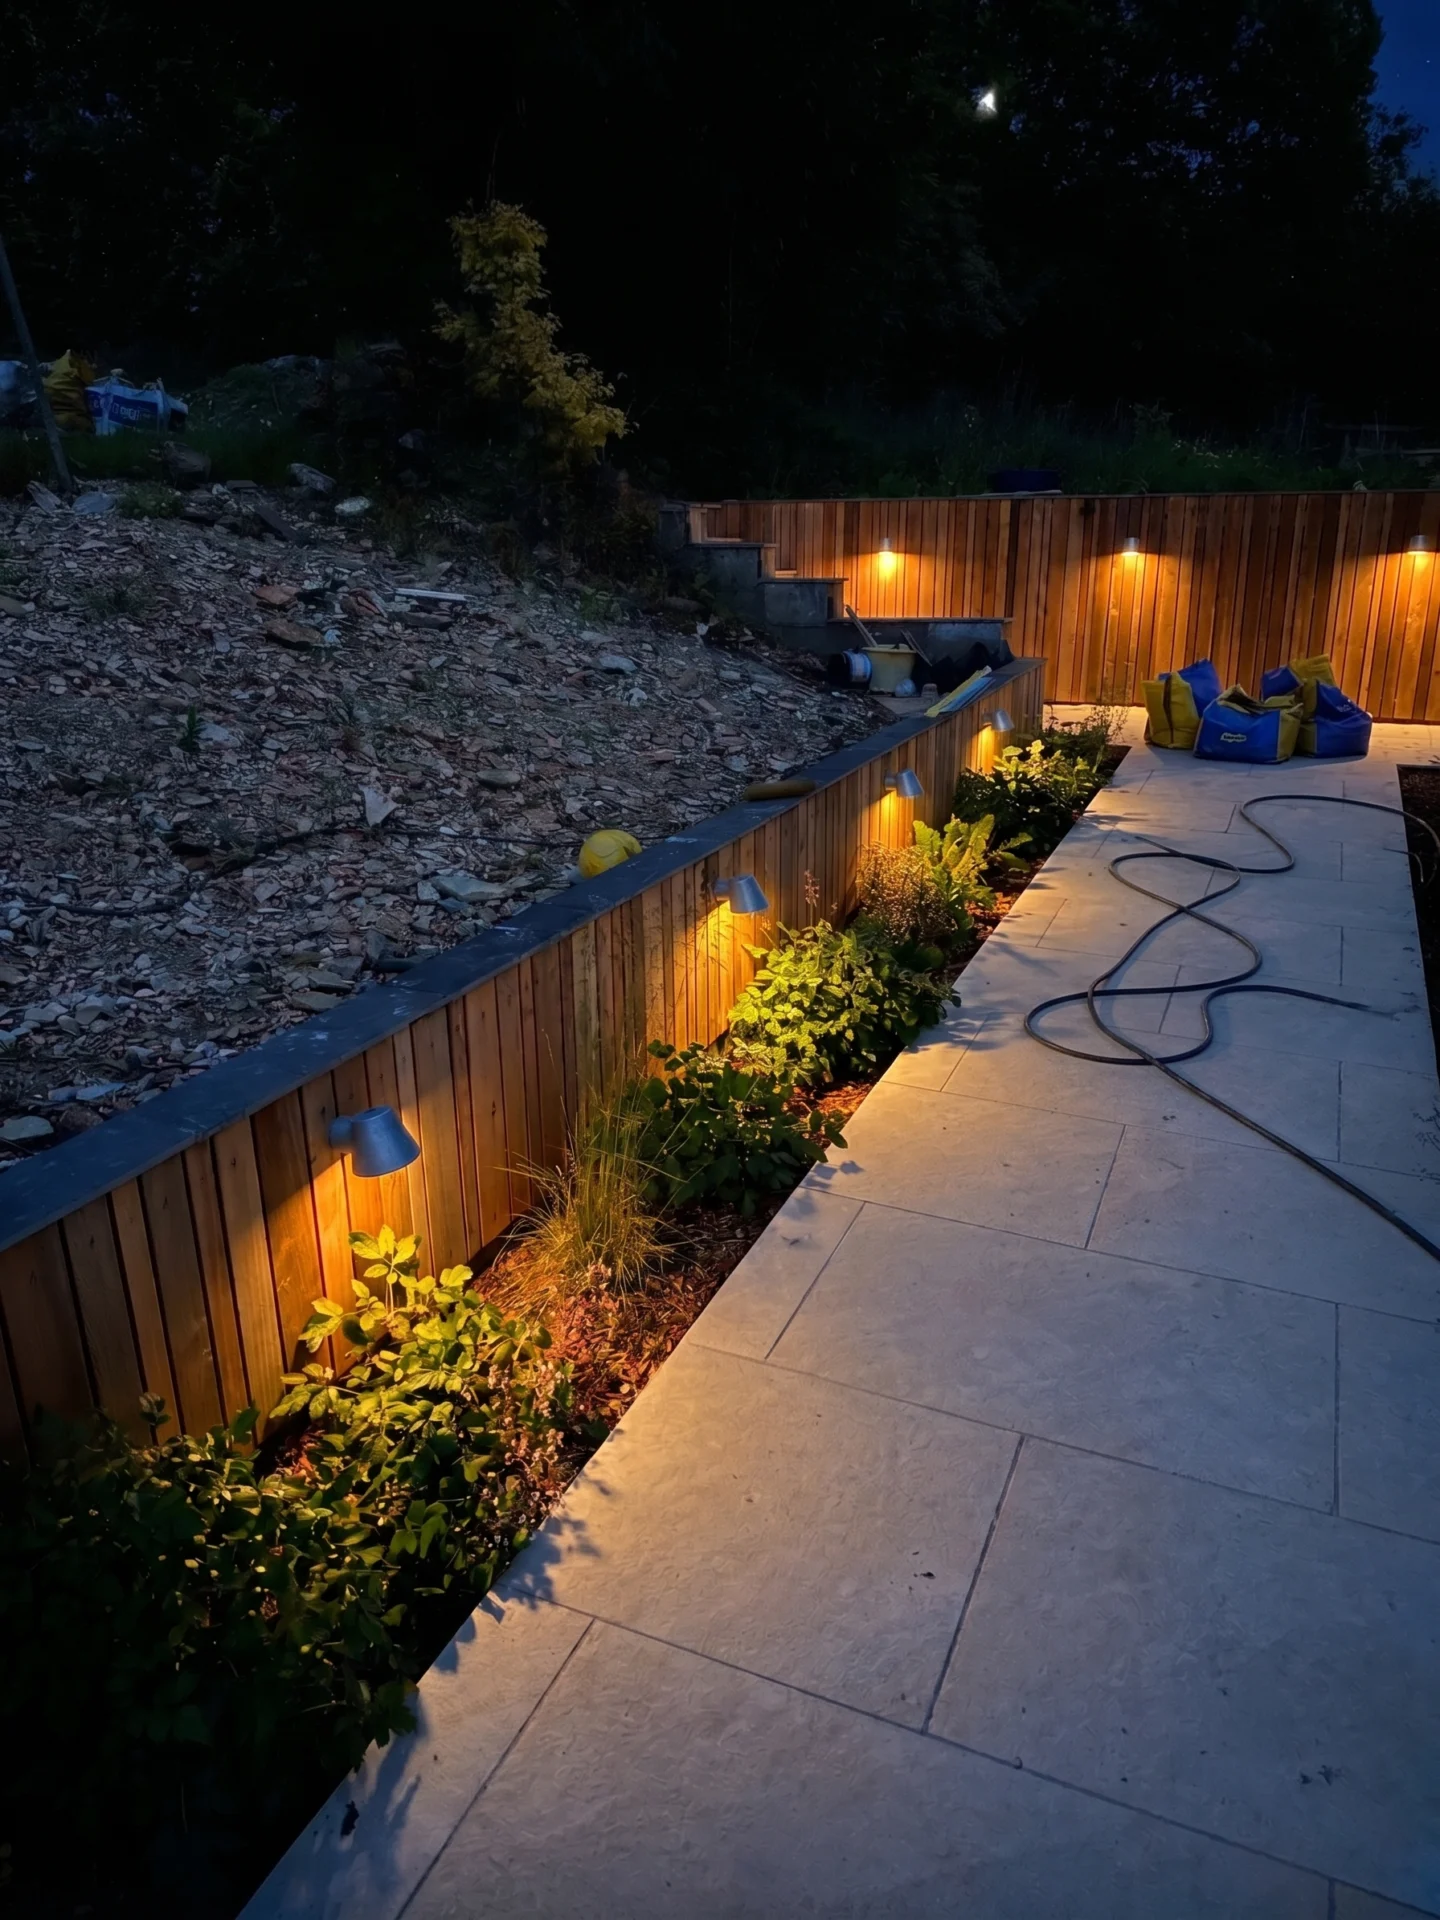
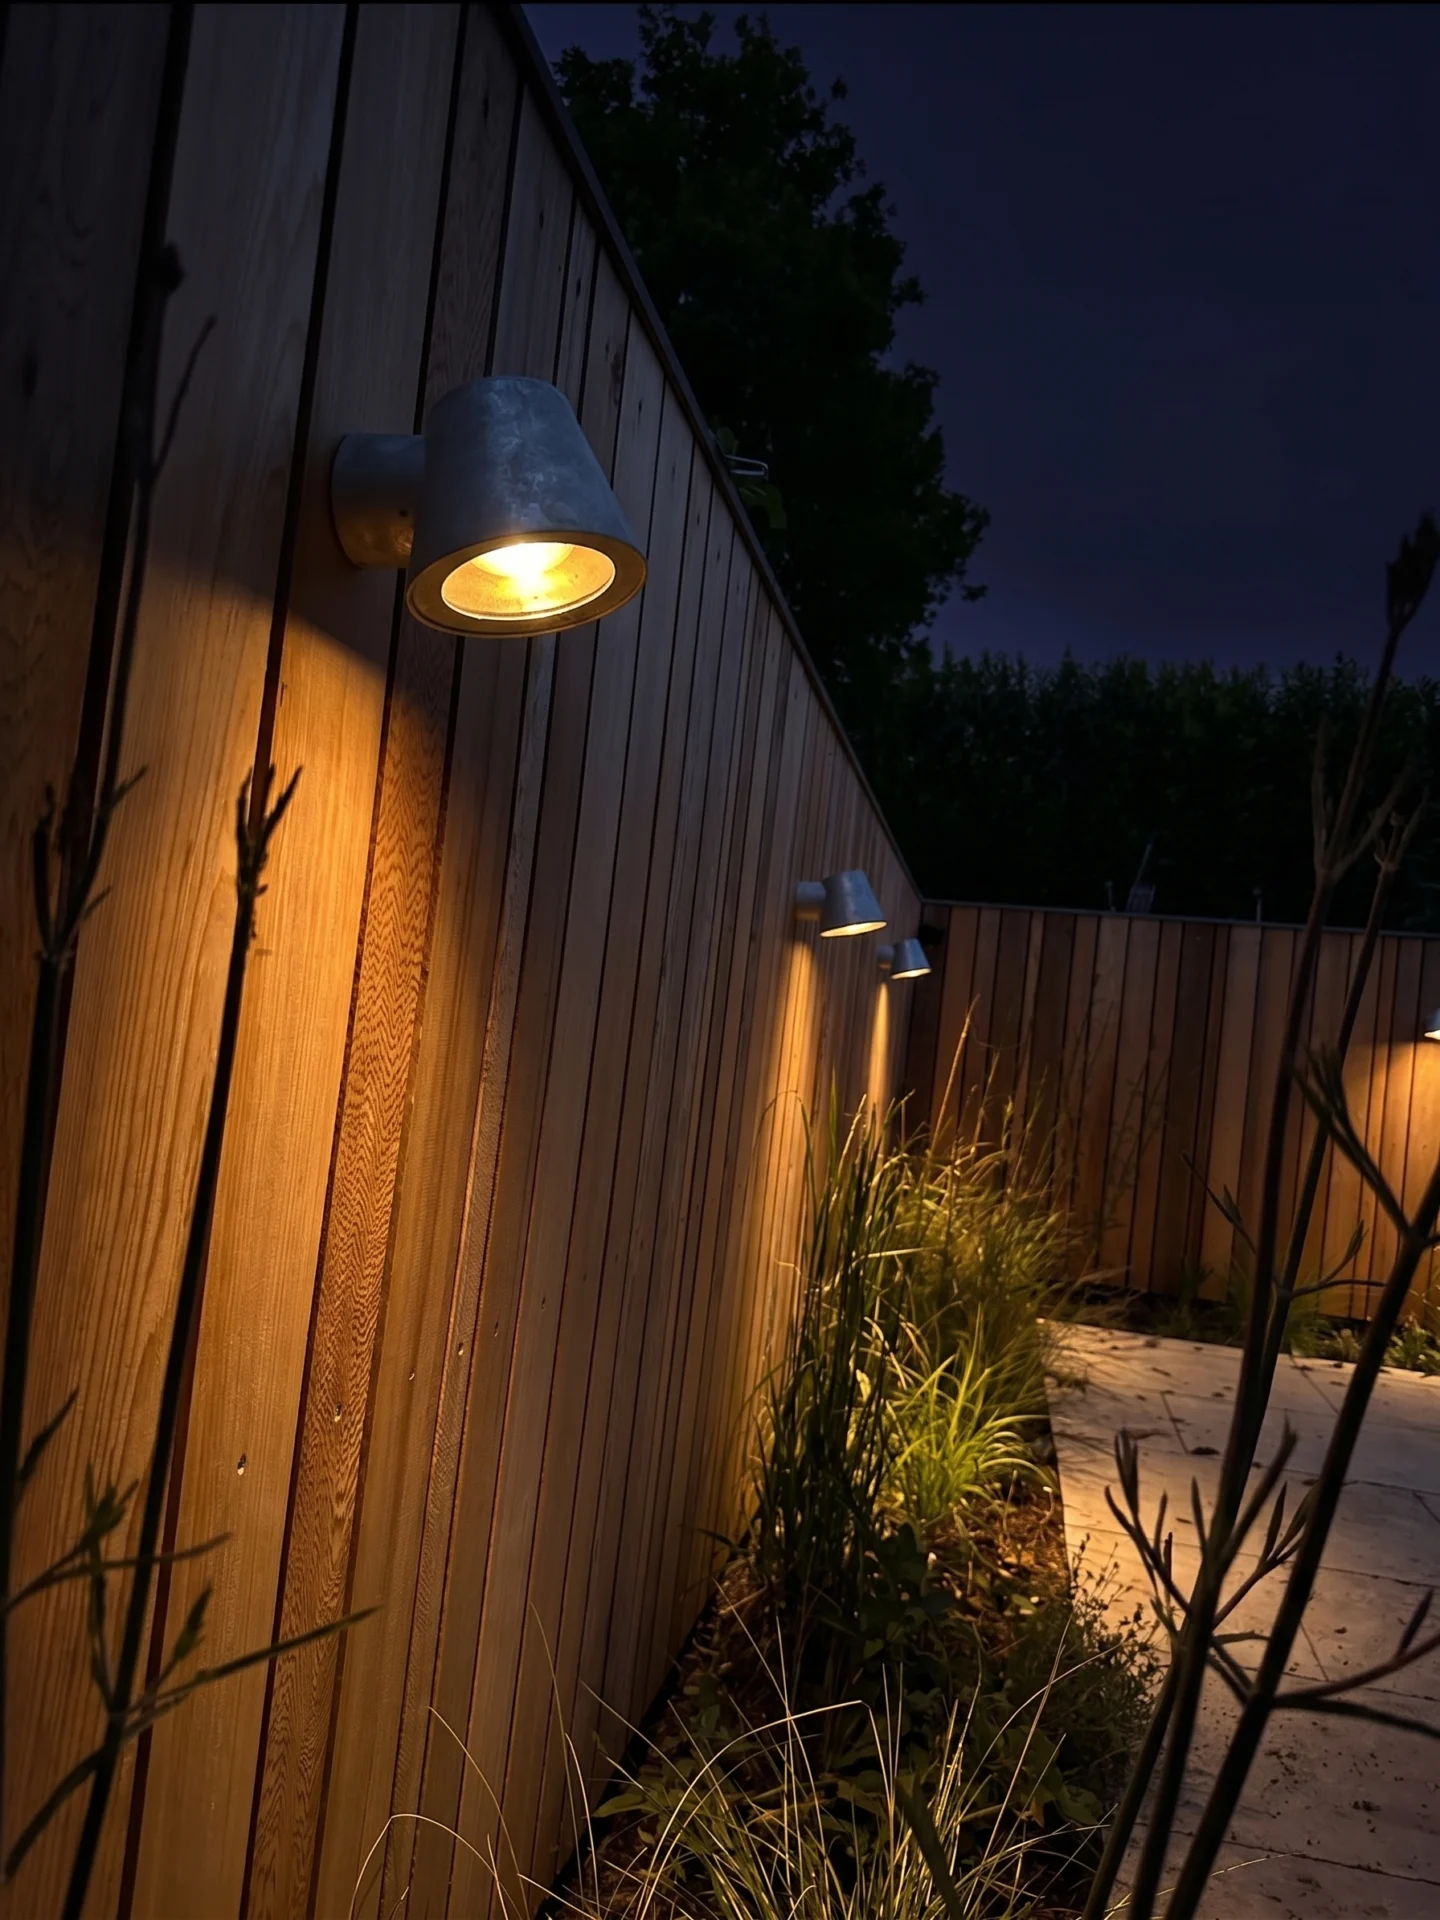
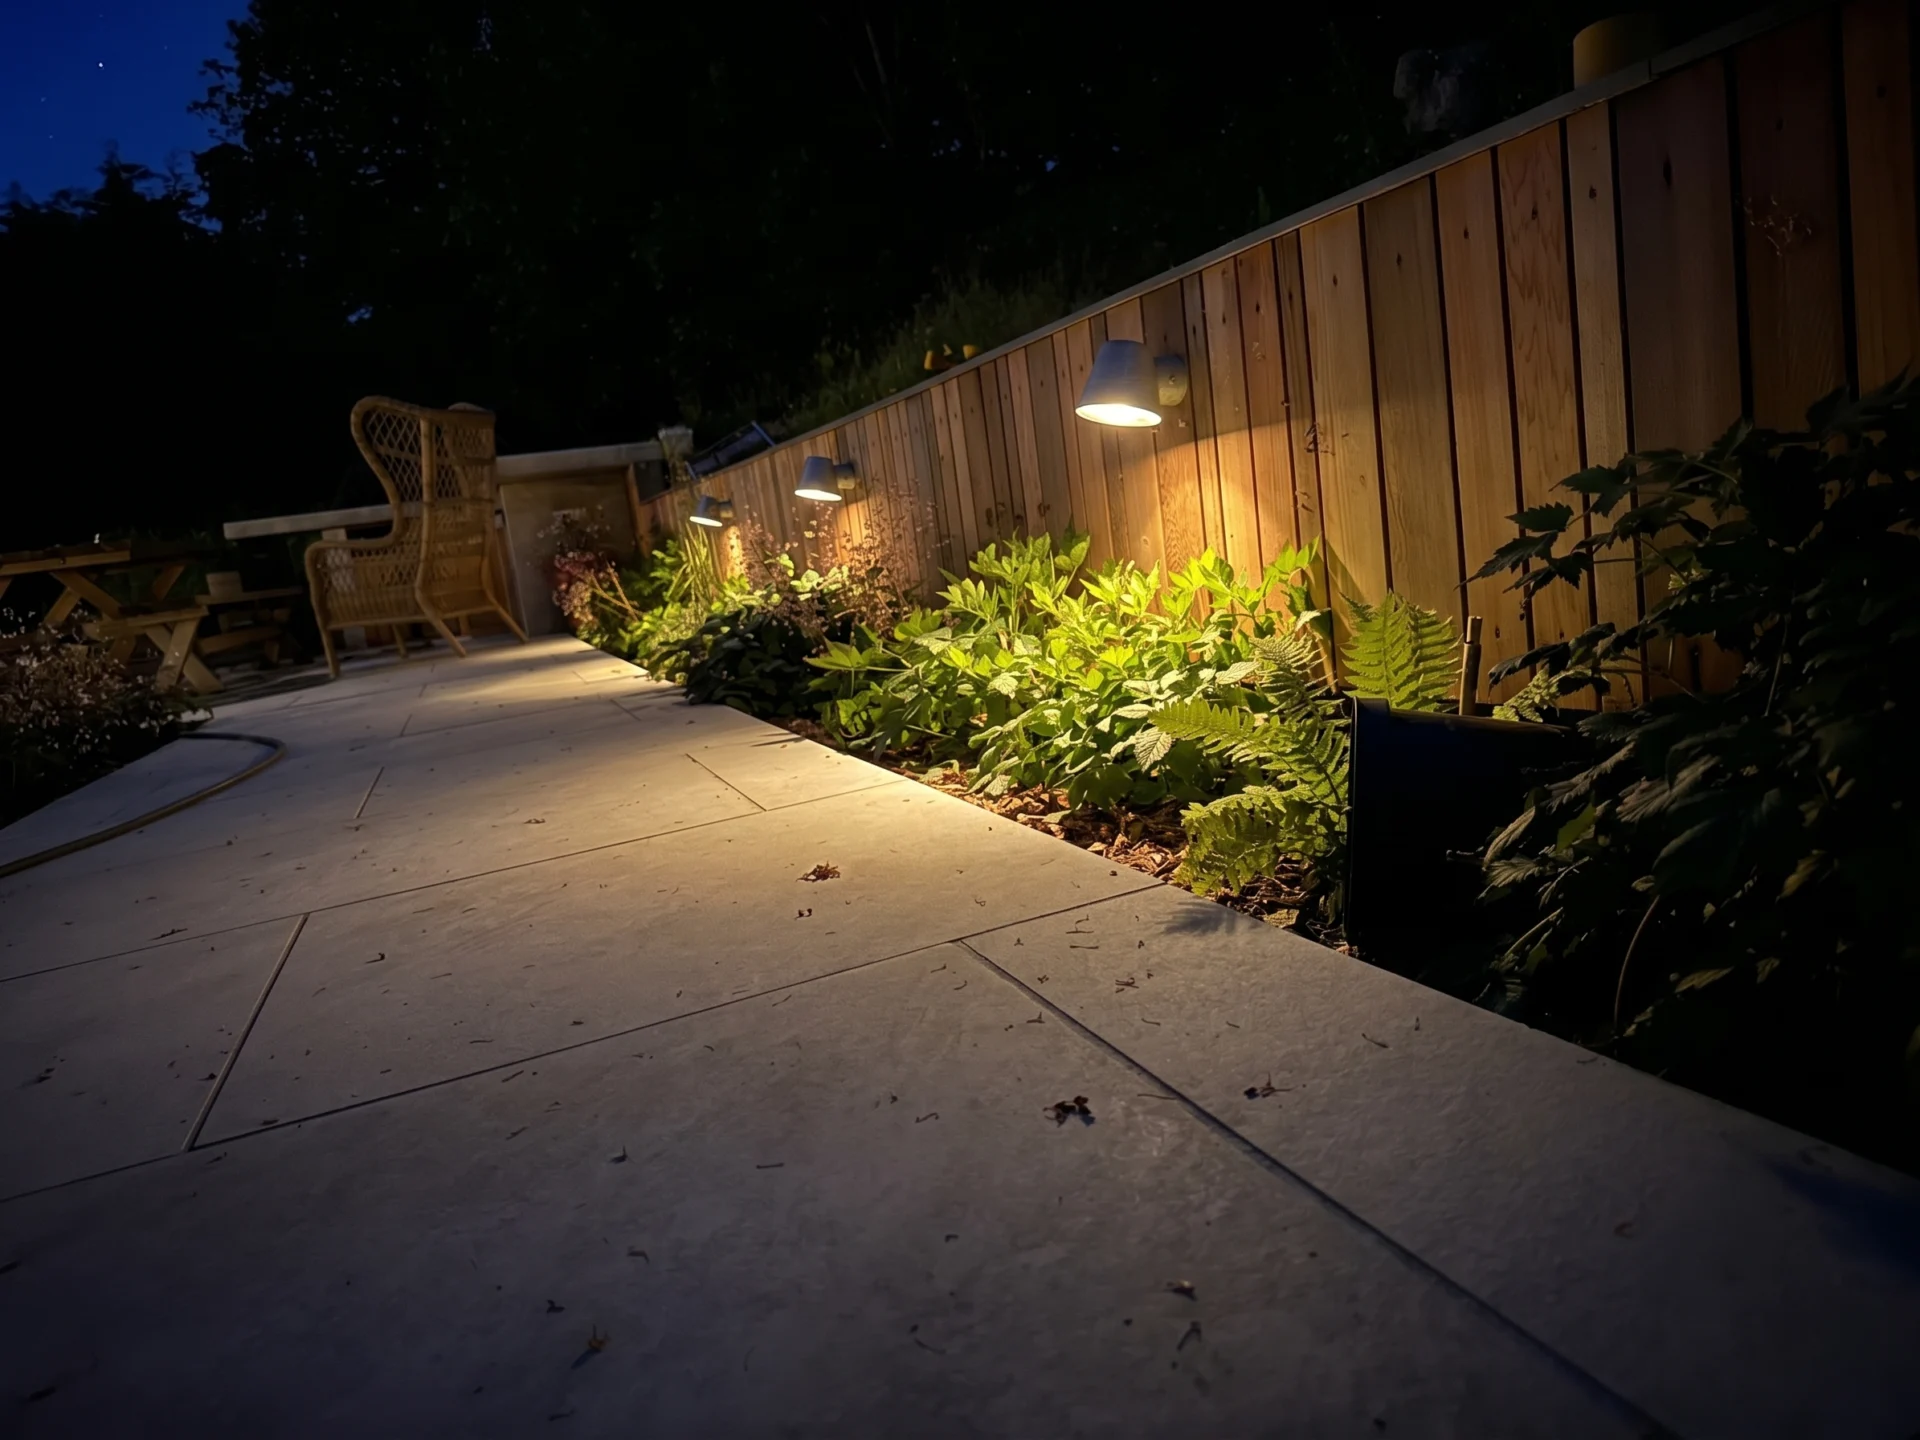
A multi-zone exterior lighting scheme was installed at a property in Liskeard, covering wall lights along the boundary fencing, step lights set through the timber cladding on the stair risers, and galvanised downlighters across the planted borders. Supplies were run via SWA cabling with IP-rated junction boxes concealed behind the cladding throughout, with PIR sensors and a 2-gang switch for automatic and override control of the rear garden lighting.
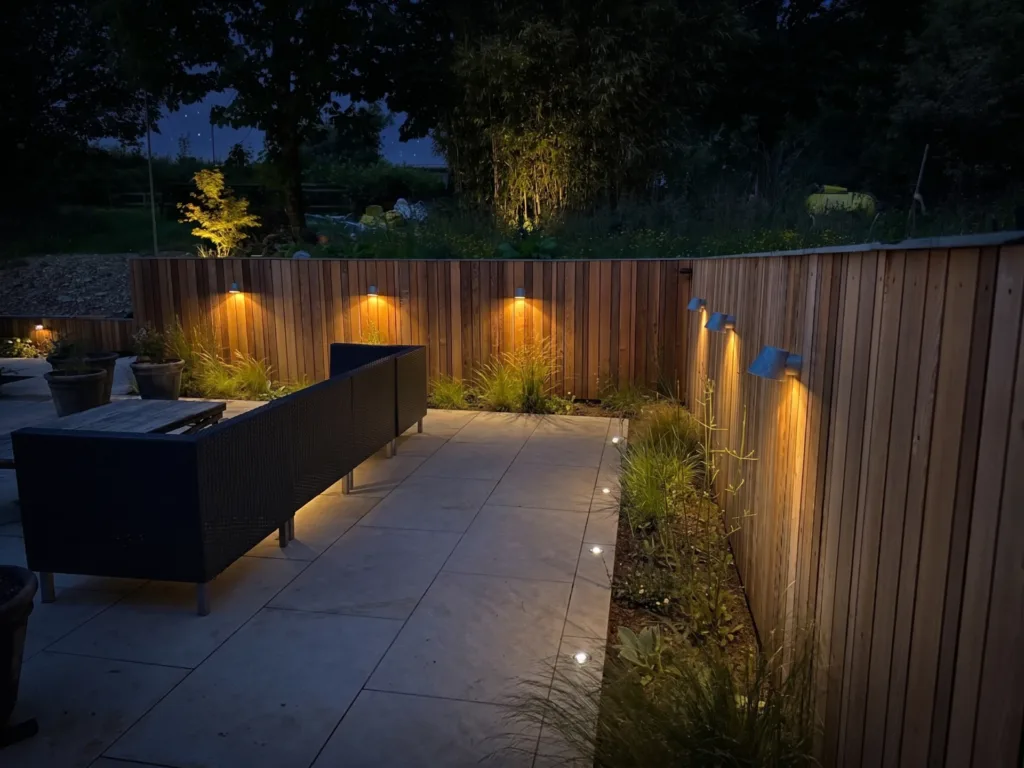
Outdoor lighting for a well-designed garden needs approaching as a coherent scheme rather than a collection of separate fittings. The positions of each light, how supplies reach them, the way connections are handled behind cladding, and how the whole lot is controlled all determine whether the finished result actually works – practically and visually. A scheme covering multiple zones, different light types, and an automated control element across a landscaped multi-level garden requires more planning upfront than a straightforward wall light or two.
The property in Liskeard has a substantial rear garden laid out across several levels, with timber-clad retaining and boundary walls, stone-paved terraces, and planted borders running along the fence lines. The lighting scheme was built around that structure – wall lights mounted on the boundary fencing, step lights set into the timber cladding on the stair risers, an additional run of galvanised downlighters across the planting areas, PIR-based control for the rear garden zone, and a weatherproof socket on the patio.
Across the boundary fencing, ten client-supplied exterior wall lights were fitted, each with an IP-rated junction box installed and concealed behind the cladding to facilitate the termination of the SWA supply cabling. SWA – Steel Wire Armoured cable – is the standard choice for outdoor supplies where the cable needs mechanical protection. The armouring provides resistance to physical damage in a way that standard cable cannot, whether the run is surface-clipped or buried. Using SWA supplies to each fitting position, terminated in IP-rated boxes behind the cladding, keeps the working connections fully protected and invisible from the face of the fence. Only the fitting itself appears on the finished timber surface.
Two additional galvanised exterior wall lights were included alongside the main wall light run, installed using the same method and switched in connection with the main circuit. The galvanised finish gives these fittings a slightly different character – directional and industrial-looking against the timber boarding, directing light downward onto the planting below. That quality works well in a garden where the planting is a prominent feature, since the light catches foliage rather than simply spreading across the fence face.
Step lighting required a separate approach. Six client-supplied step lights were set into the timber cladding on the stair risers, again with IP-rated junction boxes installed behind the cladding for the SWA terminations. The fittings sit flush with the timber face, casting light across each tread rather than drawing attention to themselves. Three additional 12V step lights extended the run further, switched in connection with the existing step lights so the full stair sequence operates as a single zone. The low-voltage supply for these additional fittings required a 12V transformer, which was housed within an IP-rated exterior enclosure rather than being left exposed.
Setting lights into the riser face rather than the tread surface throws light across the area where feet land, making each step edge visible in the dark without the fitting projecting from the cladding surface. Flush-mounted units don’t create a trip hazard and are less exposed to impact from foot traffic than surface-mounted alternatives. Across a multi-step flight like this one, the result is a staircase that’s clearly navigable after dark without the lighting feeling excessive.
A weatherproof socket was also installed as part of the scope, fixed to the fence structure adjacent to the patio area. The supply was taken from an existing outlet near the air source heat pump, with the cabling routed within a trench dug by others and then clipped along the fence at low level to reach the socket position. Having a properly installed IP-rated socket at patio level removes the need to run extension leads from the house – a practical addition to any outdoor space that’s intended for regular use.
Control of the rear garden lighting was set up using two PIR sensors and an IP-rated 2-gang switch. The sensors were mounted in positions covering the relevant garden zones, and the switch was wired to provide both automatic PIR-triggered operation and a manual override. The automatic mode handles night-time movement – anyone using the garden after dark triggers the lighting without needing to interact with a switch. The override keeps the lights running continuously when that’s more appropriate, such as a long evening outdoors. Both options are accessible from a single 2-gang switch rather than requiring separate controls for each mode.
IP ratings throughout the installation were specified to suit exterior use. The junction boxes, the socket outlet, and the 2-gang switch are all rated for exposure to weather, which matters for the long-term reliability of any outdoor electrical scheme. Installations that cut corners on weatherproofing may appear to work initially but tend to cause problems as moisture finds its way into connections over time. Using appropriately rated components throughout, with the additional protection of the cladding over the junction boxes where it applies, means the installation is built to a standard that holds up in an outdoor environment over the long term.
For anyone planning a garden lighting installation of this type, the timing relative to the landscaping works is worth considering. Installing junction boxes behind cladding is straightforward when that cladding is still accessible during the build – it allows supplies to be properly positioned and connections housed cleanly before the boarding is closed off. Retrofitting the same arrangement into already-completed cladding takes considerably longer and often means more disruption to the finished surface. Getting the electrical work sequenced alongside the landscaping, rather than treating it as something to add once the garden is done, makes a significant practical difference.