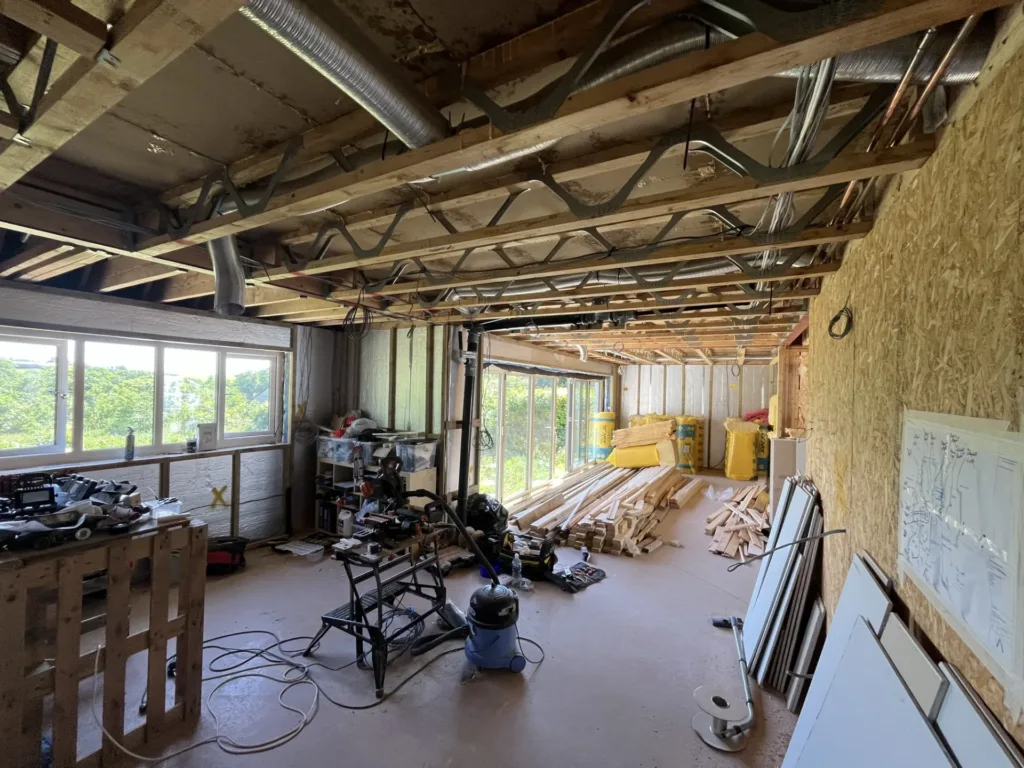
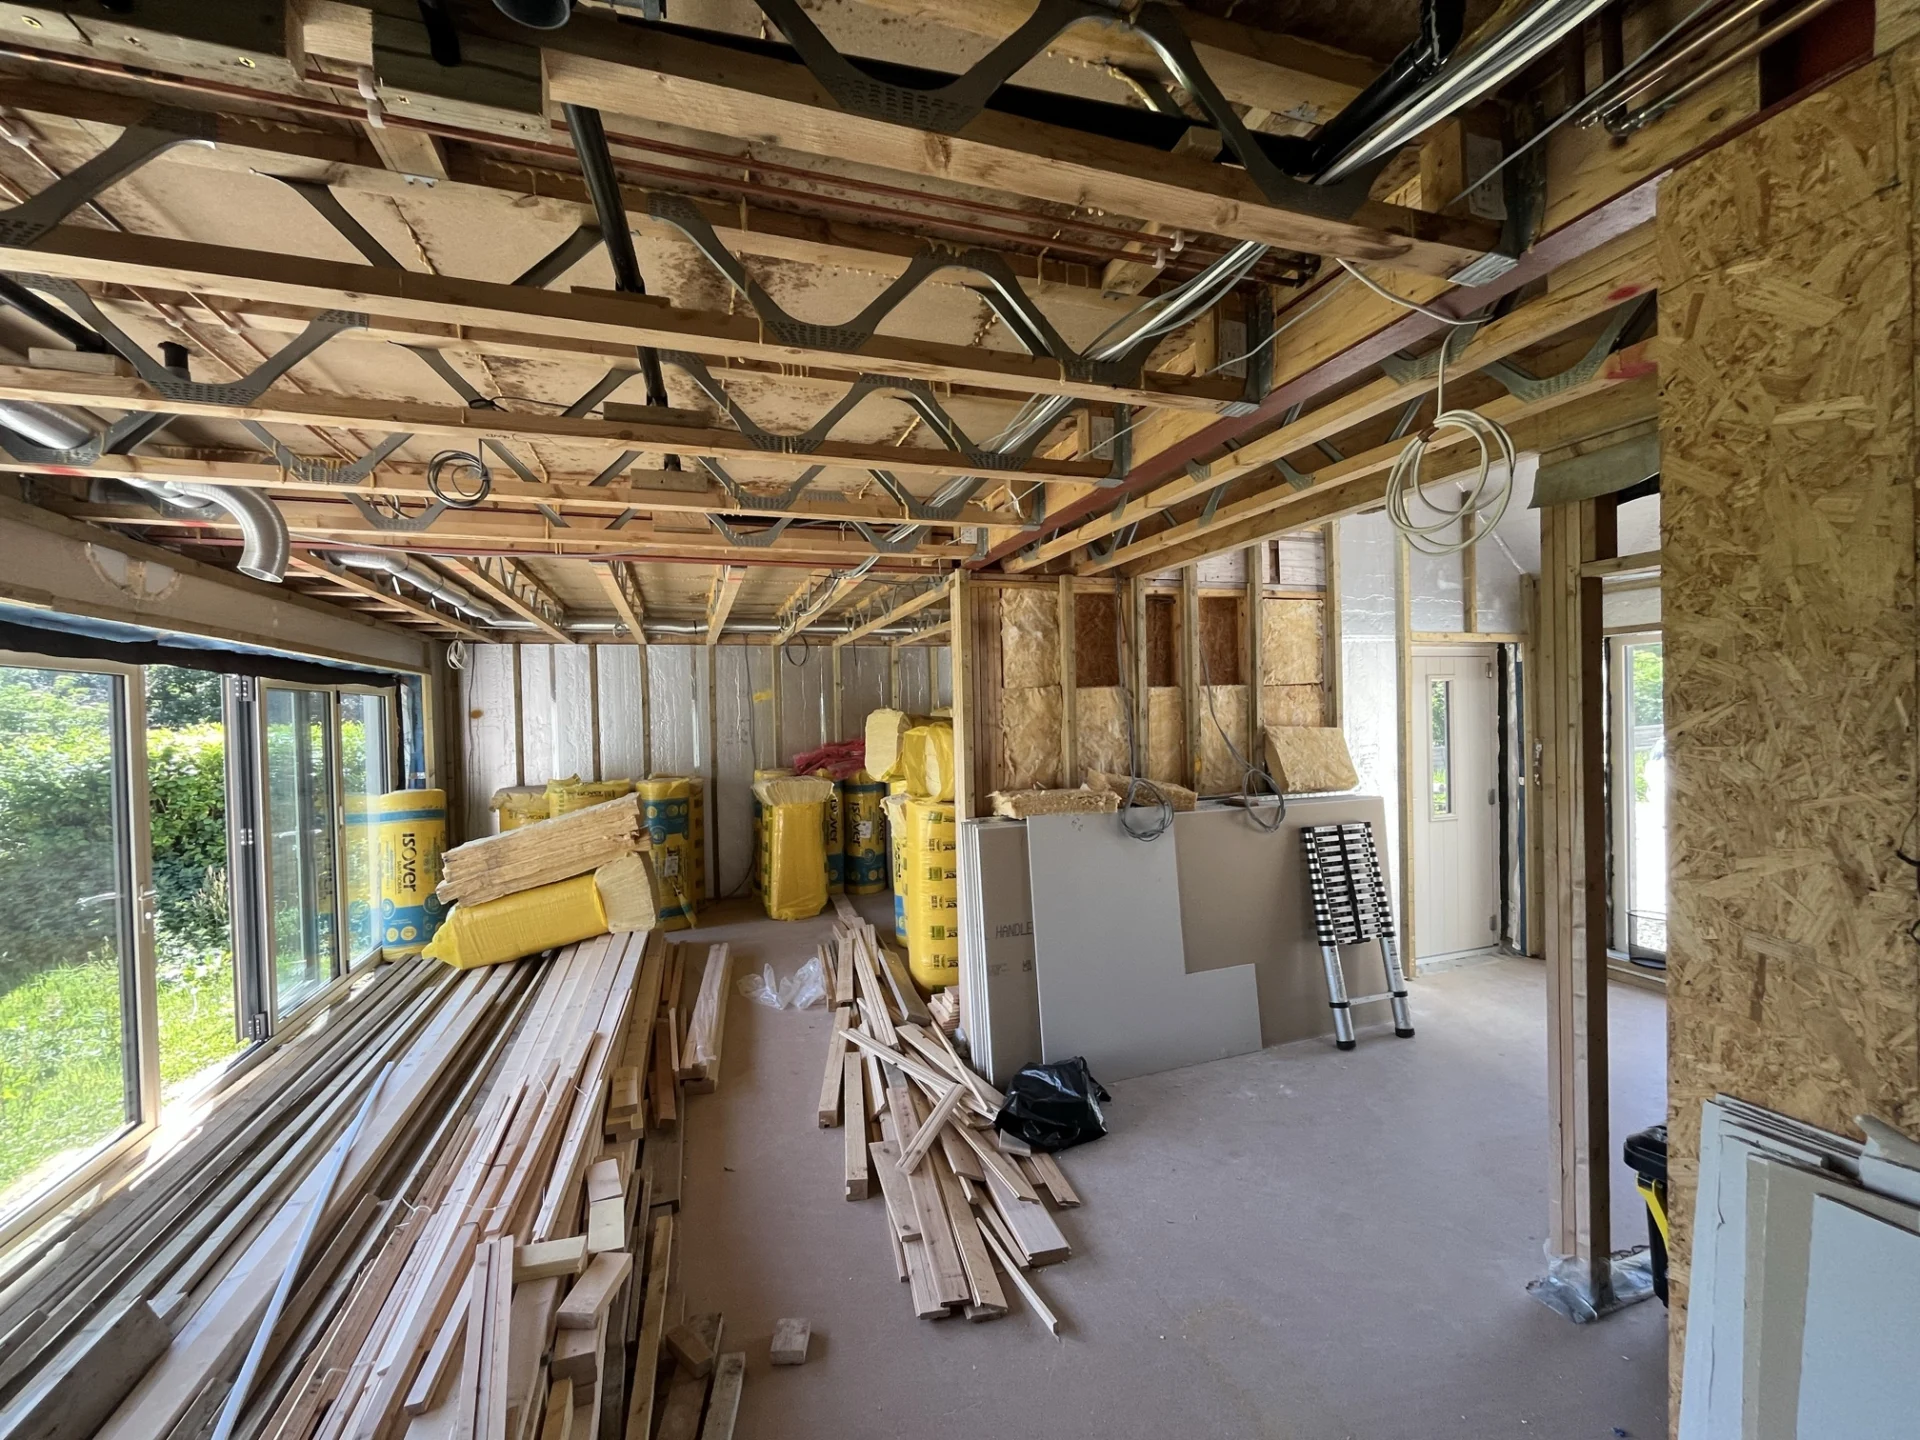
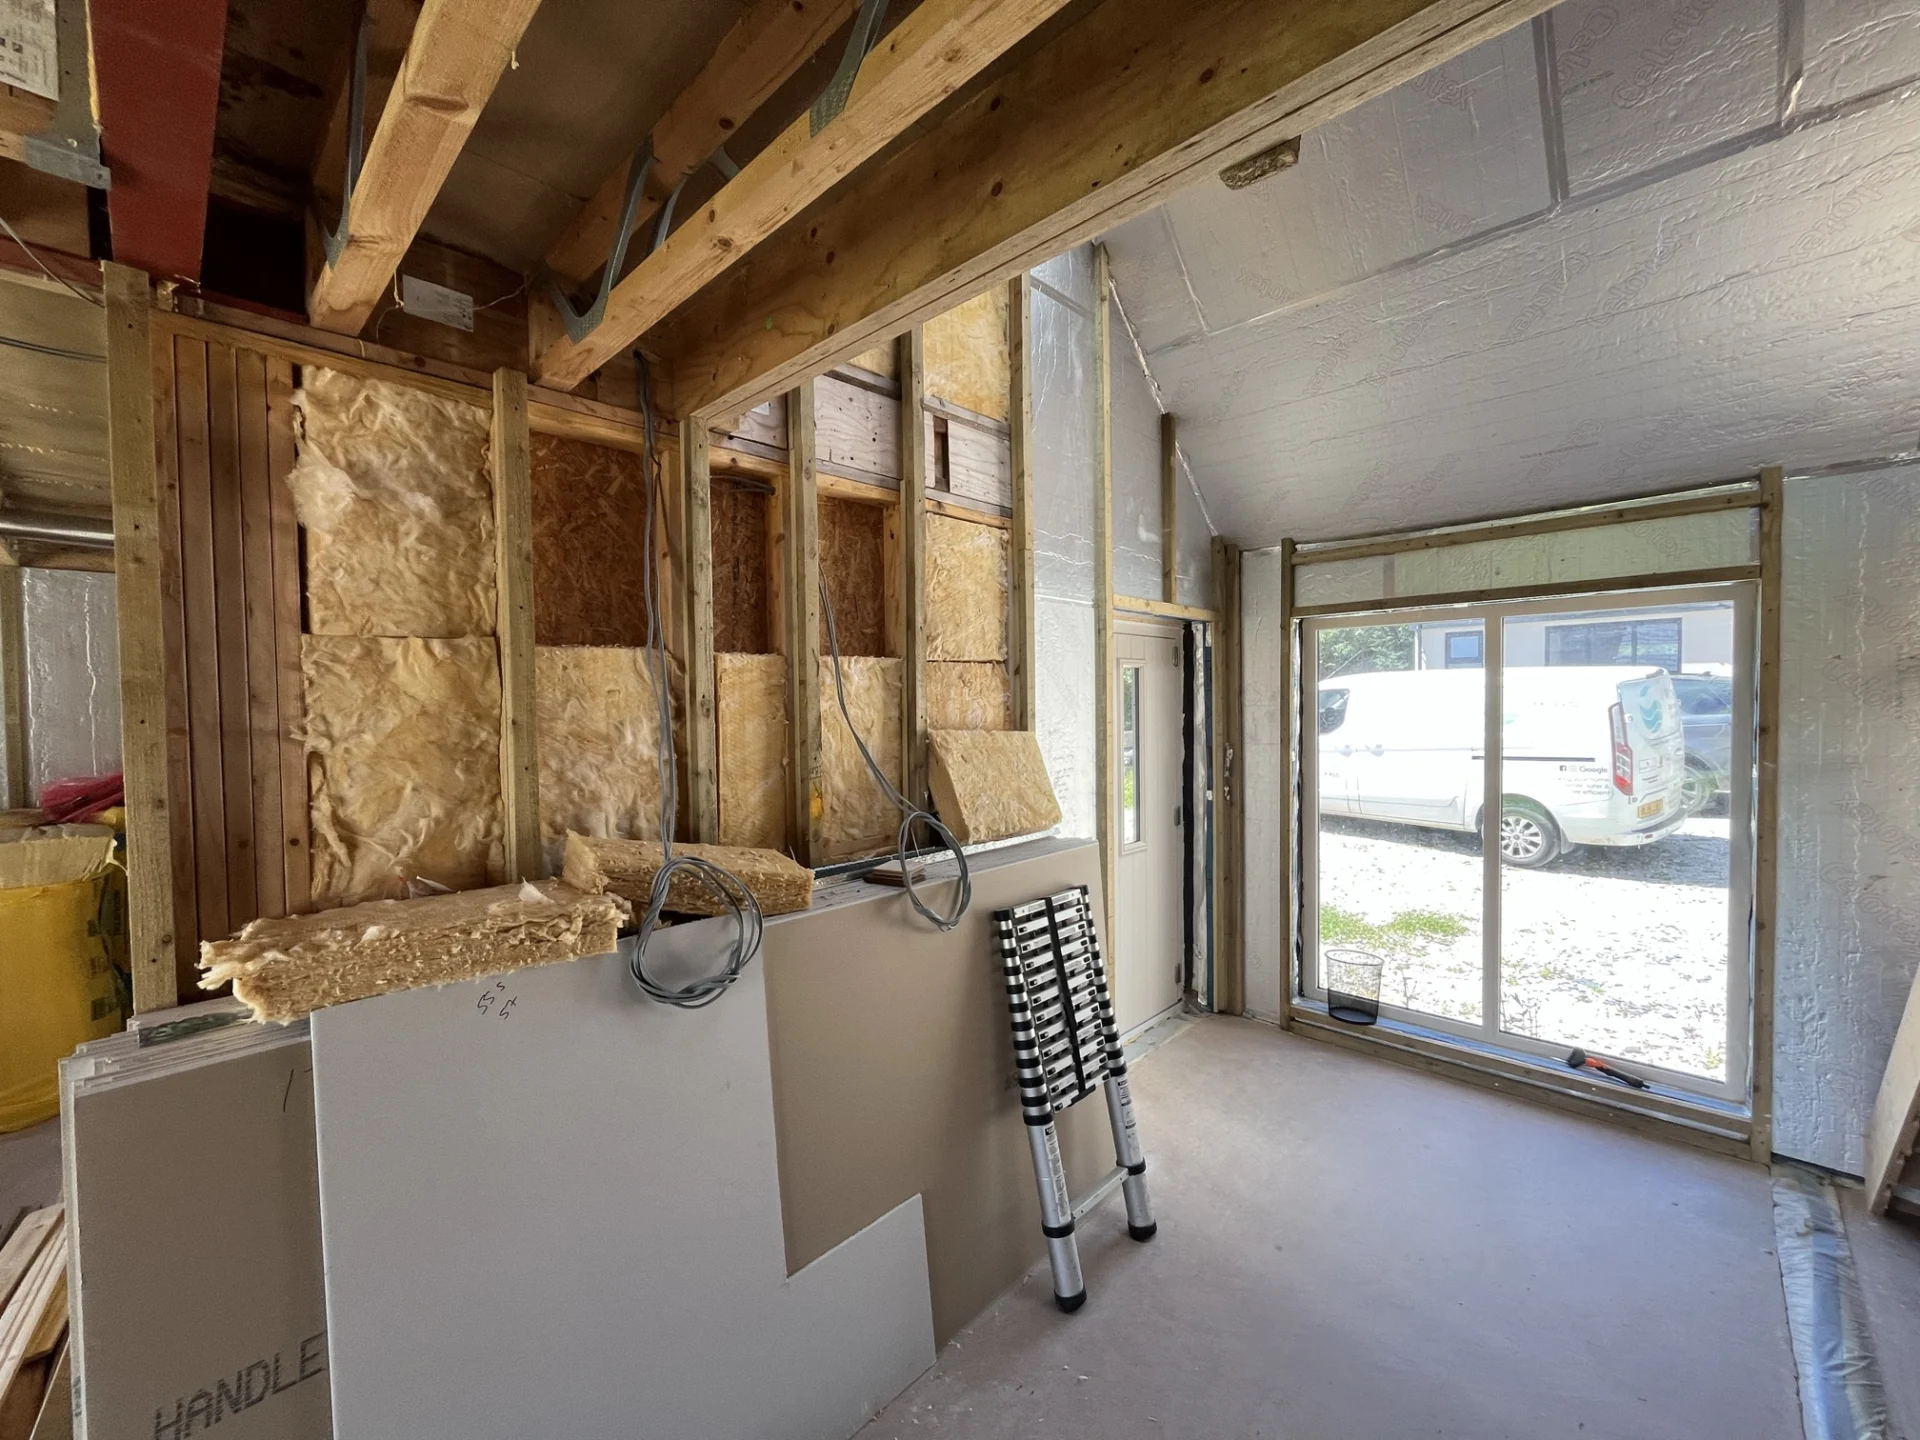
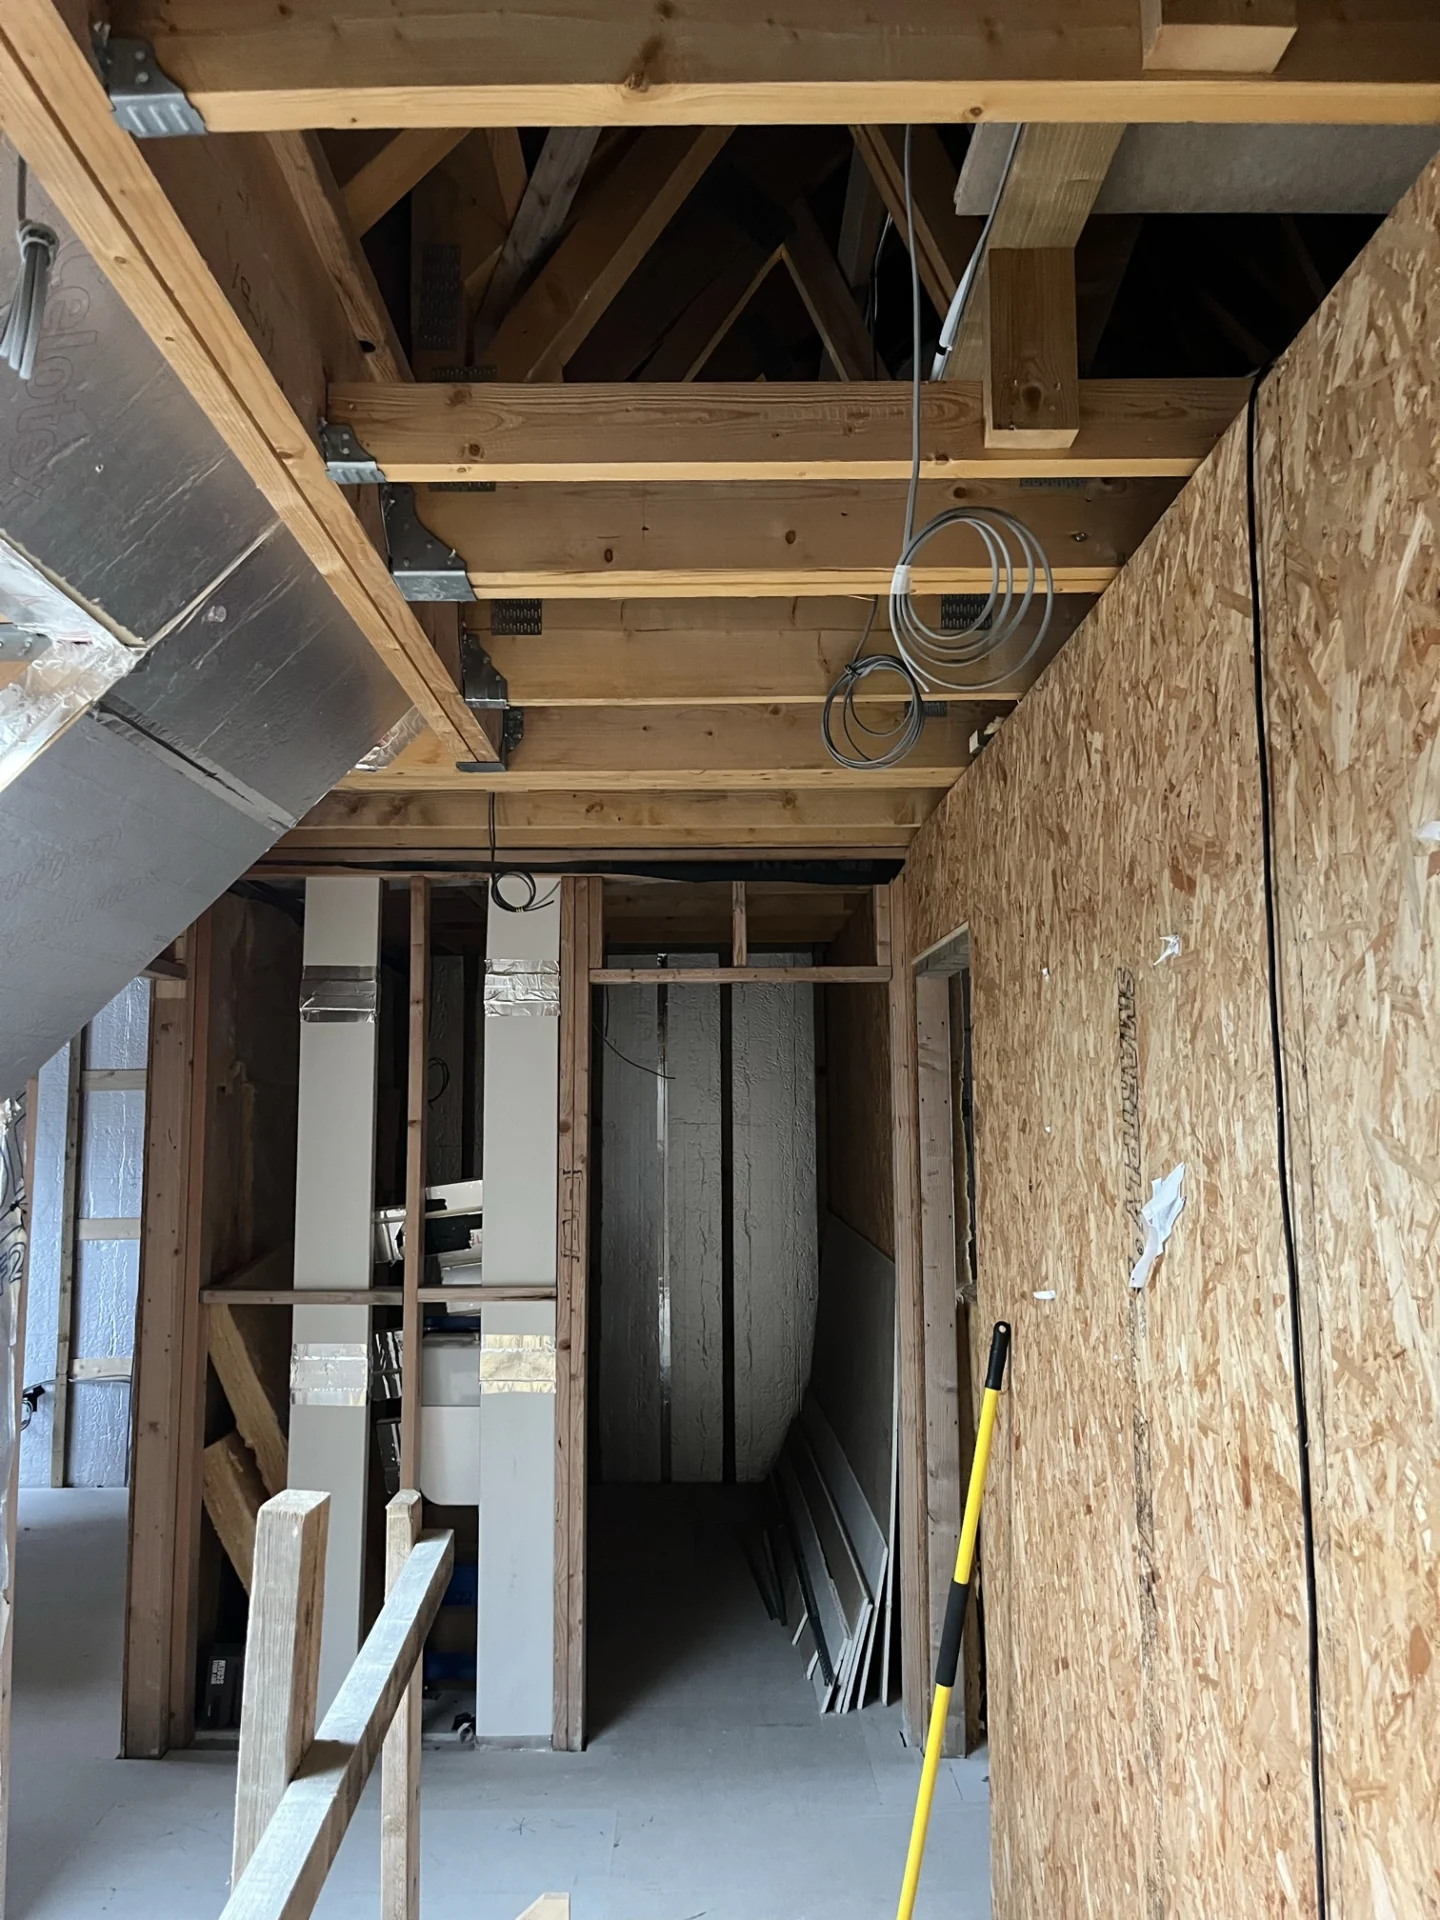
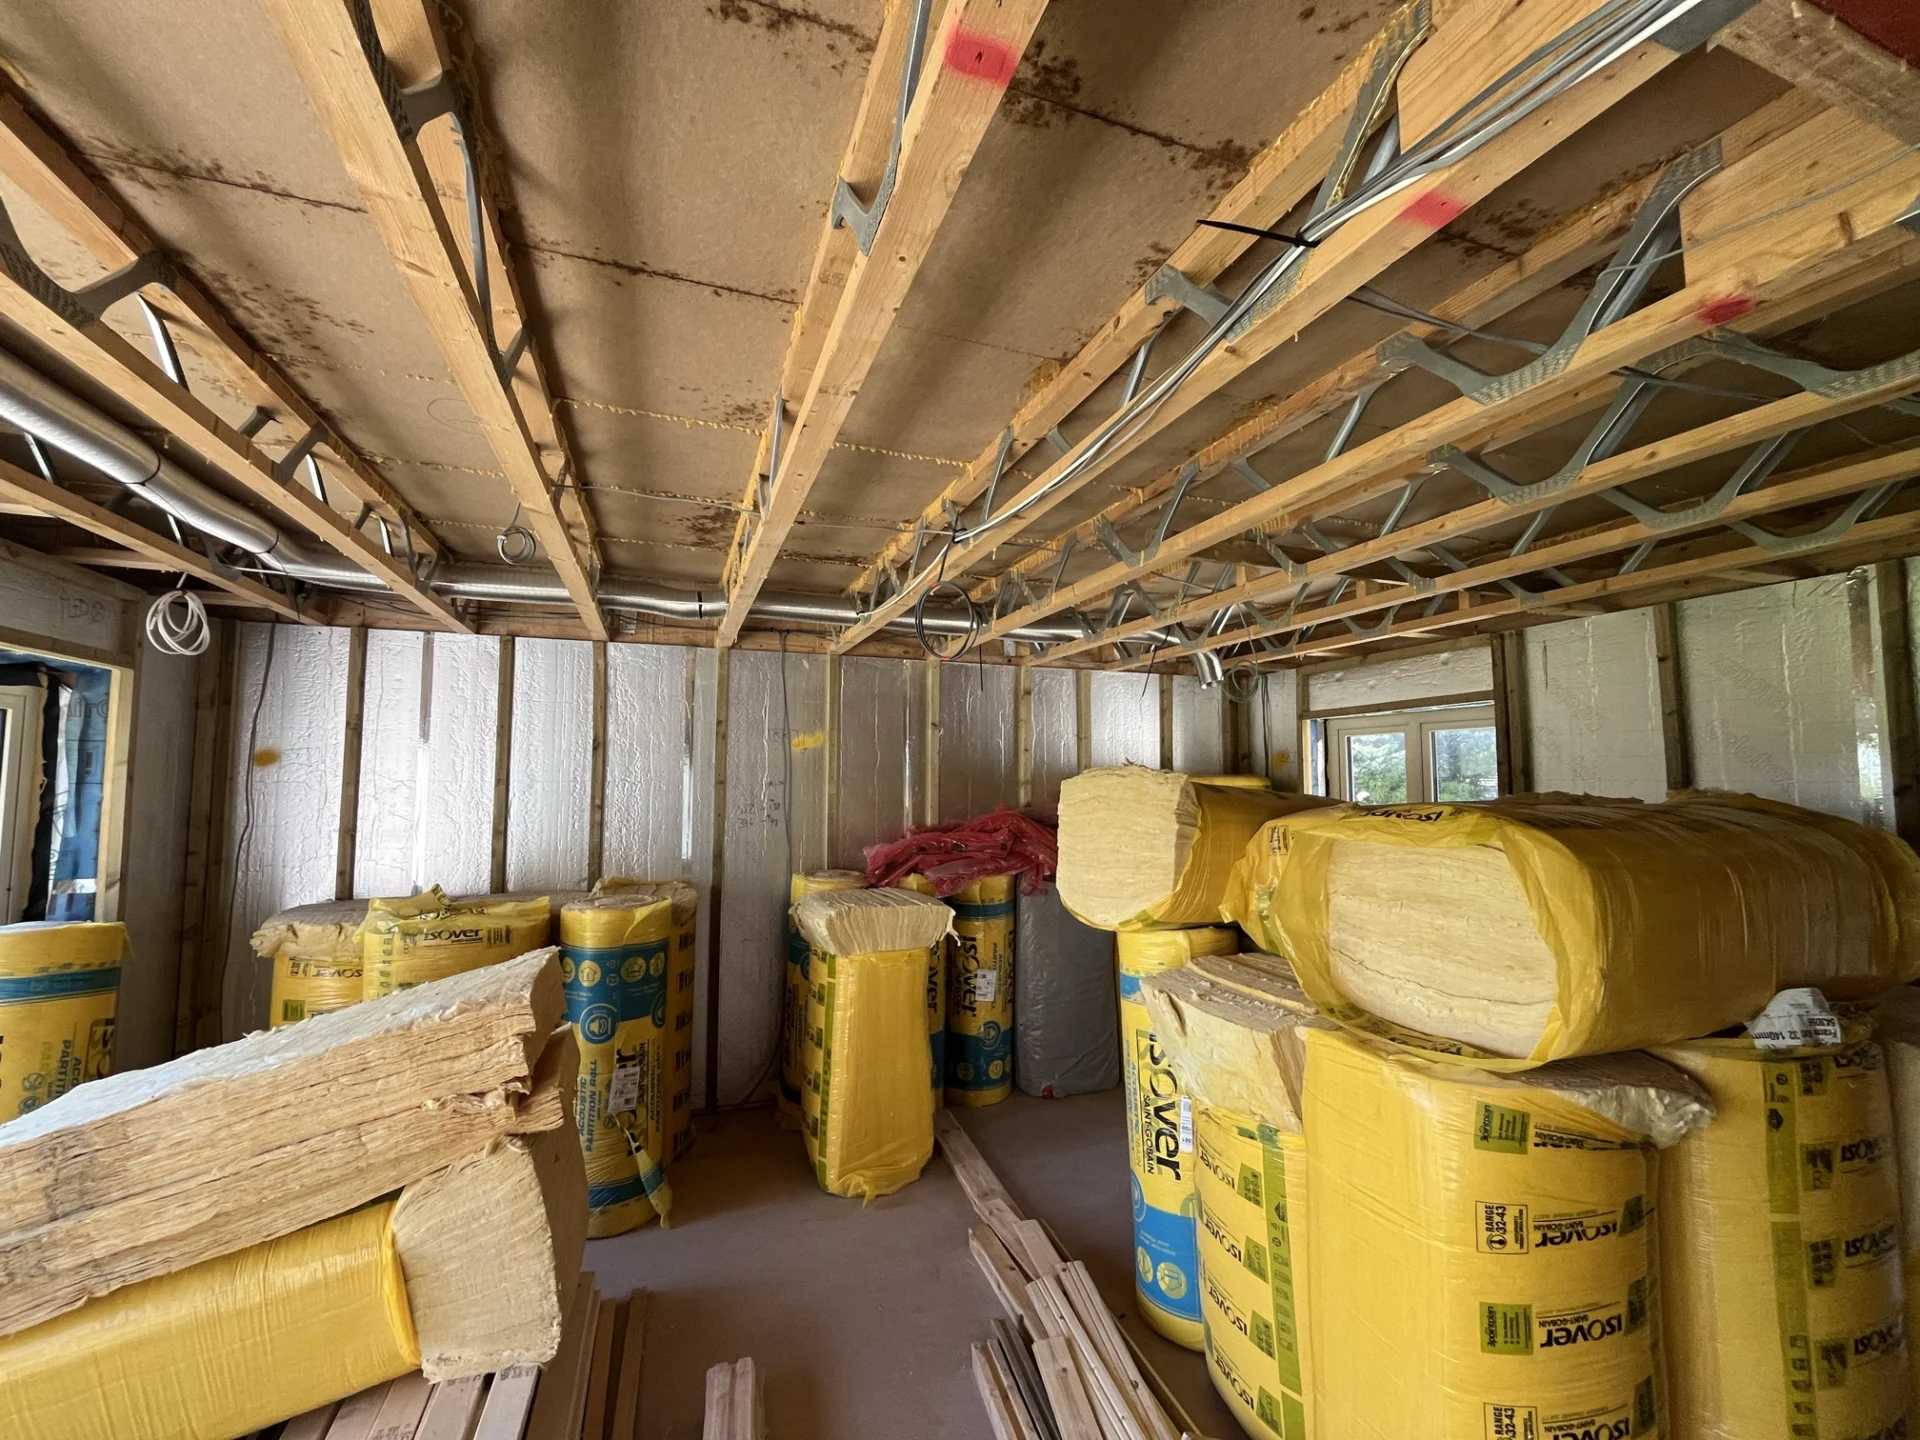
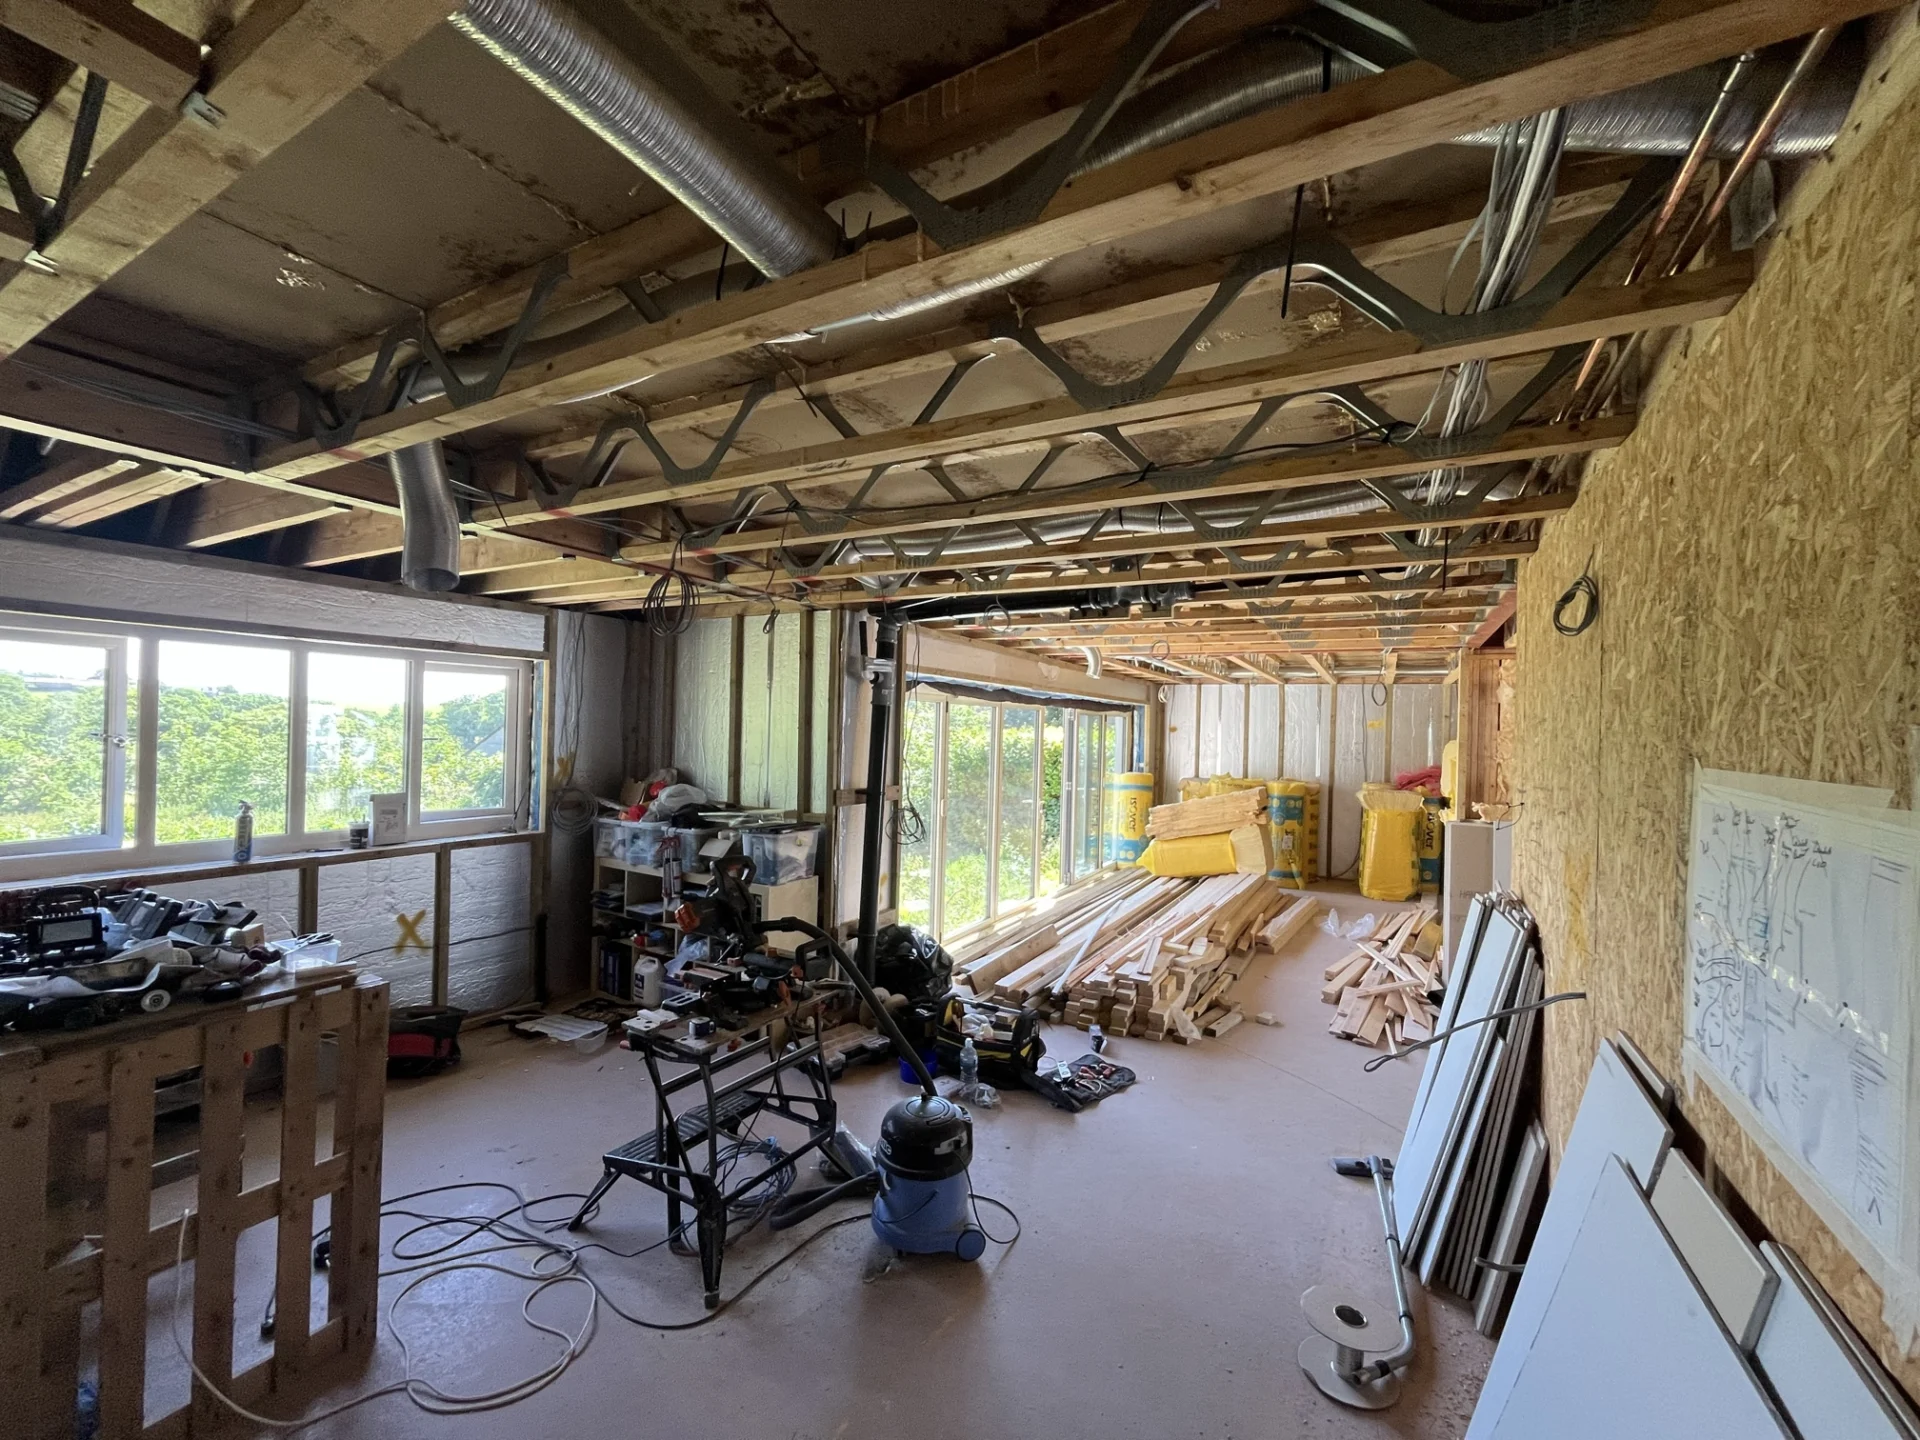
Getting stuck into the bare bones of a new property is always an interesting phase of any build. Right now, we are on-site in Bodmin carrying out a comprehensive first fix electrical installation. The property is currently a maze of timber stud work, metal web joists, and structural steel beams, which gives us a completely blank canvas to route all the necessary wiring before the insulation and plasterboard go up. This stage is absolutely vital for getting the infrastructure right, as everything we install now will be hidden behind the finished surfaces.
Starting in the first-floor gallery and landing area, we have been running the twin and earth cables for the primary lighting circuit. The plan here includes warm white recessed downlights positioned over the landing. To make things practical for the homeowners, we are wiring this on a two-way switching circuit, meaning the lights can be controlled from either end of the hallway. Alongside the lighting, we have also routed a dedicated power supply up to the ceiling level for a Velux window. Navigating the cables through the open metal web joists is a huge advantage on this build, as it allows us to pull the wiring cleanly across the building without having to drill through solid timber joists. We just have to make sure everything is neatly secured and out of the way of the ceiling fixers who will follow us.
Moving into the main vaulted bedroom, the electrical design gets quite specific. The vaulted ceiling is a major architectural feature of the property, and the lighting is designed to highlight the central structural roof beam. We are putting the infrastructure in place to run four metres of warm white LED strip lighting on either side of the beam. This setup will eventually sit inside an aluminium channel with a diffuser to provide a clean, continuous wash of light, and the wiring allows for an easy upgrade to a colour-changeable RGBW system if the client requests it later. We have wired this particular arrangement on a three-way switching setup, giving control from the main entrance to the room as well as from either side of the bed. The adjoining wardrobe space is getting a similar treatment. We have routed cables for another four-metre run of LED strip lighting along the wall, which will be paired with a recessed downlight and operated by a single switch at the entrance. We have also installed a double socket in this area for convenience.
The en-suite attached to this main bedroom involves a fair amount of careful cable routing. Wet rooms always require strict adherence to specific zoning regulations for safety. We are preparing the ceiling for five warm white recessed downlights, all controlled by a switch located just outside the room. Inside the en-suite, we are providing the cabling provision for a dedicated niche light, along with a 3.5-metre strip of warm white LED lighting along the back wall, which will also be housed in a protective aluminium channel. Beyond the lighting, we have run dedicated supplies for a wall-mounted electric towel rail and a toothbrush charger.
In the second bedroom, the focus is on providing a balanced mix of power and lighting. We have fixed the back boxes to the stud work and routed the cables for four double socket outlets around the room. The lighting design here combines a traditional centre pendant with a specific warm white recessed downlight positioned directly over the basin area. The third bedroom follows a similar layout but is slightly larger, so we have installed back boxes and wiring for five double sockets. The main lighting in this room will come from five warm white recessed downlights, with another dedicated downlight situated over the basin.
Throughout the build, we are installing a variety of socket outlets to suit the modern demands of the property. We are fitting standard two-gang sockets alongside a few with integrated USB ports, which are becoming a standard request for bedrooms. Getting the flush back boxes for these sockets fixed securely to the timber studs is a crucial part of the first fix. We have to measure and level every single box, taking the eventual plaster depth into account, to make sure the final faceplates sit perfectly flush against the finished walls.
As part of the wider infrastructure for the property, we have also run the necessary electrical connections out to the external waste plant system. This involves routing the supply safely from the main distribution point through the fabric of the building to the exterior. Throughout this first fix stage, the main goal is to have every single cable accurately positioned, properly supported within the safe zones, and safely terminated inside the back boxes, ready for the plasterers to do their job. It is a busy site with lots of trades working around each other, so keeping our cable runs tidy and well-documented is a priority to ensure a smooth transition into the second fix phase.