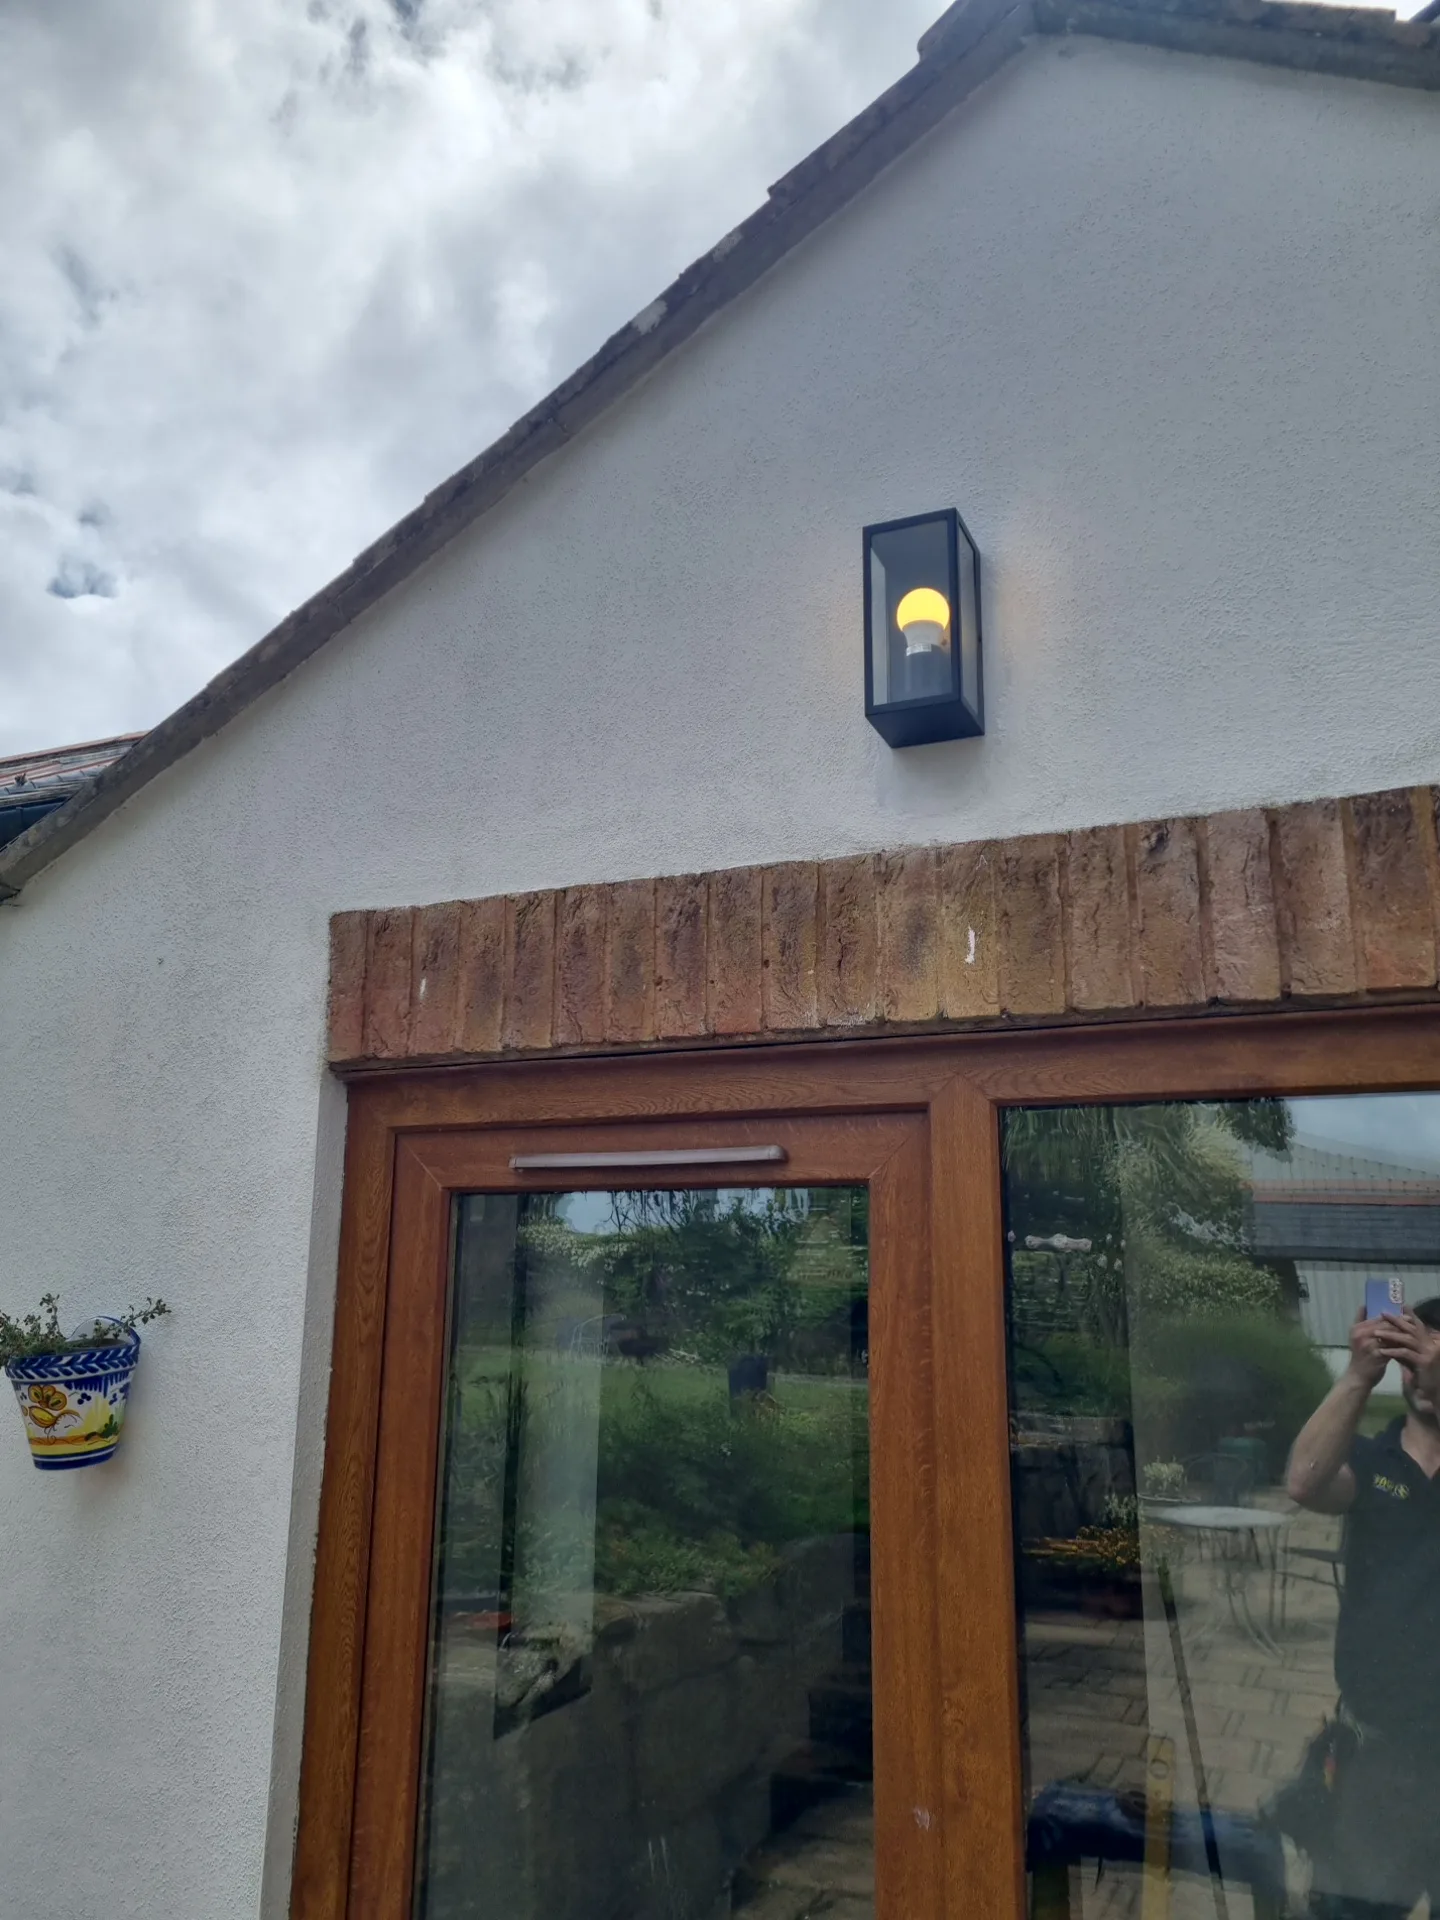
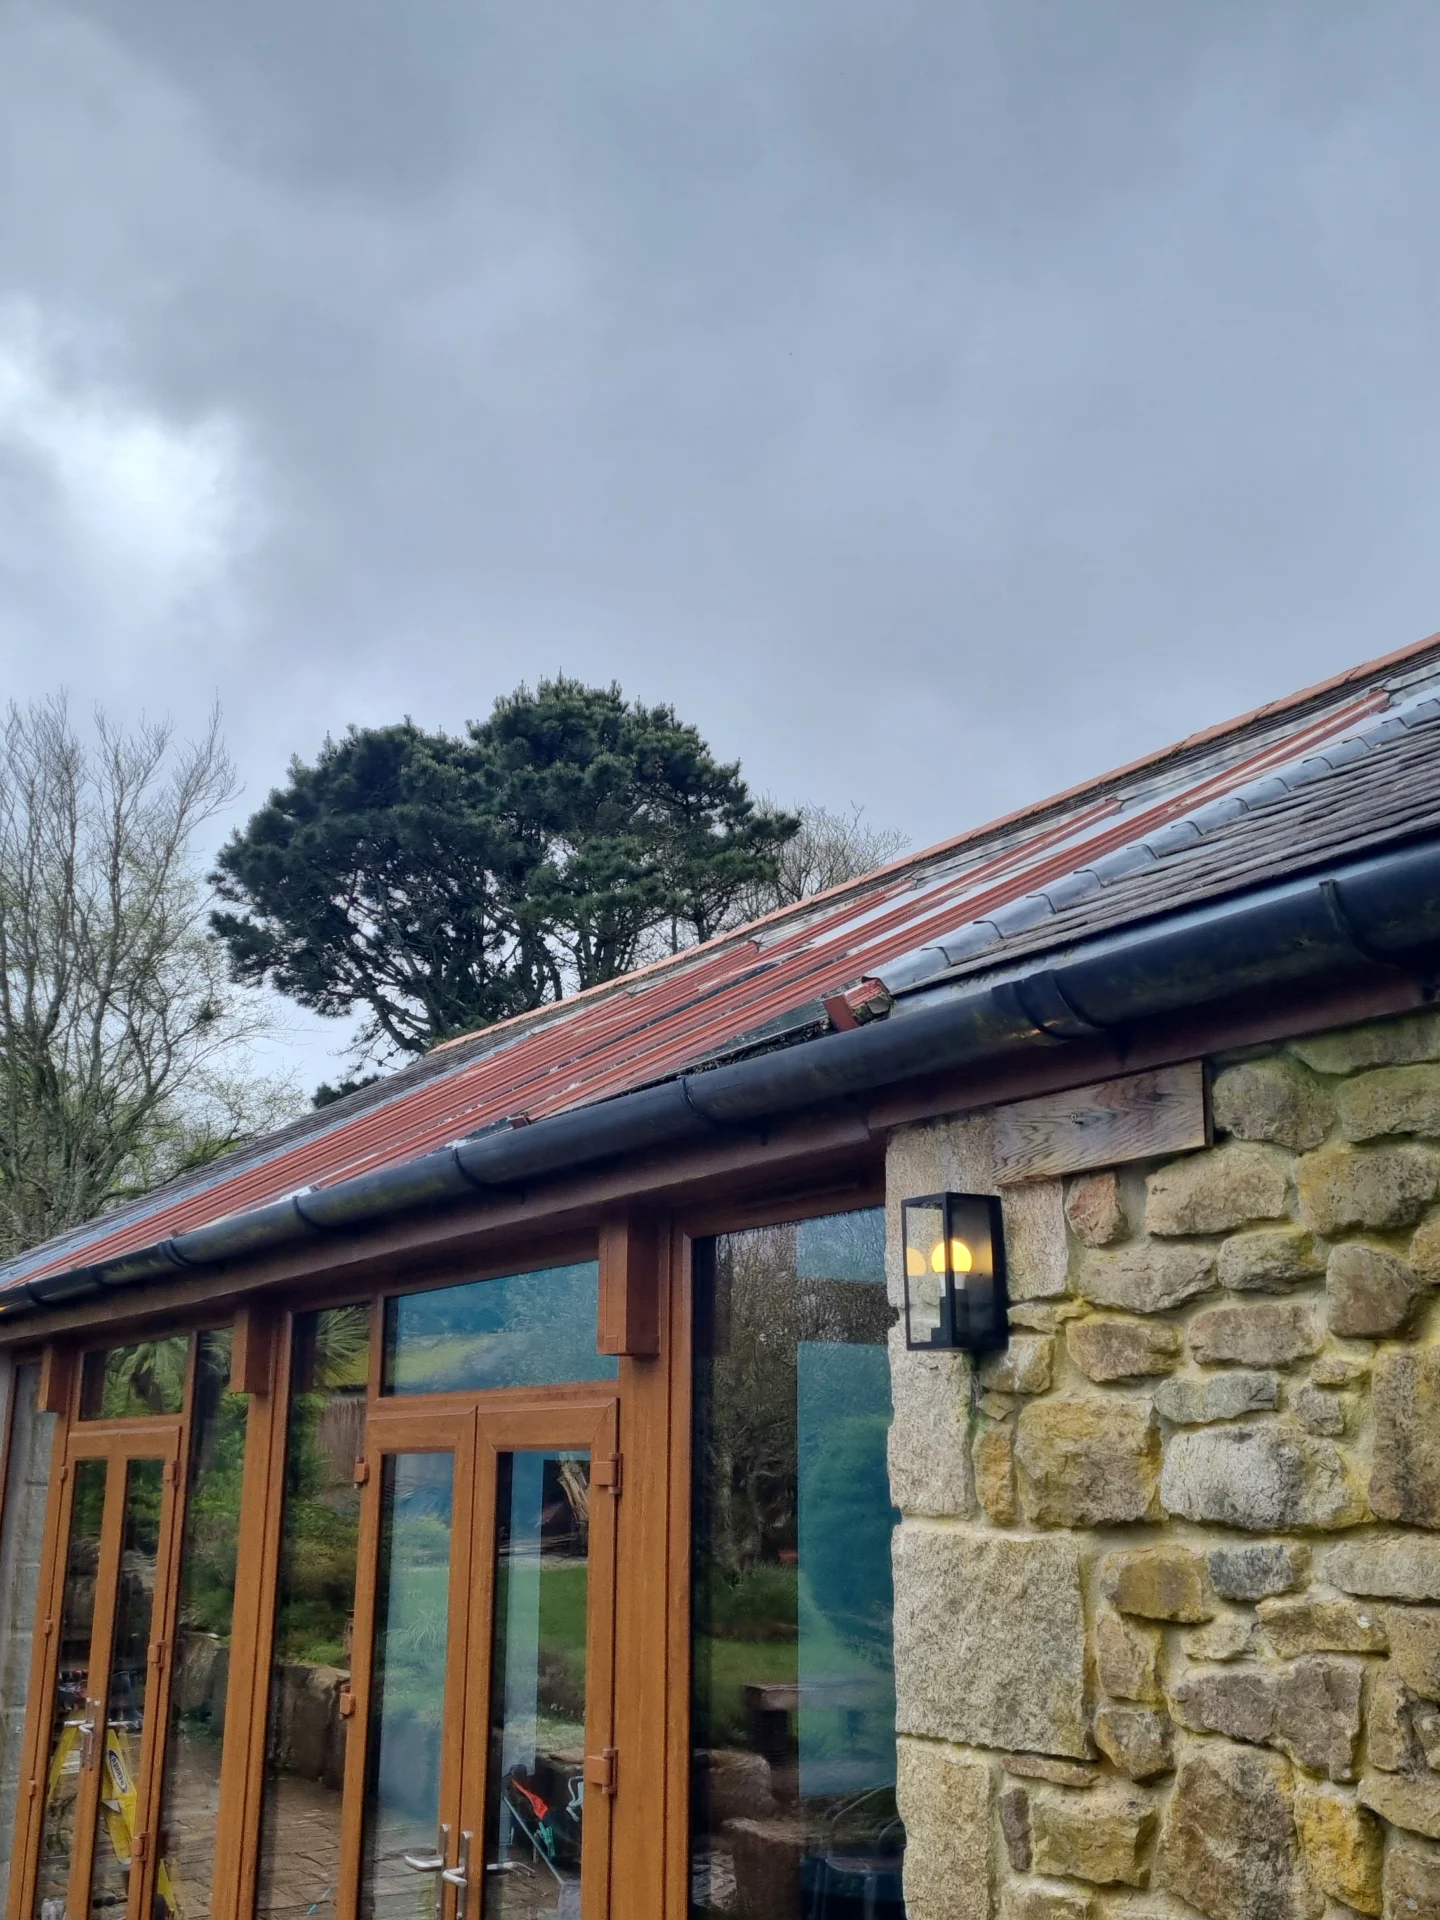
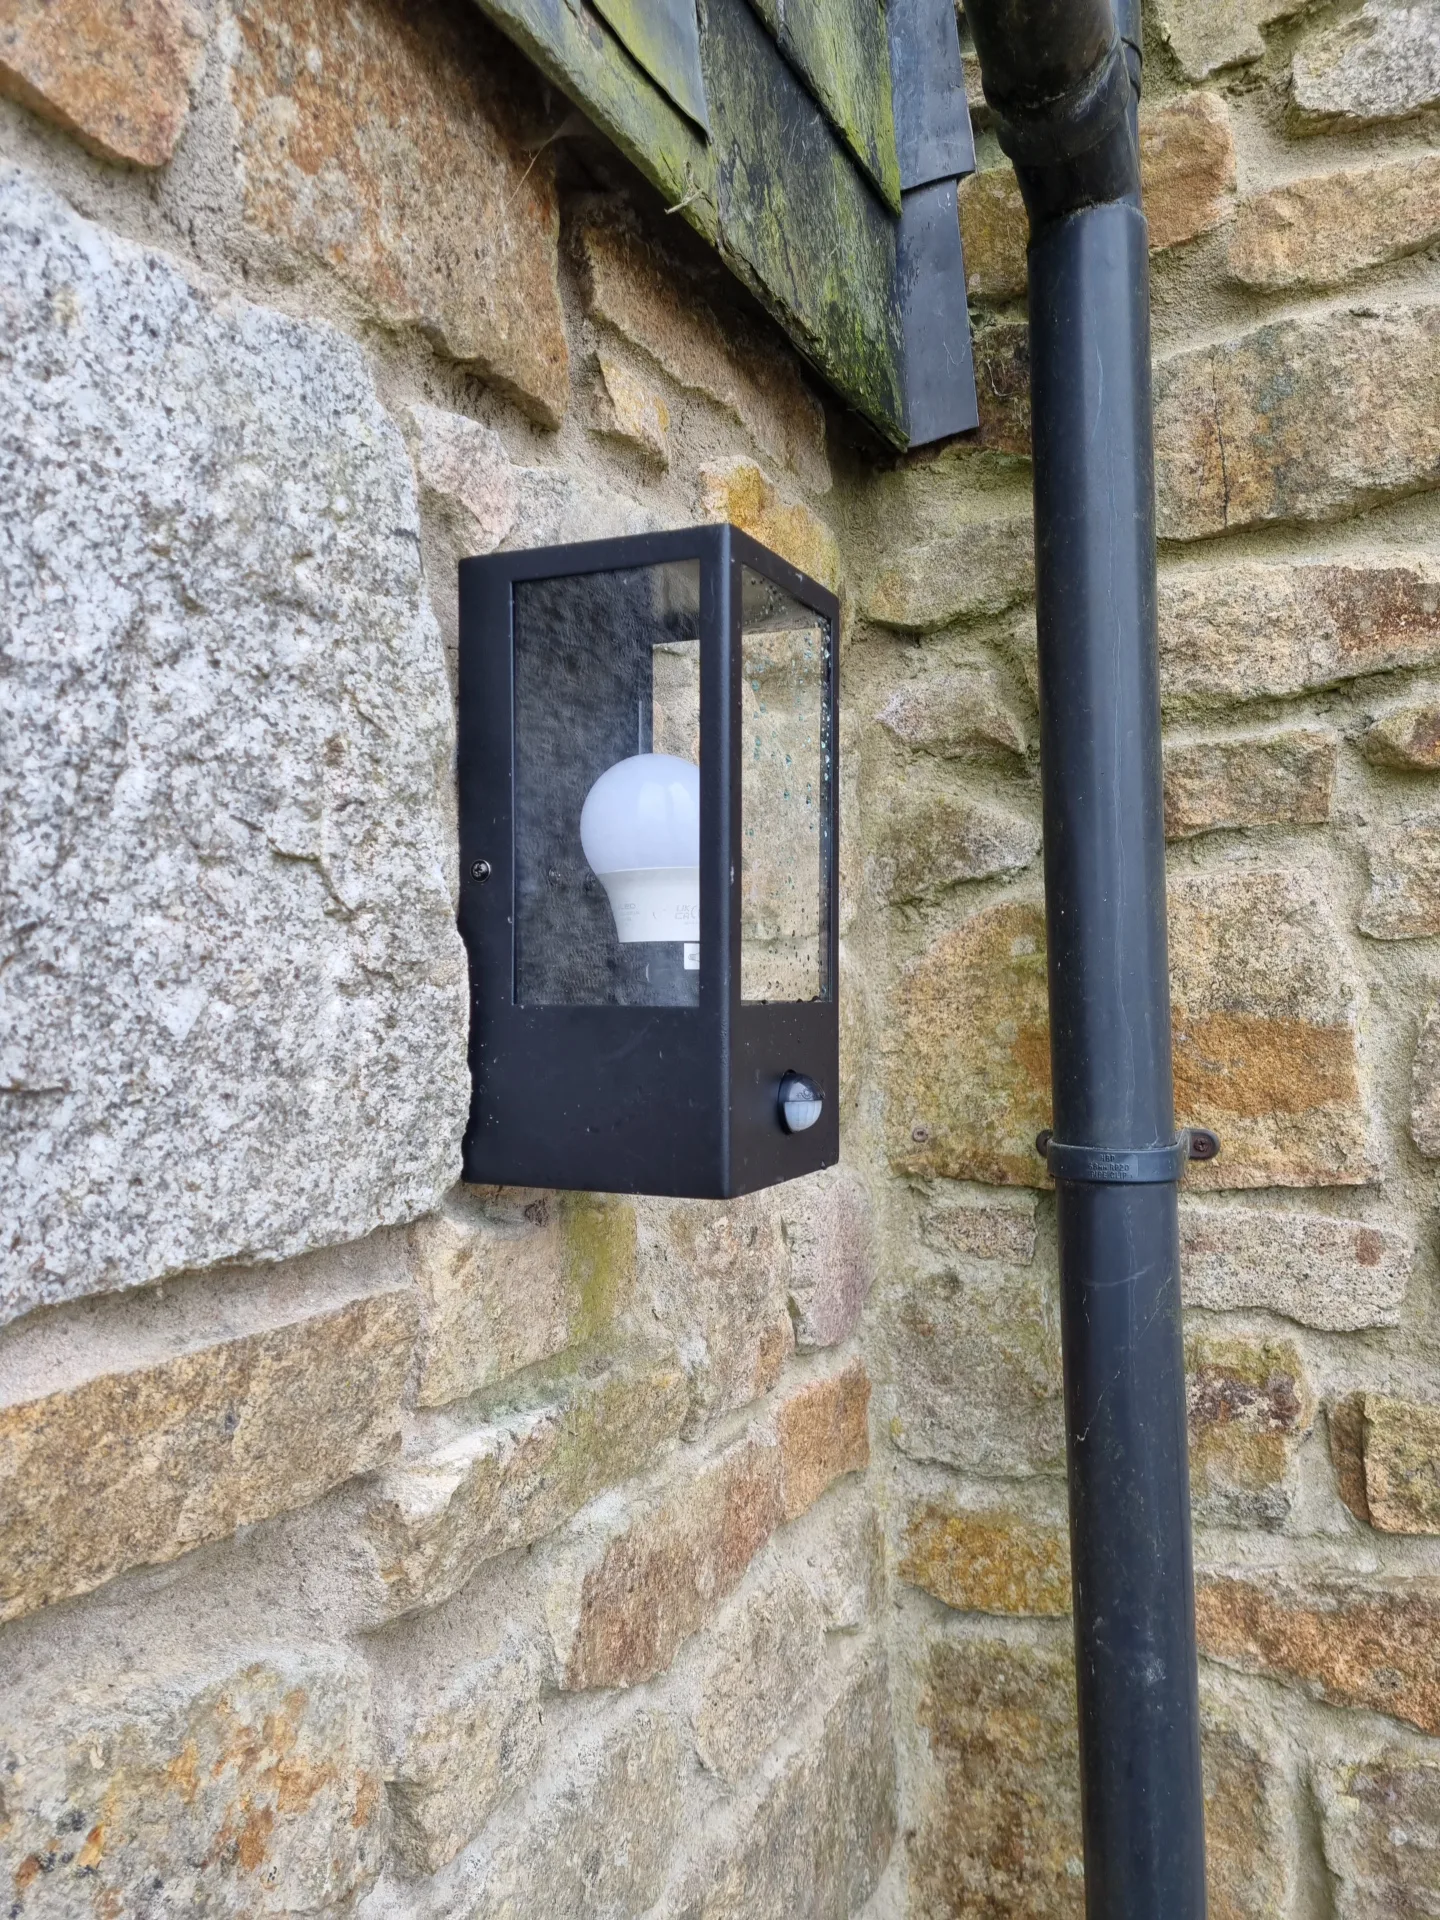
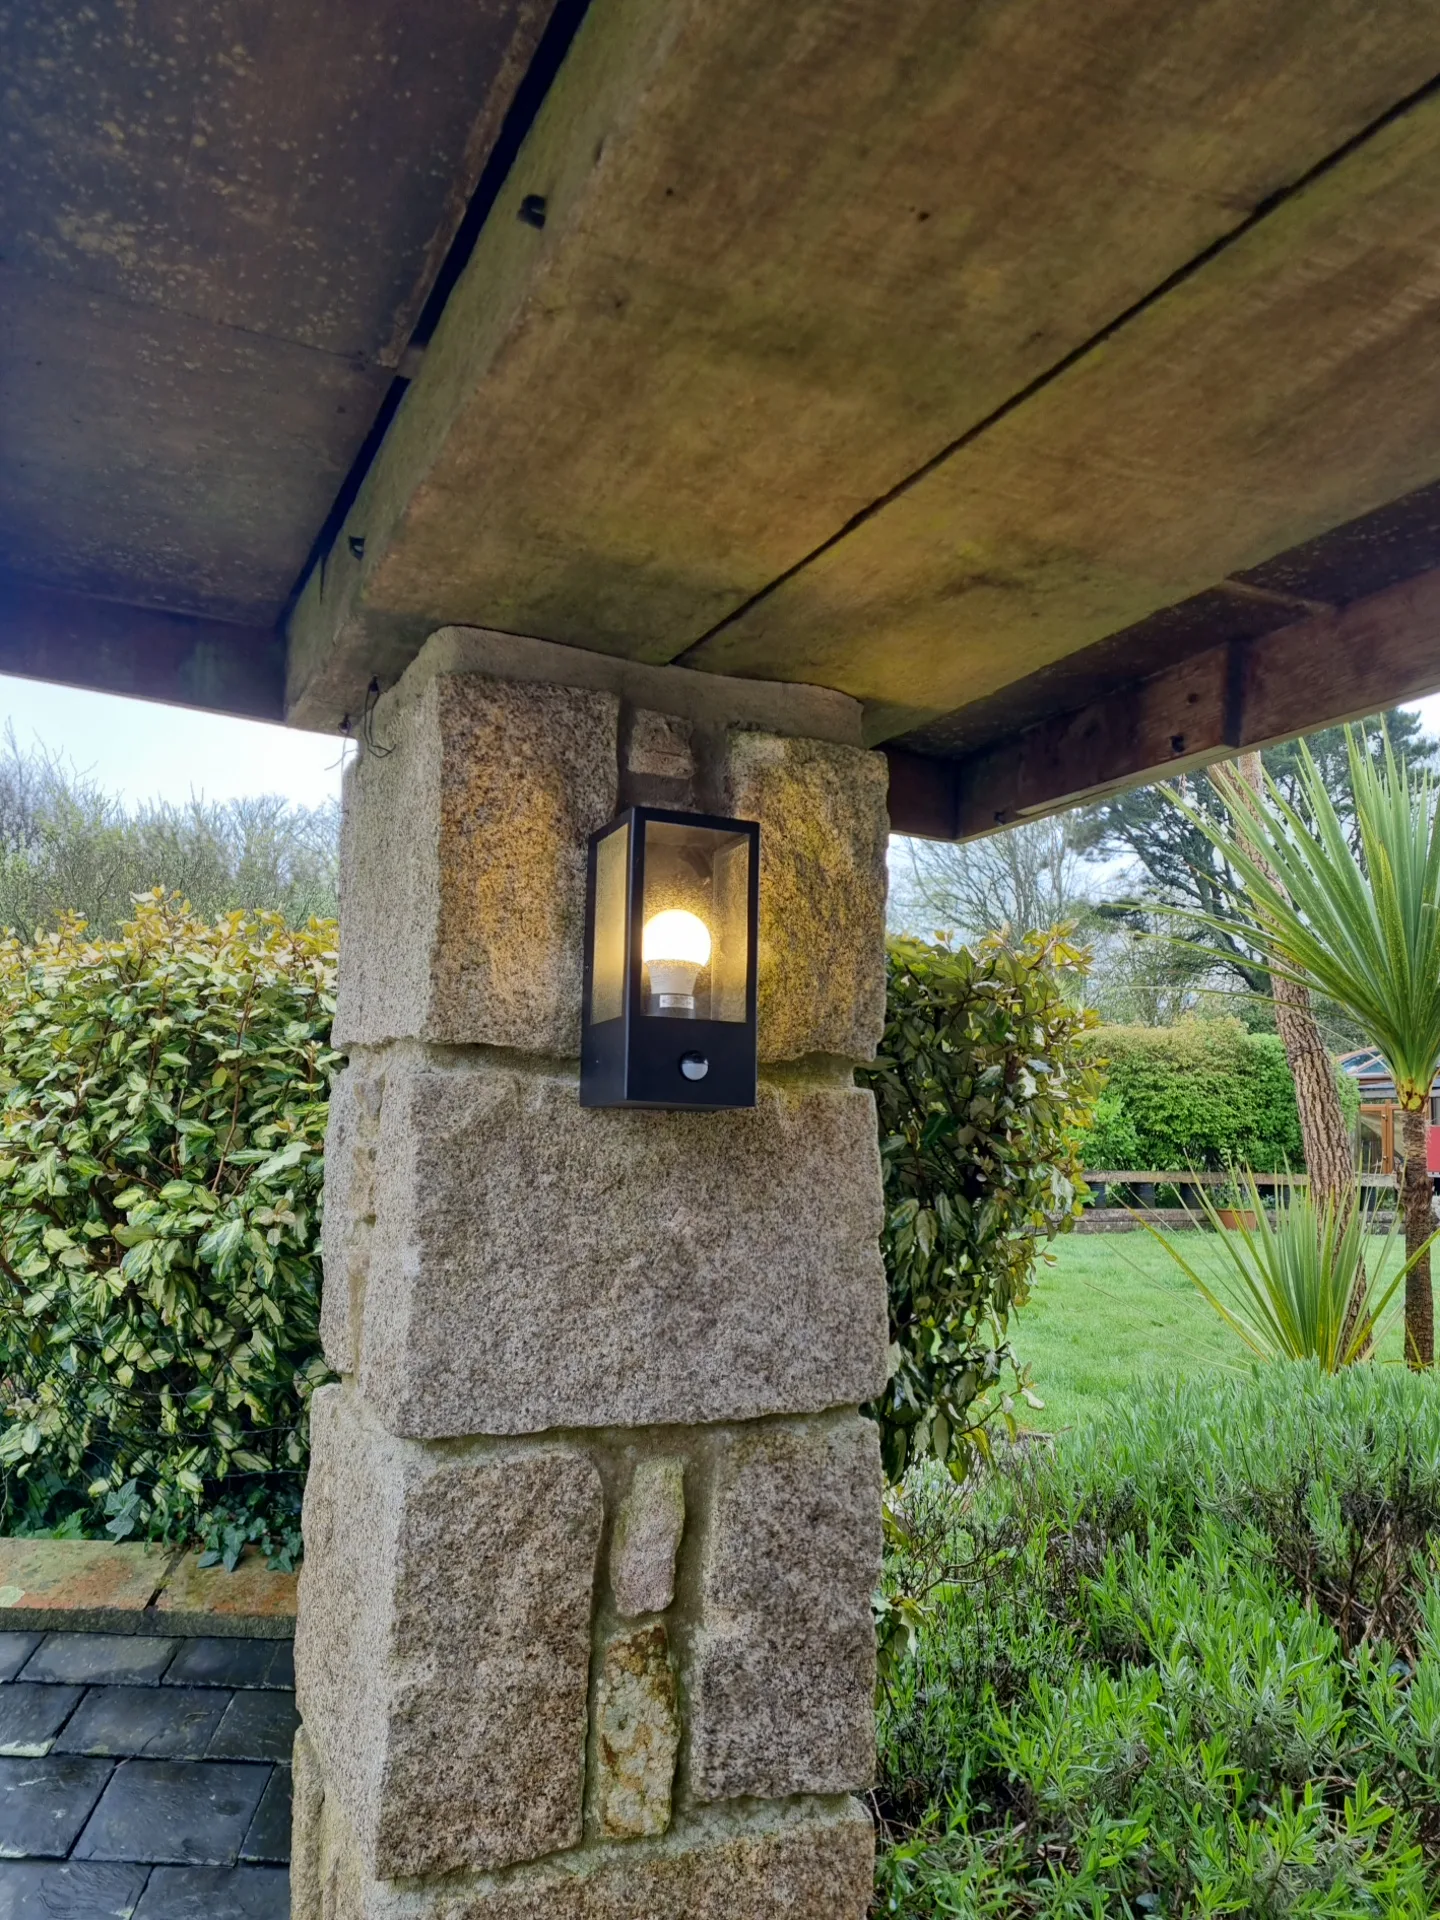
We carried out a domestic lighting installation at a property in Scorrier, involving the fitting of multiple client-supplied exterior and interior wall lights. The work required specific masonry drilling techniques for the exterior fixtures and included the first fix wiring for a new store cupboard, alongside switching modifications for the main patio area.
We completed a comprehensive domestic lighting installation for a property in Scorrier, fitting multiple client-supplied exterior and internal wall lights. The project also included custom switching solutions for patio lighting and establishing a first-fix electrical setup for a new store area adjacent to a sauna.
Arriving at the property in Scorrier, the daily schedule focused on a broad spectrum of lighting installations. The property required a combination of internal and external electrical work, primarily utilising fixtures the client had independently sourced. Working with client-supplied materials is a standard procedure, and it always begins with a thorough inspection of the provided units to confirm they are suitable for the intended circuits and locations.
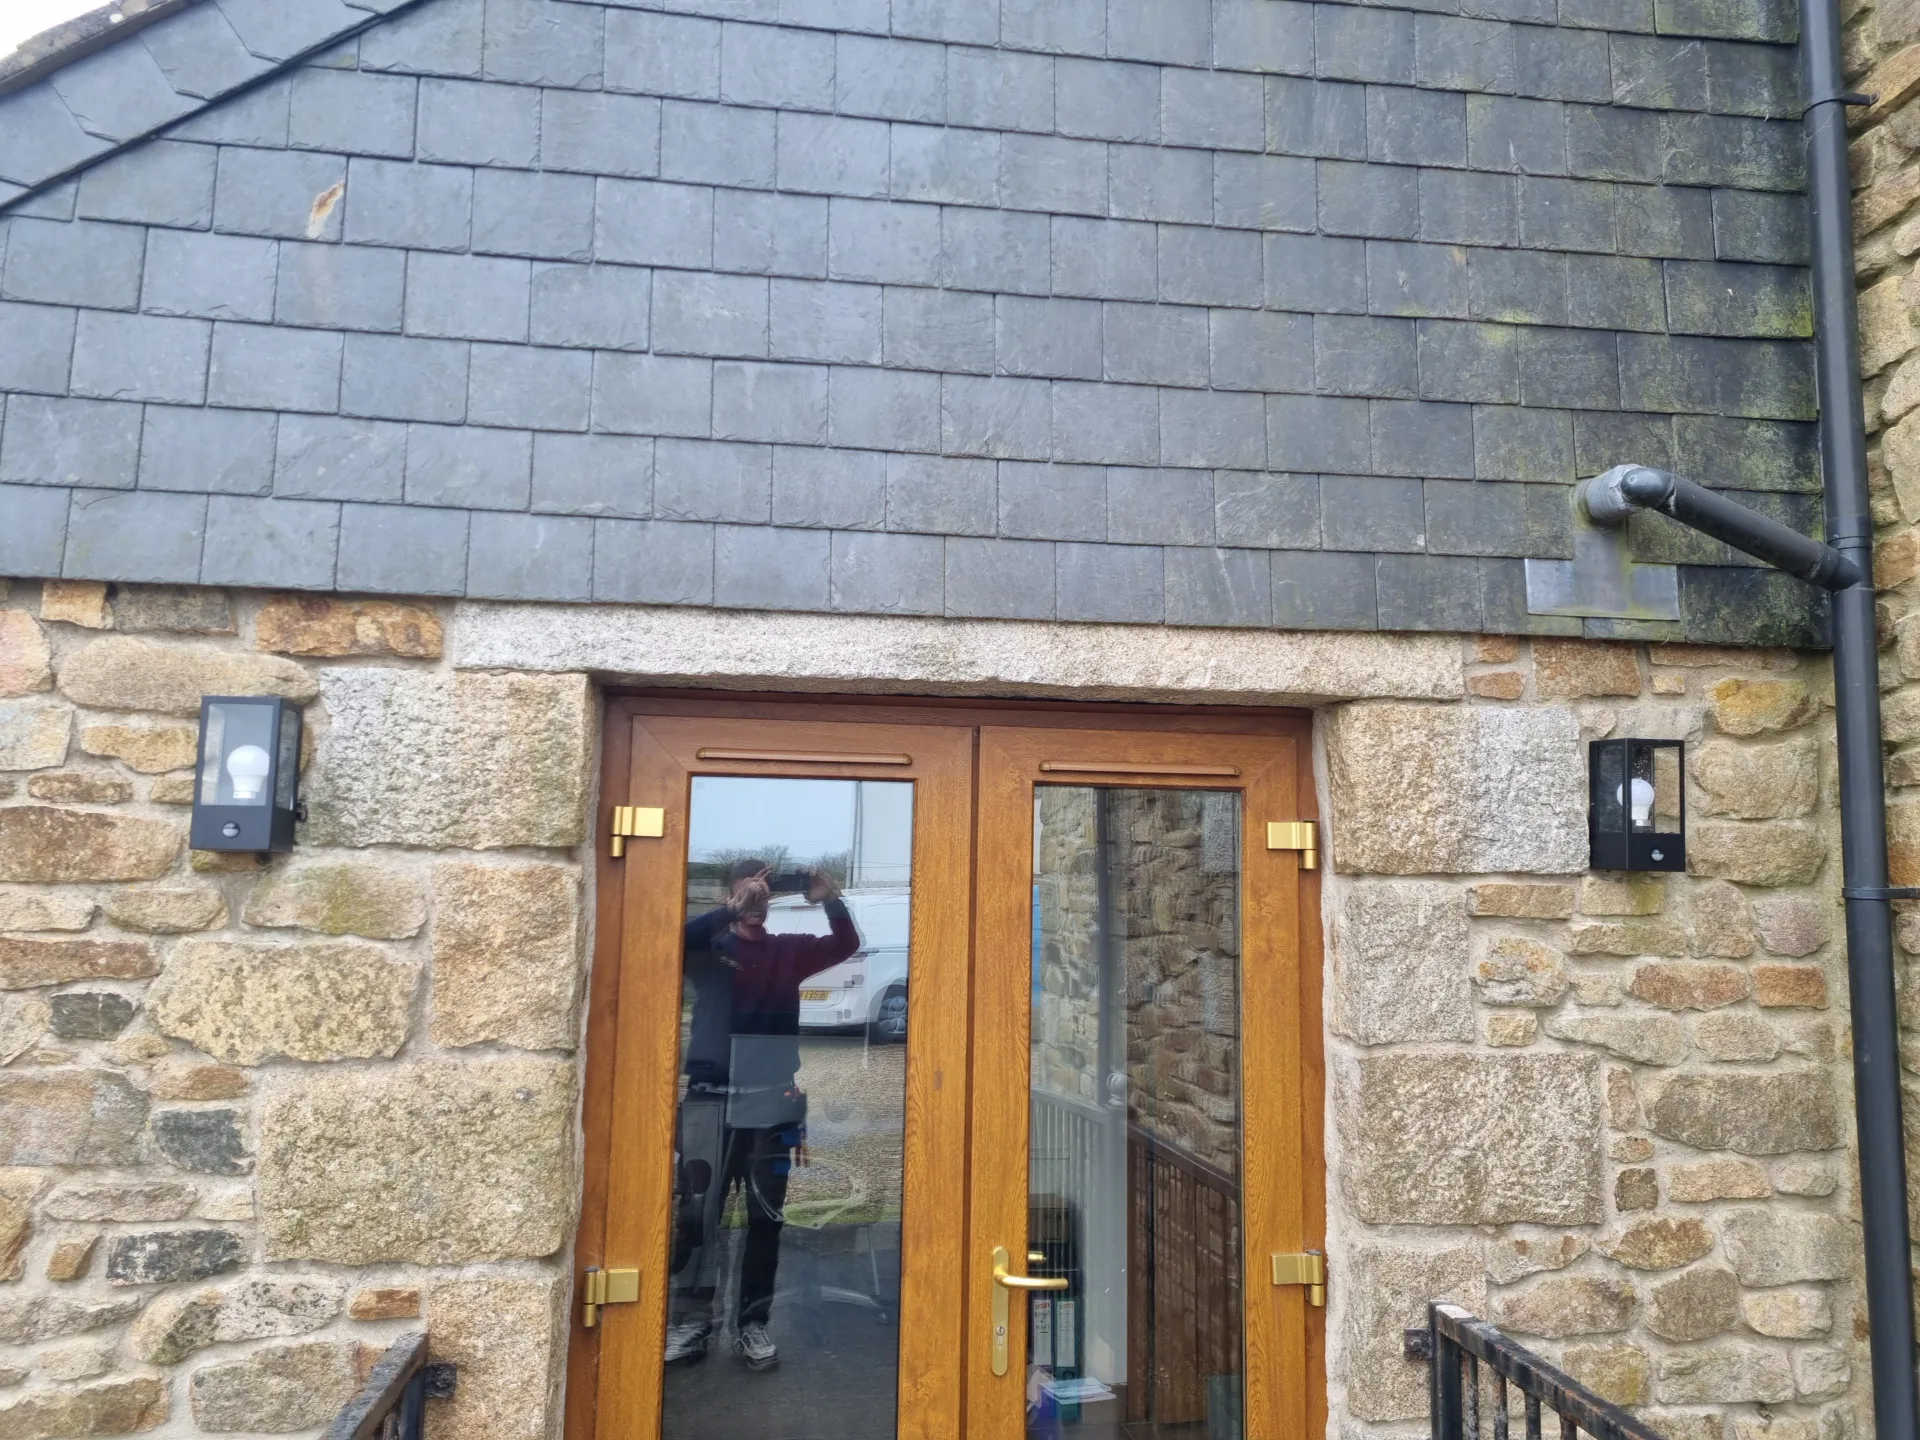
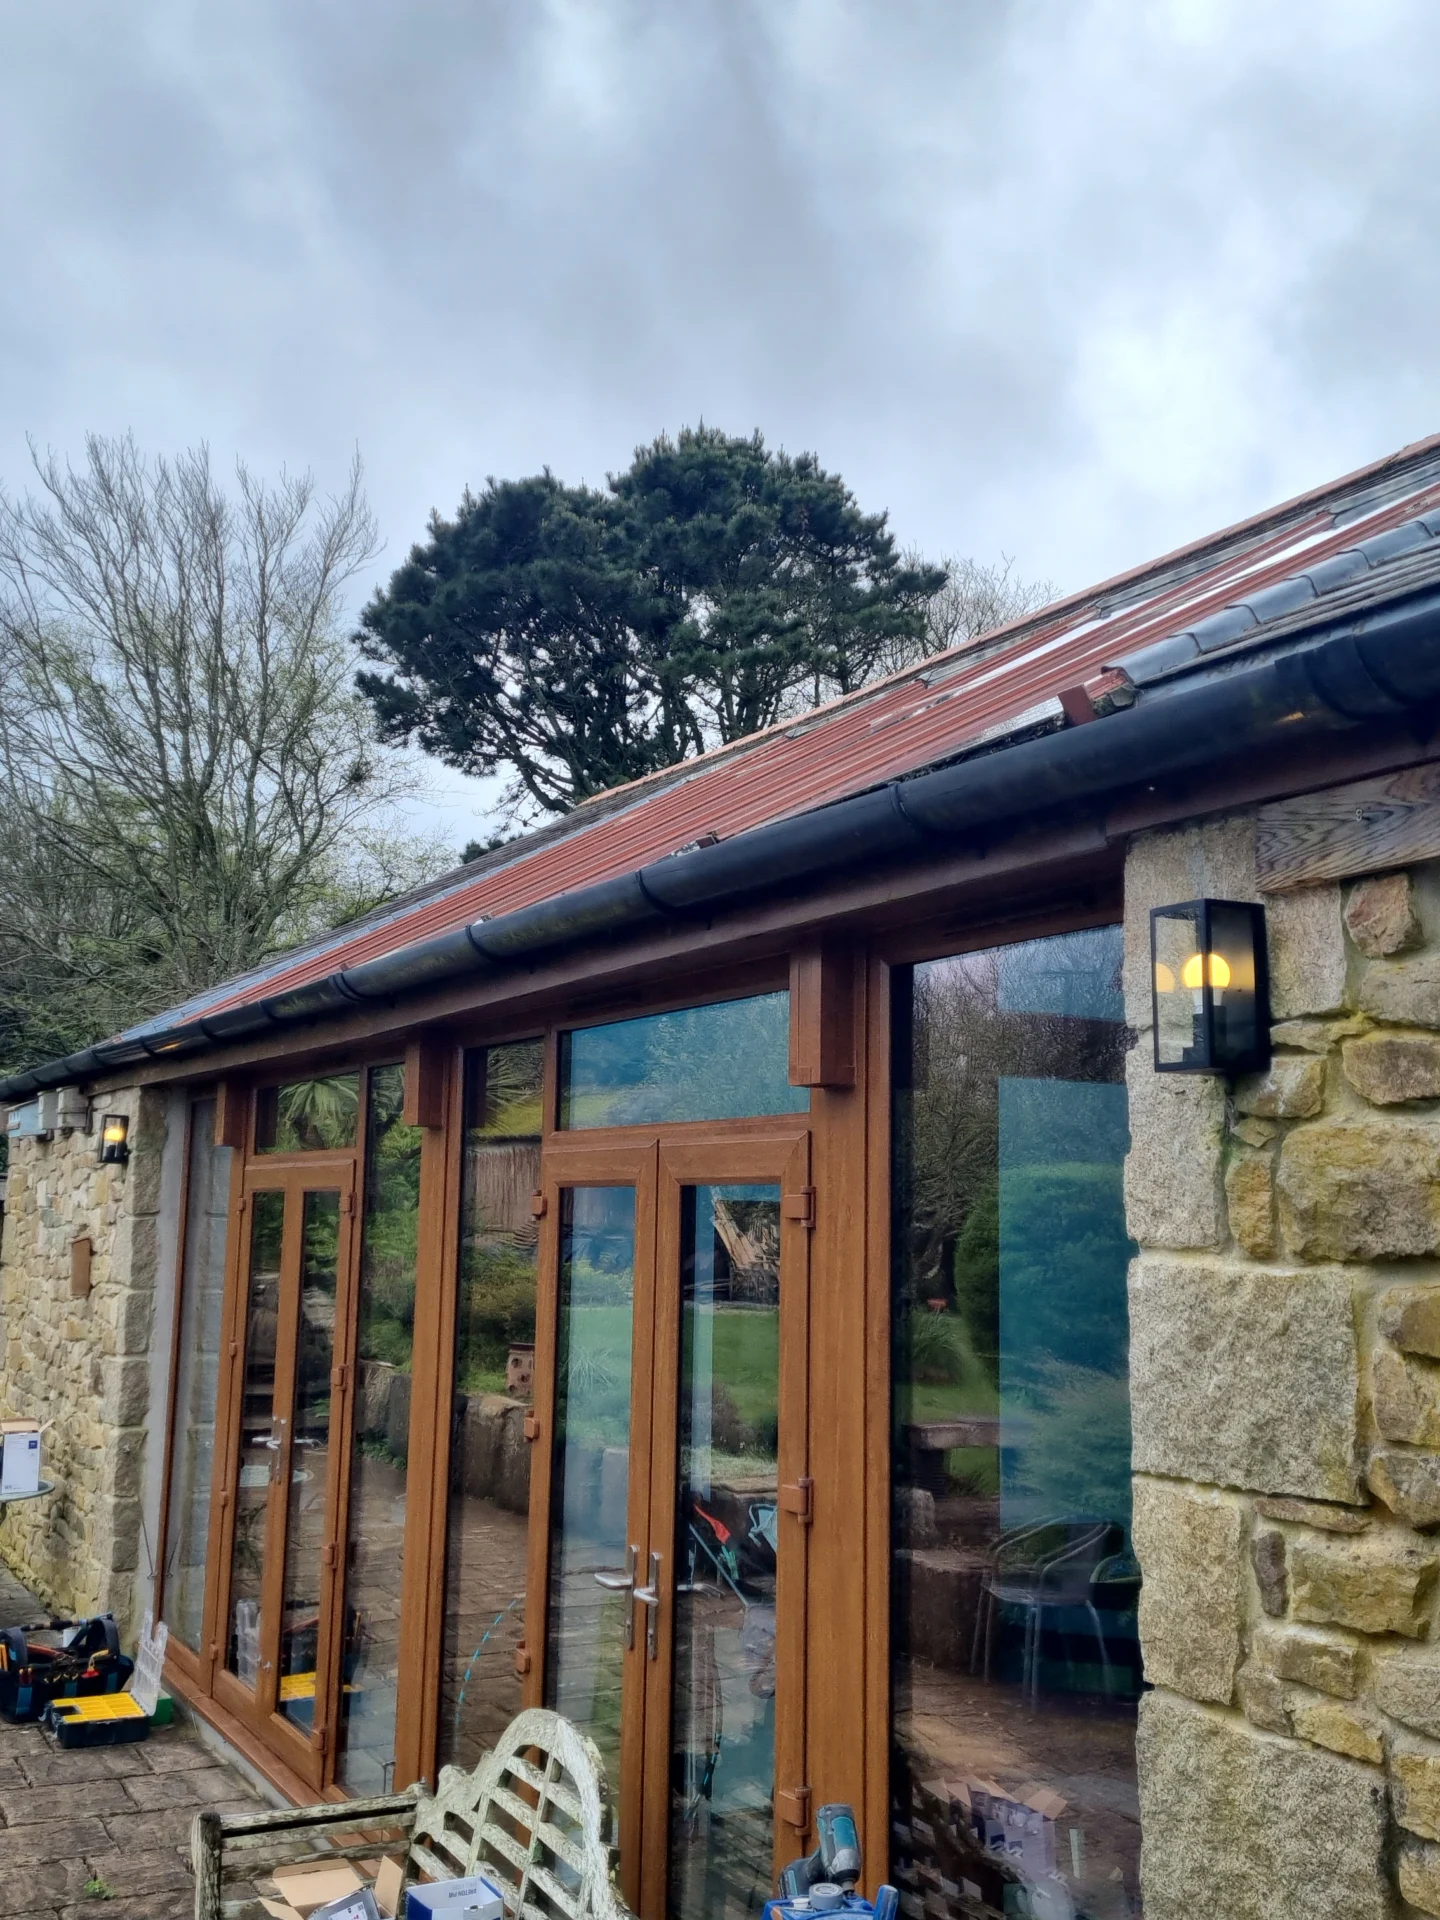
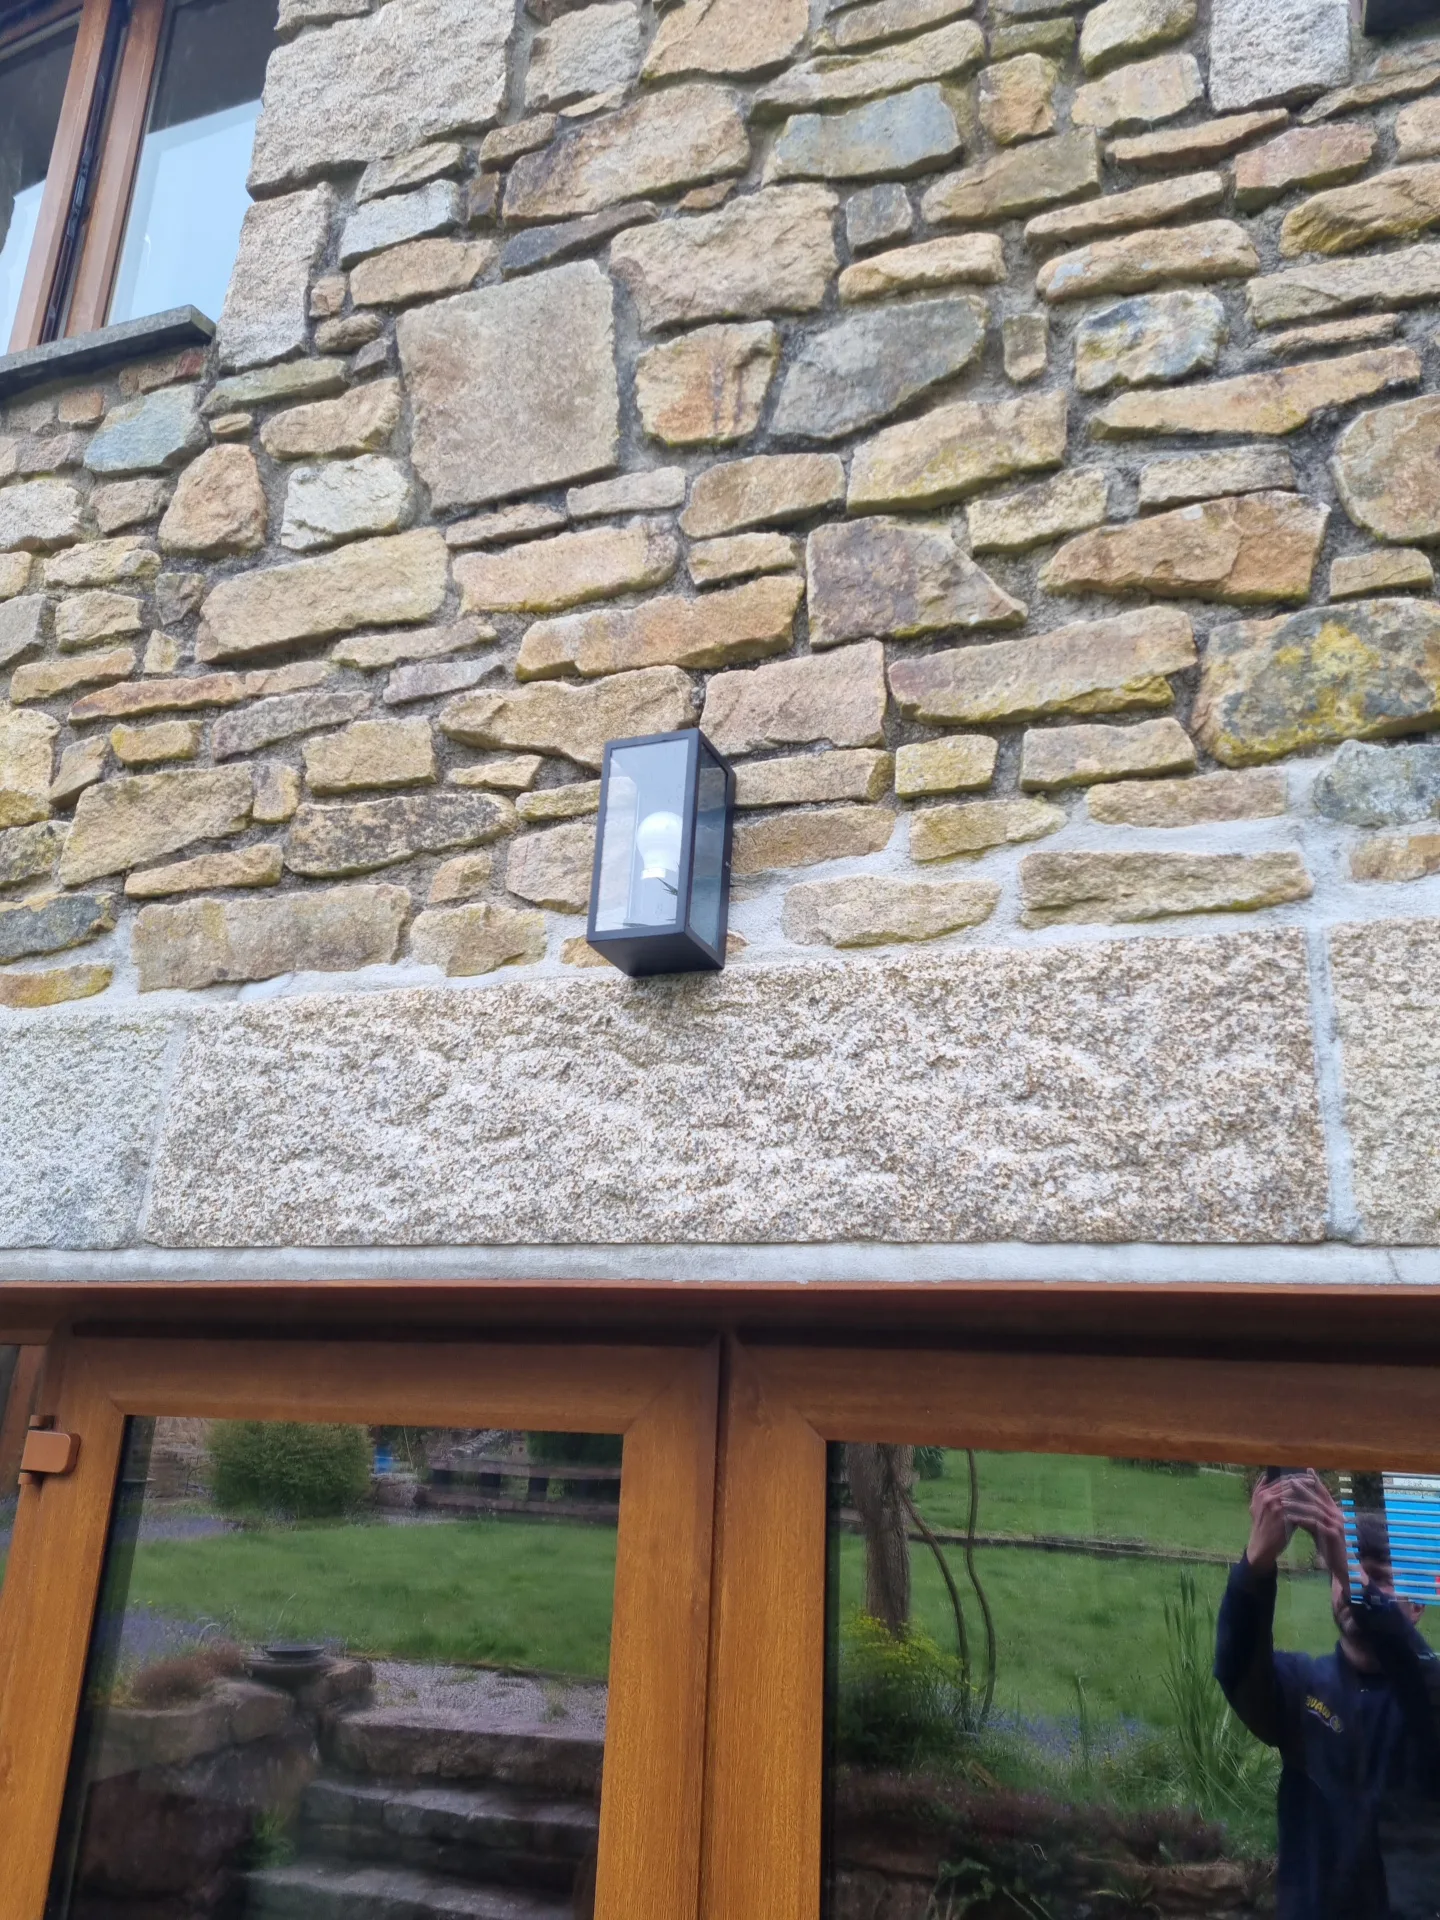
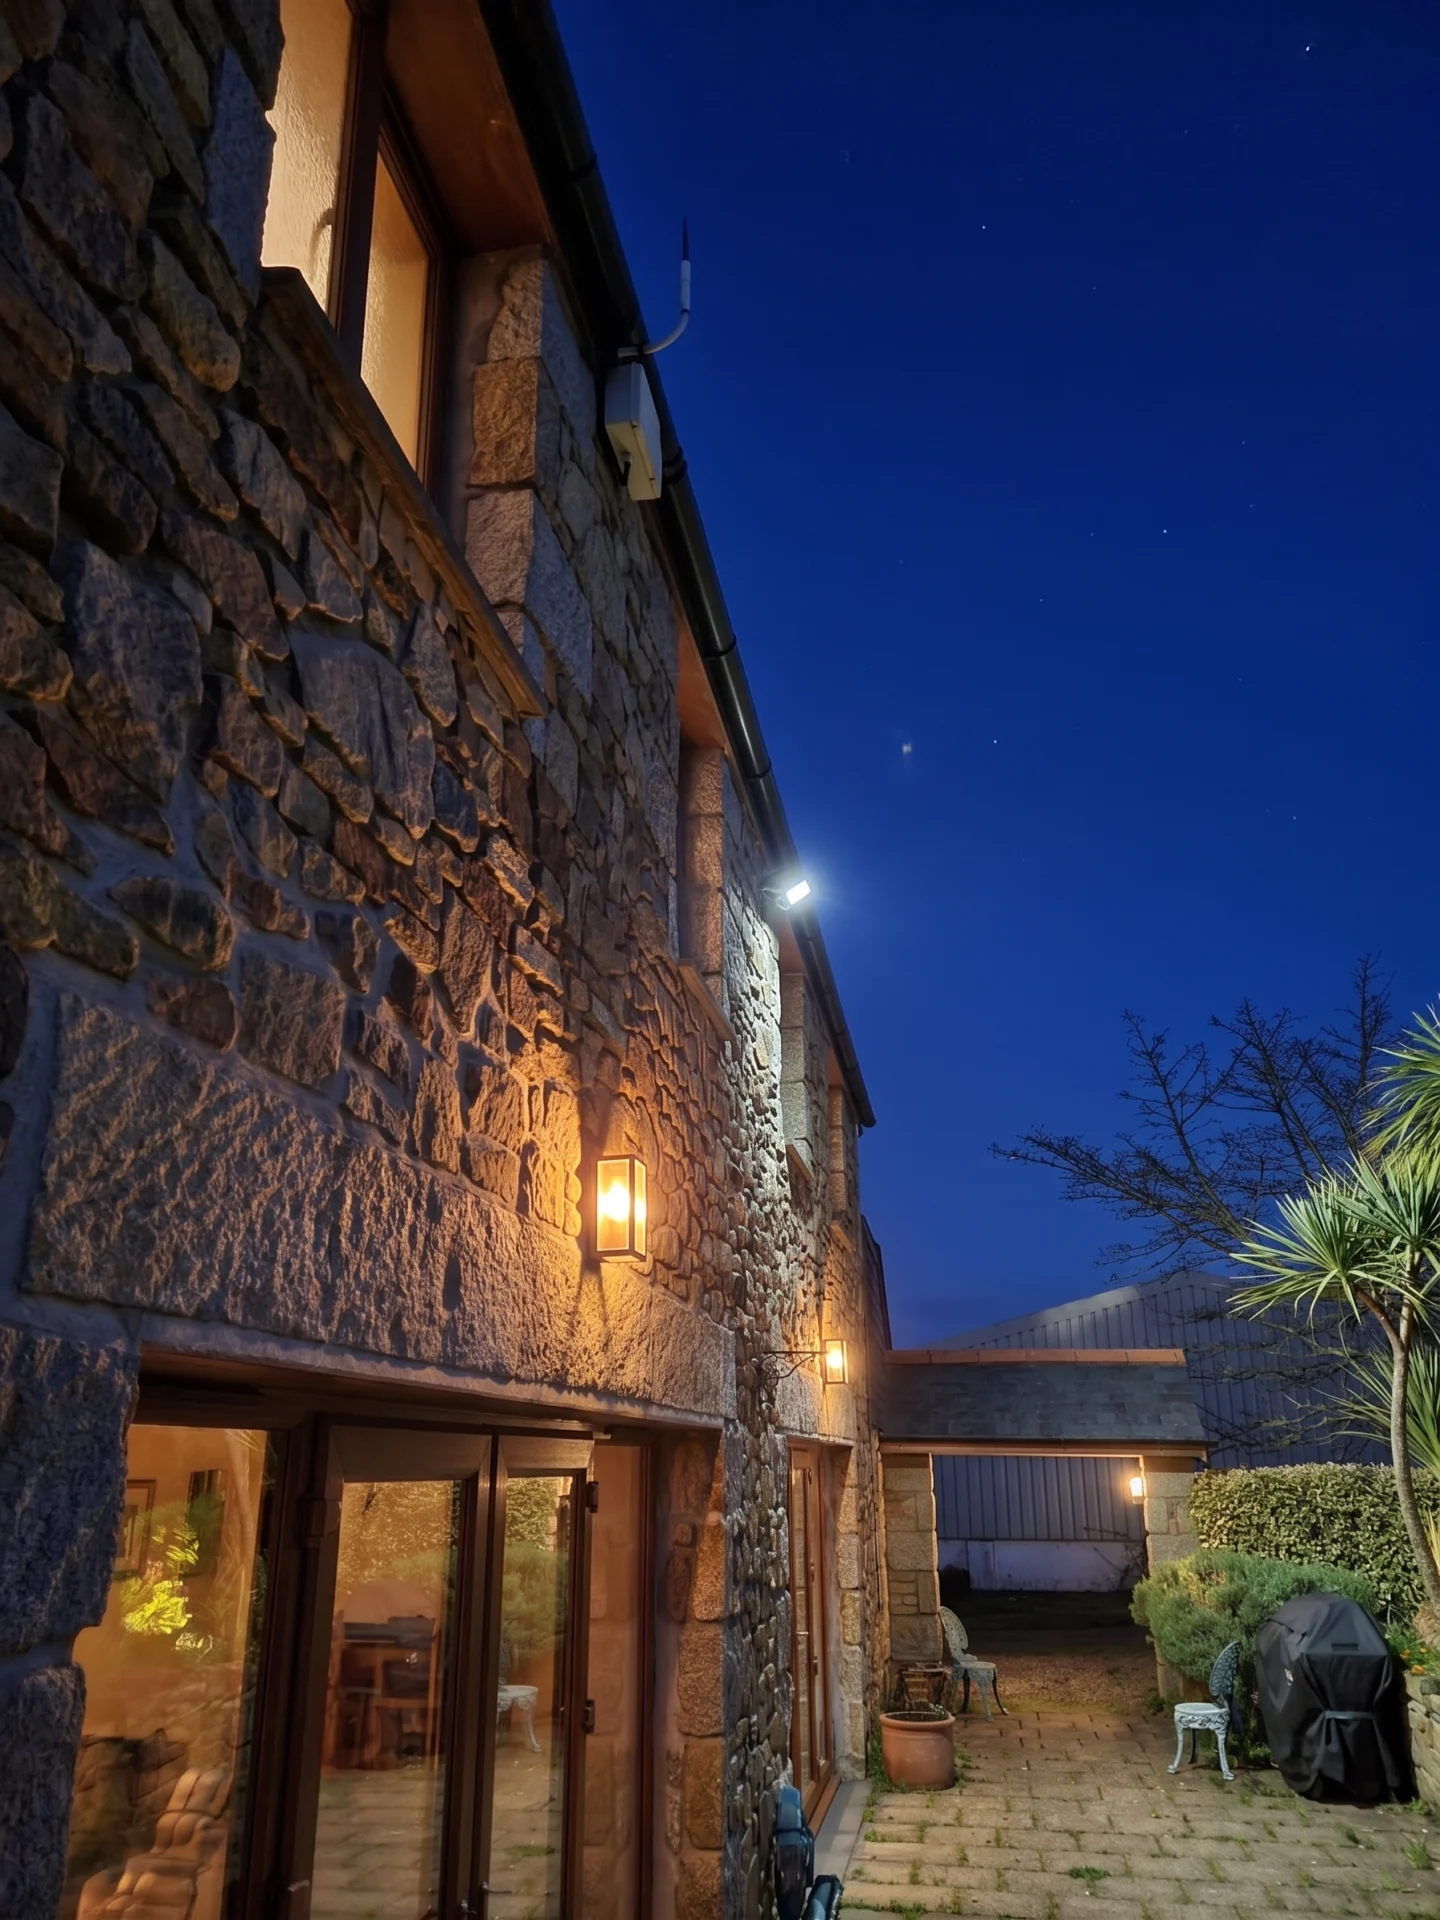
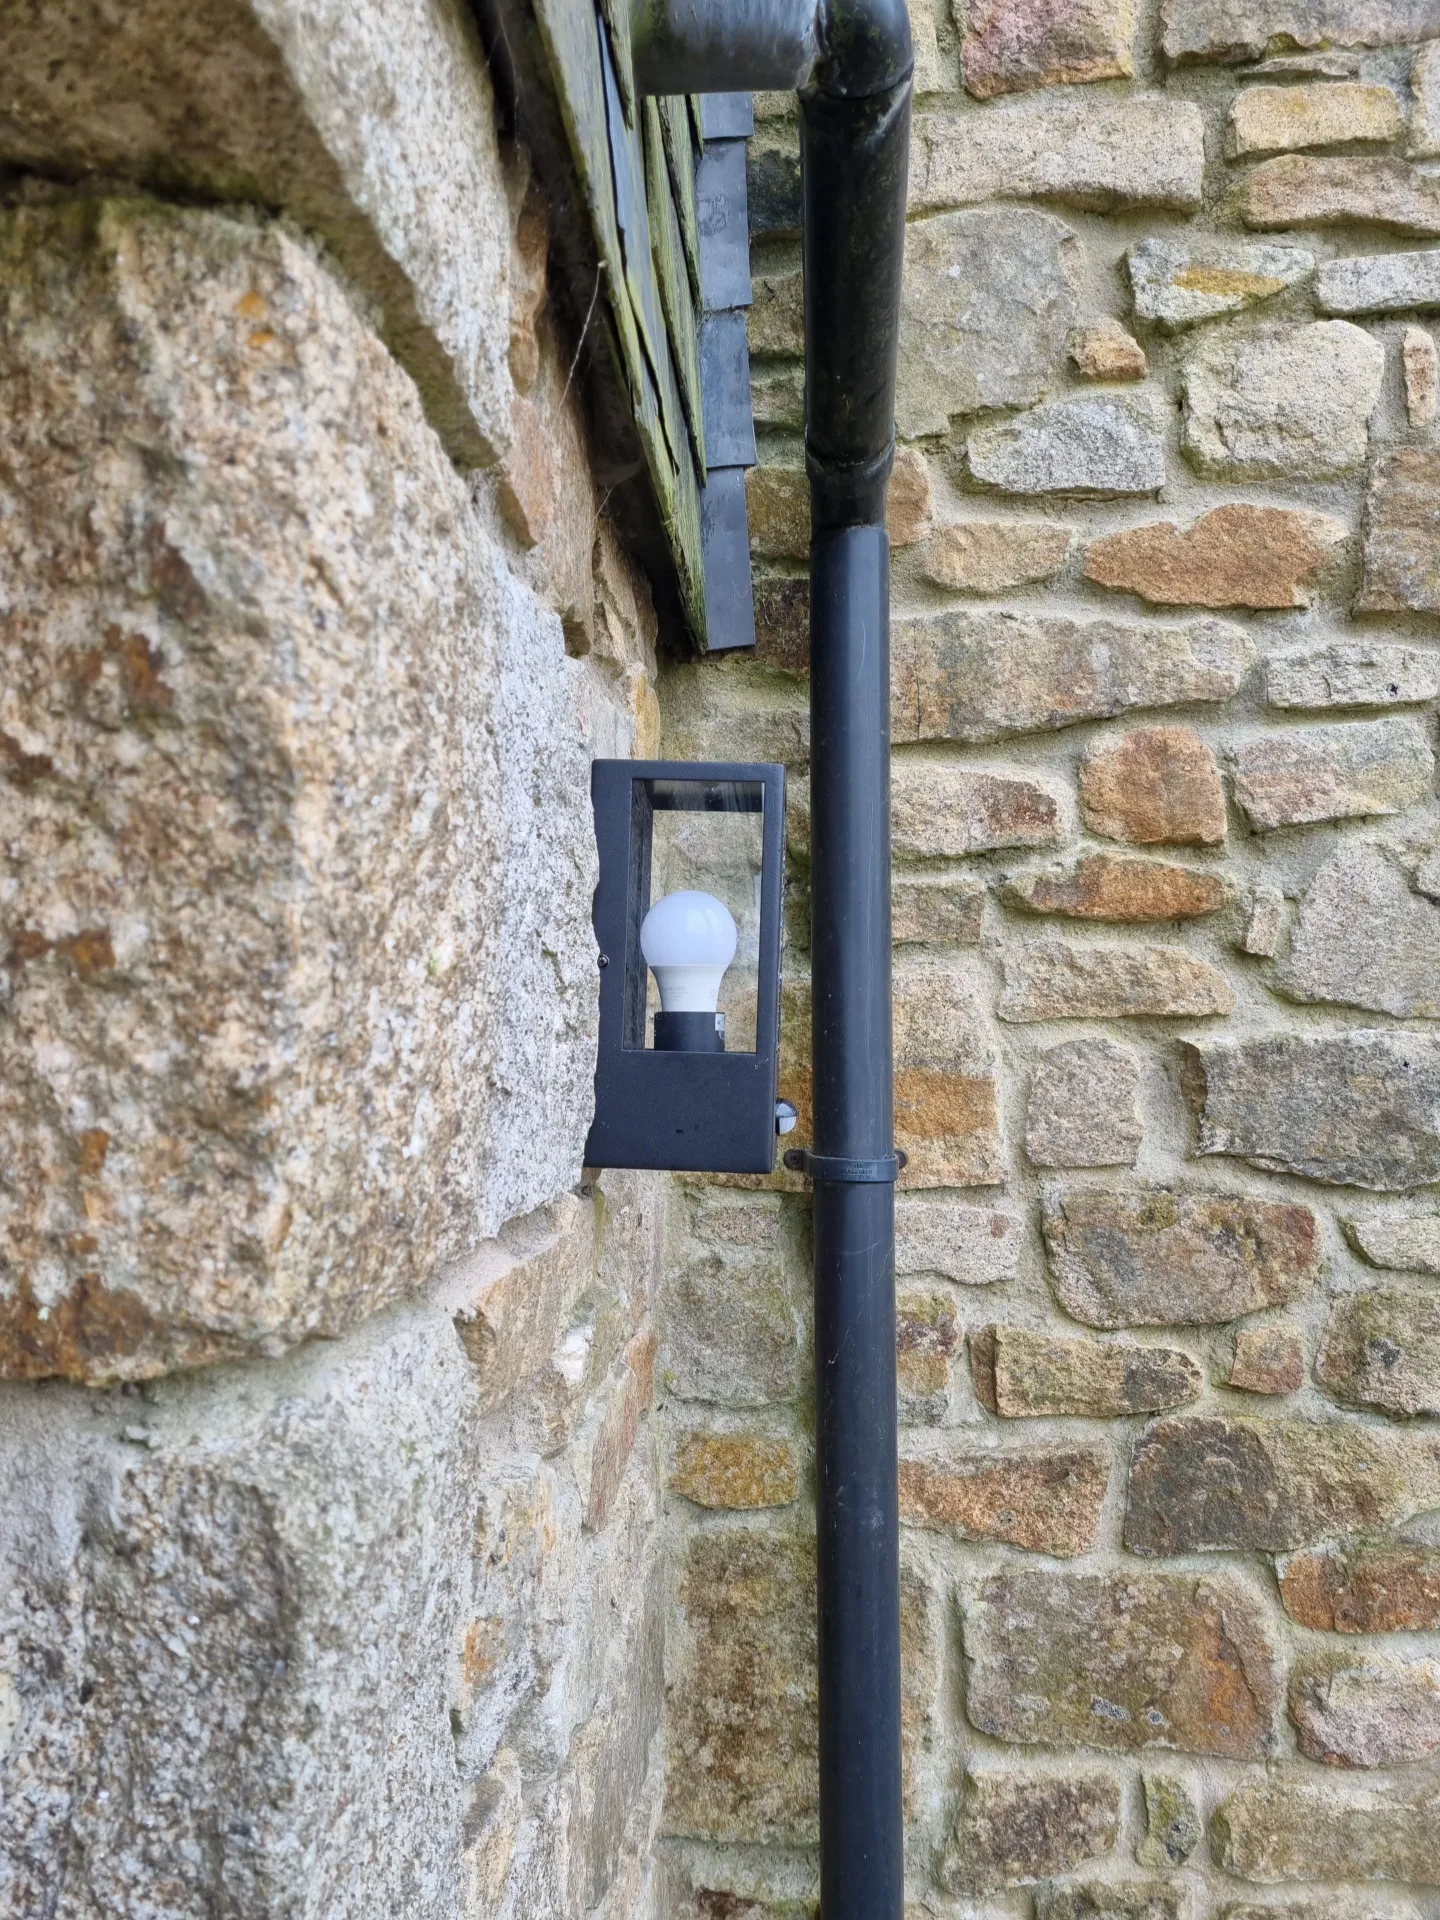
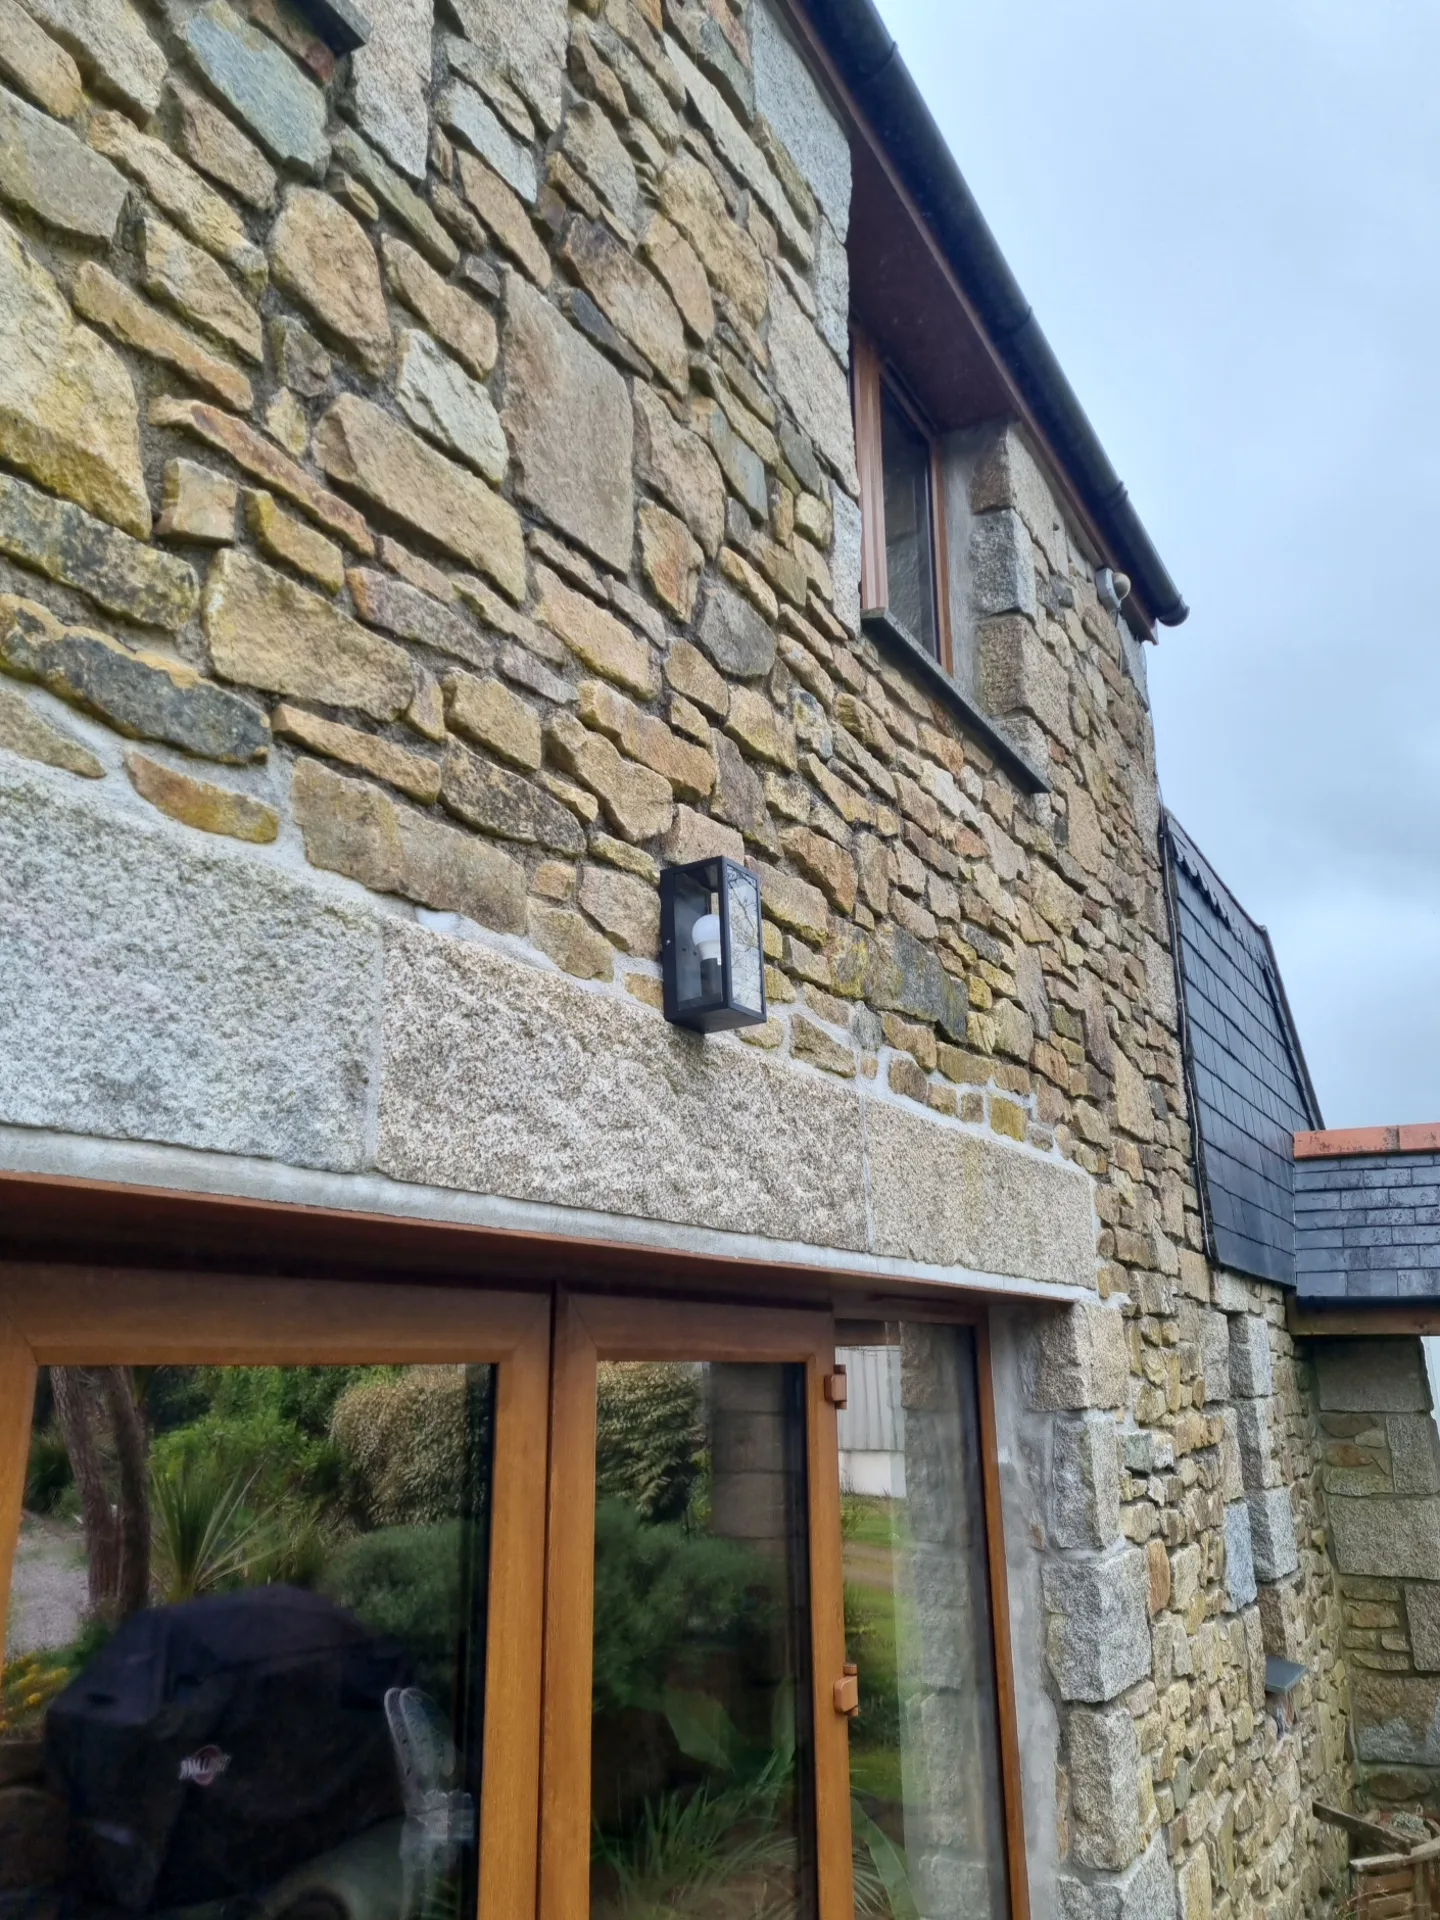
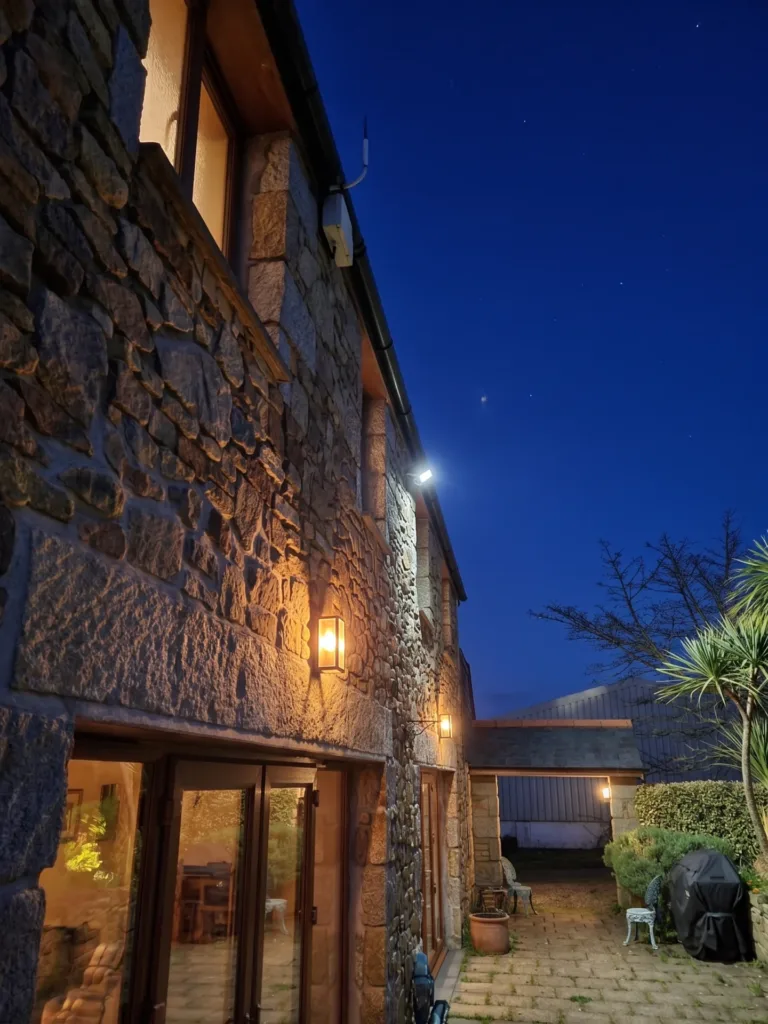
The exterior phase of the job involved the installation of eight separate wall lights. These units were planned for pre-wired locations around the perimeter of the building. Before any physical mounting took place, we carried out comprehensive continuity tests on all the existing outdoor wiring. Verifying the integrity of the pre-installed cables prevents future faults and confirms the circuit can safely handle the new load. Mounting fixtures to the exterior of this specific property presented a distinct physical challenge due to the building’s construction. The walls are built from solid granite and traditional stone. Standard masonry drilling is often ineffective or risky on irregular stone surfaces, as it can cause cracking or spalling. To address this, we employed a stitch drilling technique. This process involves drilling a series of small, closely spaced holes to carefully remove material and create a secure anchor point without compromising the surrounding stone. This meticulous method takes more time but yields a much more stable and visually pleasing result on hard masonry.
We successfully installed and wired seven of the eight exterior fixtures. The final exterior light, situated near a pre-existing wiska box, remains on hold for the time being. The wall surface in that specific spot requires plastering and making good before the light can be securely mounted. We scheduled this final exterior fitting to align with our return visit for the interior second fix work.
Alongside the physical exterior lights, we updated the switching configuration for the main patio illumination. The client requested a two-way switching system to control the outdoor patio lights from multiple indoor locations. We altered the wiring configuration to accommodate this two-way setup. For the immediate term, we fitted standard white switch faceplates. The homeowner intends to order specific decorative switches to match their exact interior decor preferences. By installing the standard switches now, the patio lighting is fully functional, and replacing the faceplates later will be a straightforward task once the decorative units arrive on site.
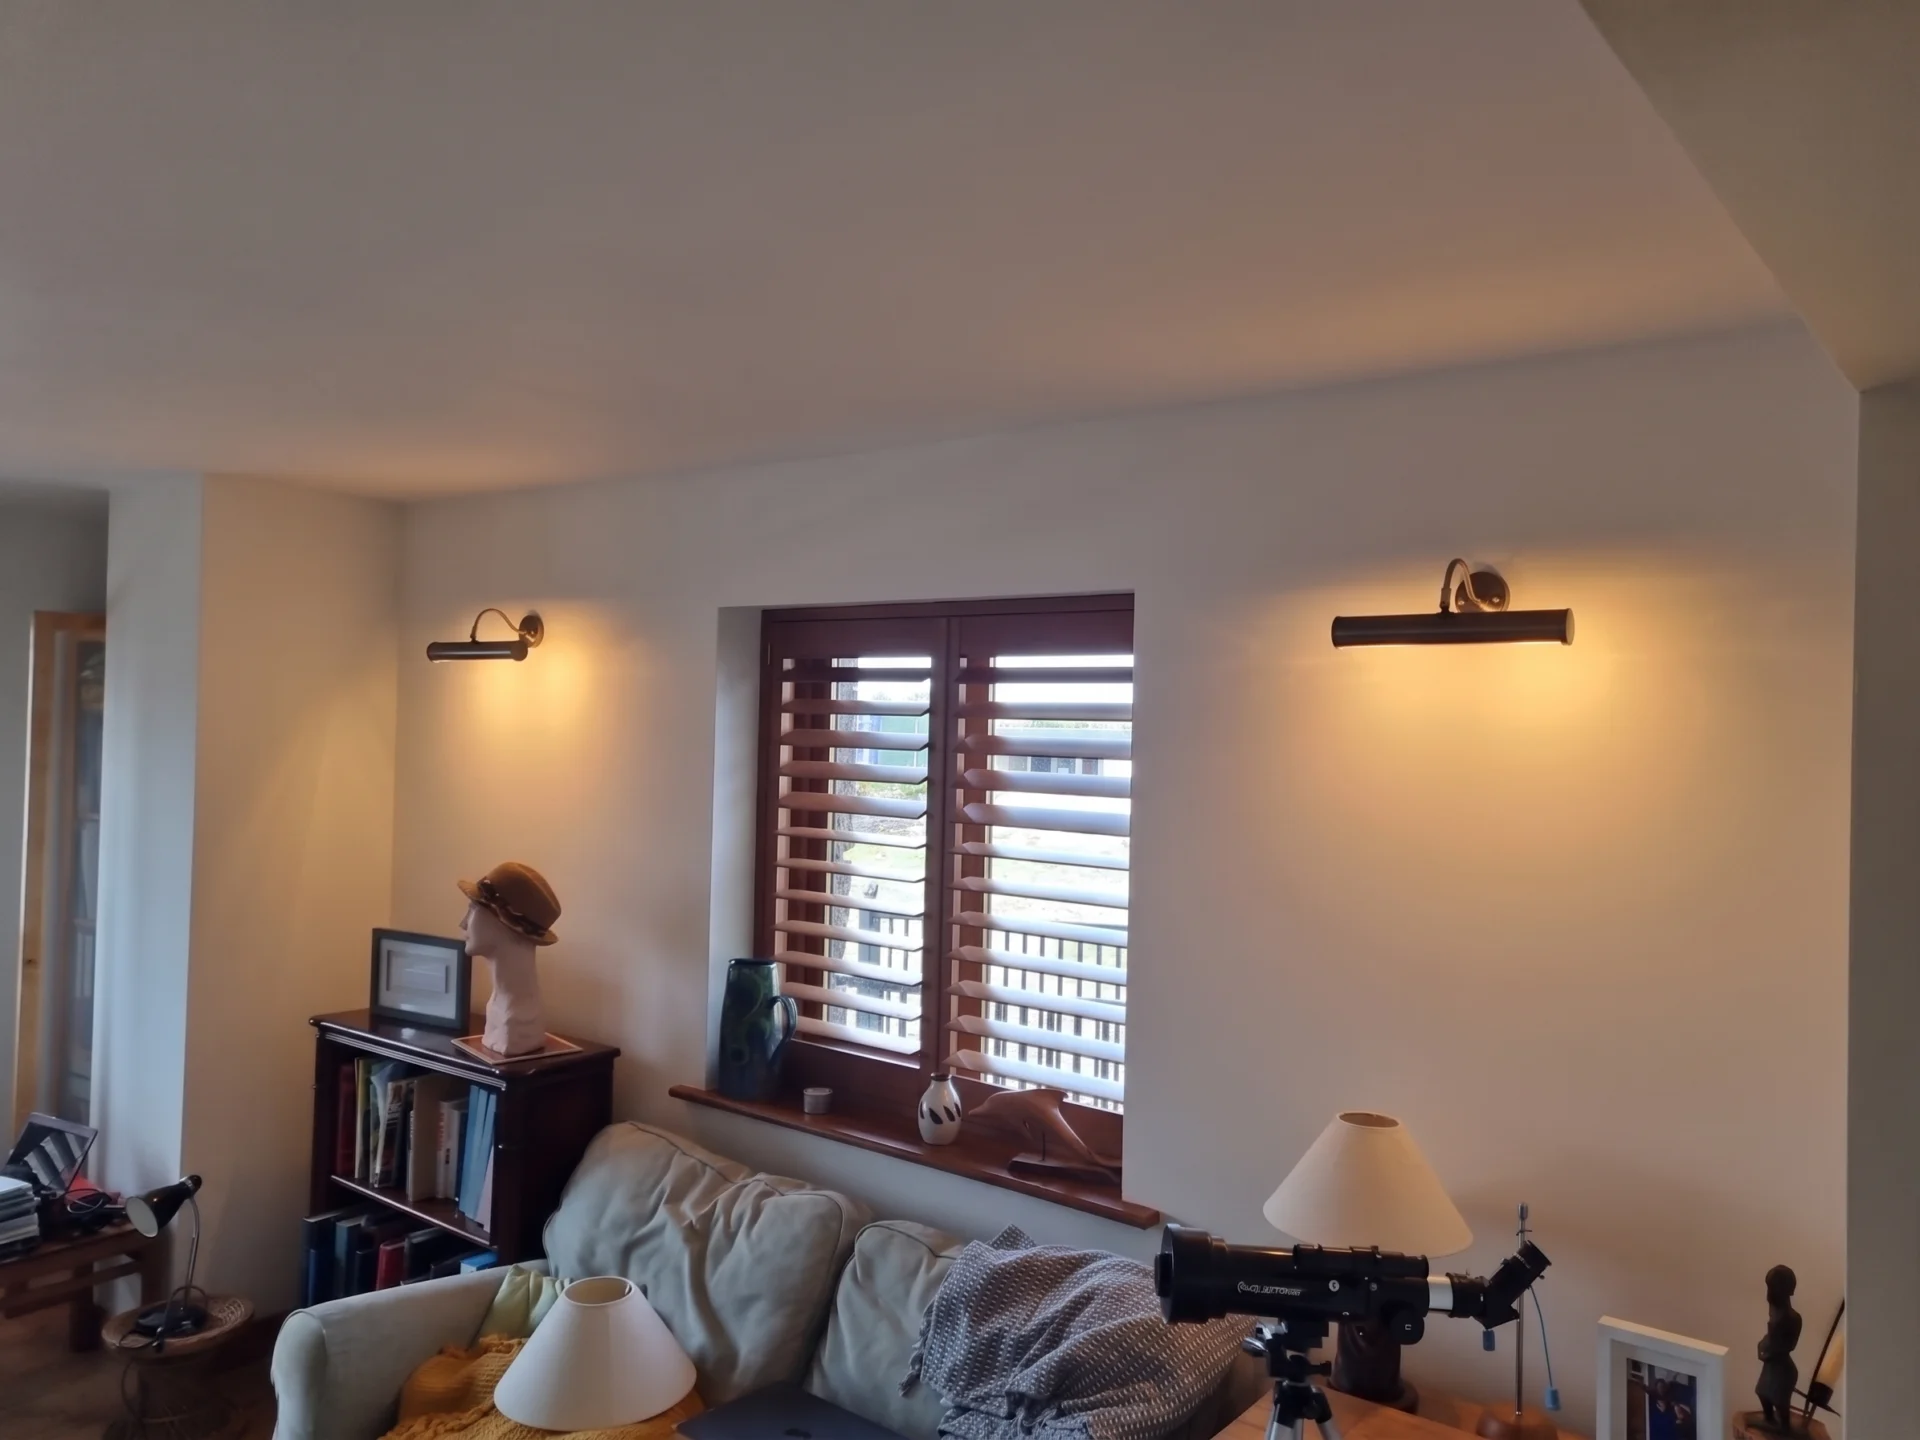
Moving indoors, the next segment of the project centered on internal wall lighting. The initial plan detailed the installation of four to five client-supplied wall lights, again utilising pre-wired positions throughout the property. Just as with the exterior circuits, we ran continuity and suitability checks on the internal wiring before making any connections. During our time on site, the scope of the internal work expanded slightly. The customer asked if we could swap out two additional existing wall lights. They had already sourced the replacement fixtures for these extra points. We accommodated this request, safely isolating the relevant circuits, removing the old units, and installing the newly supplied fixtures in their place.
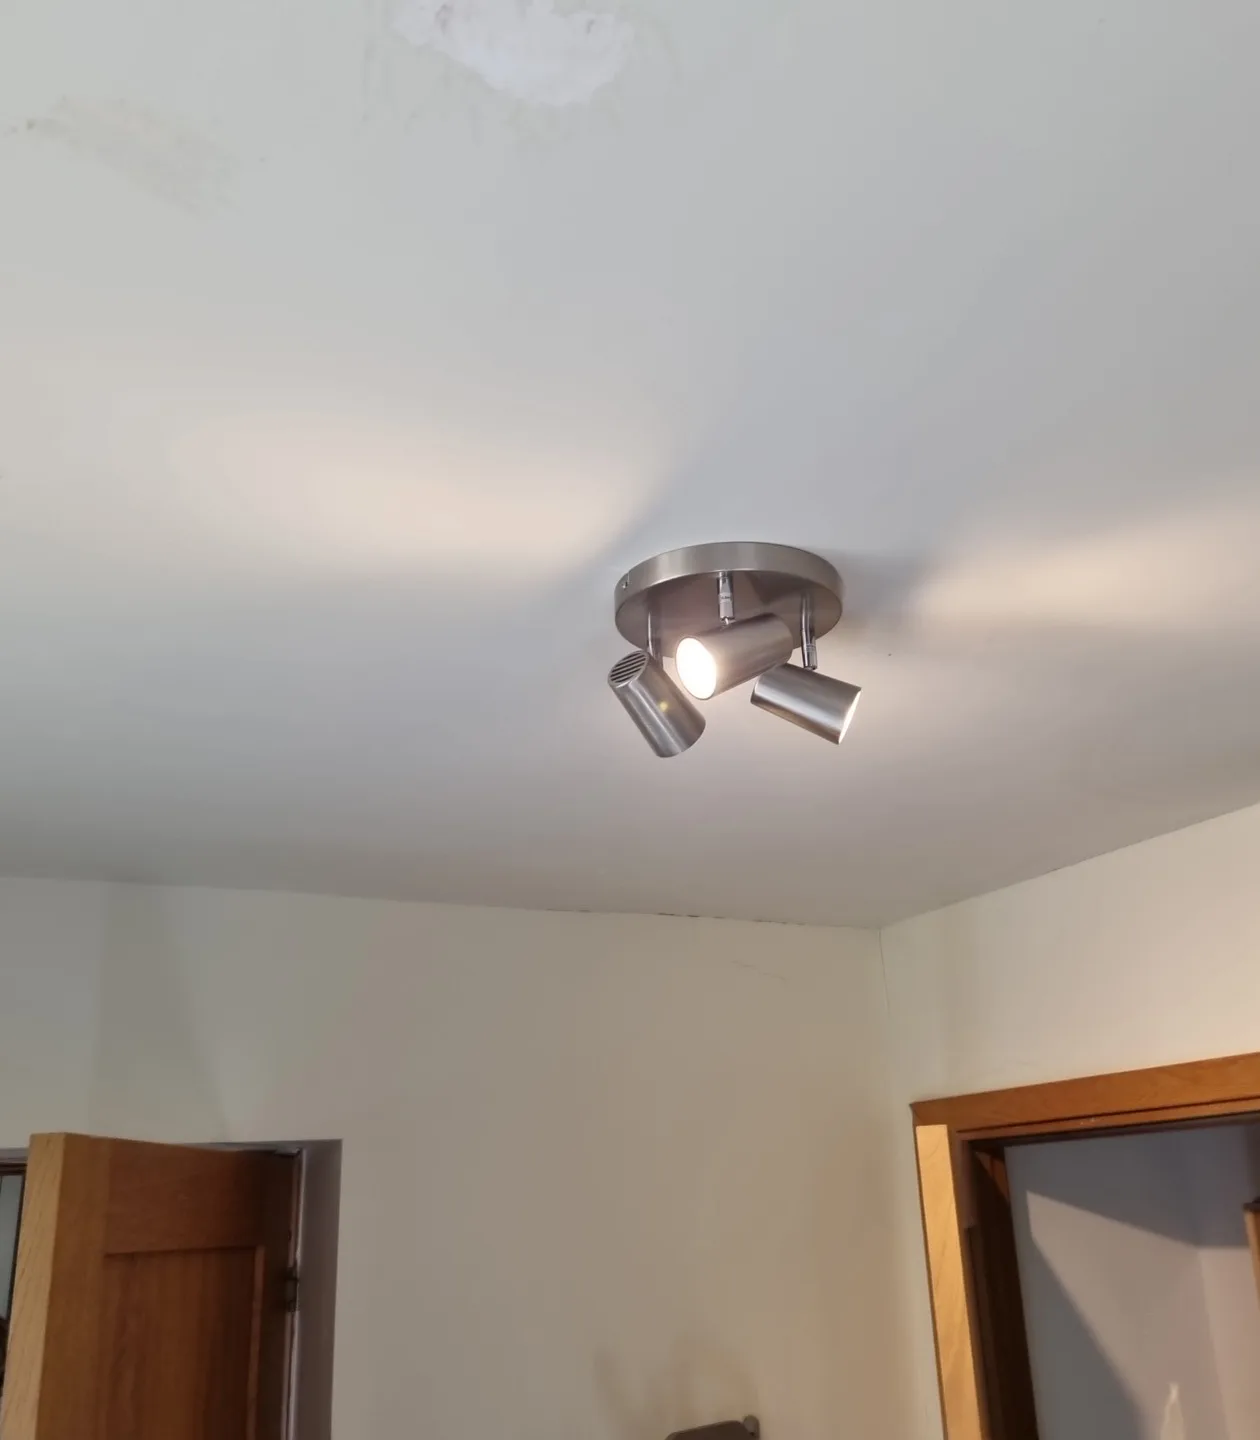
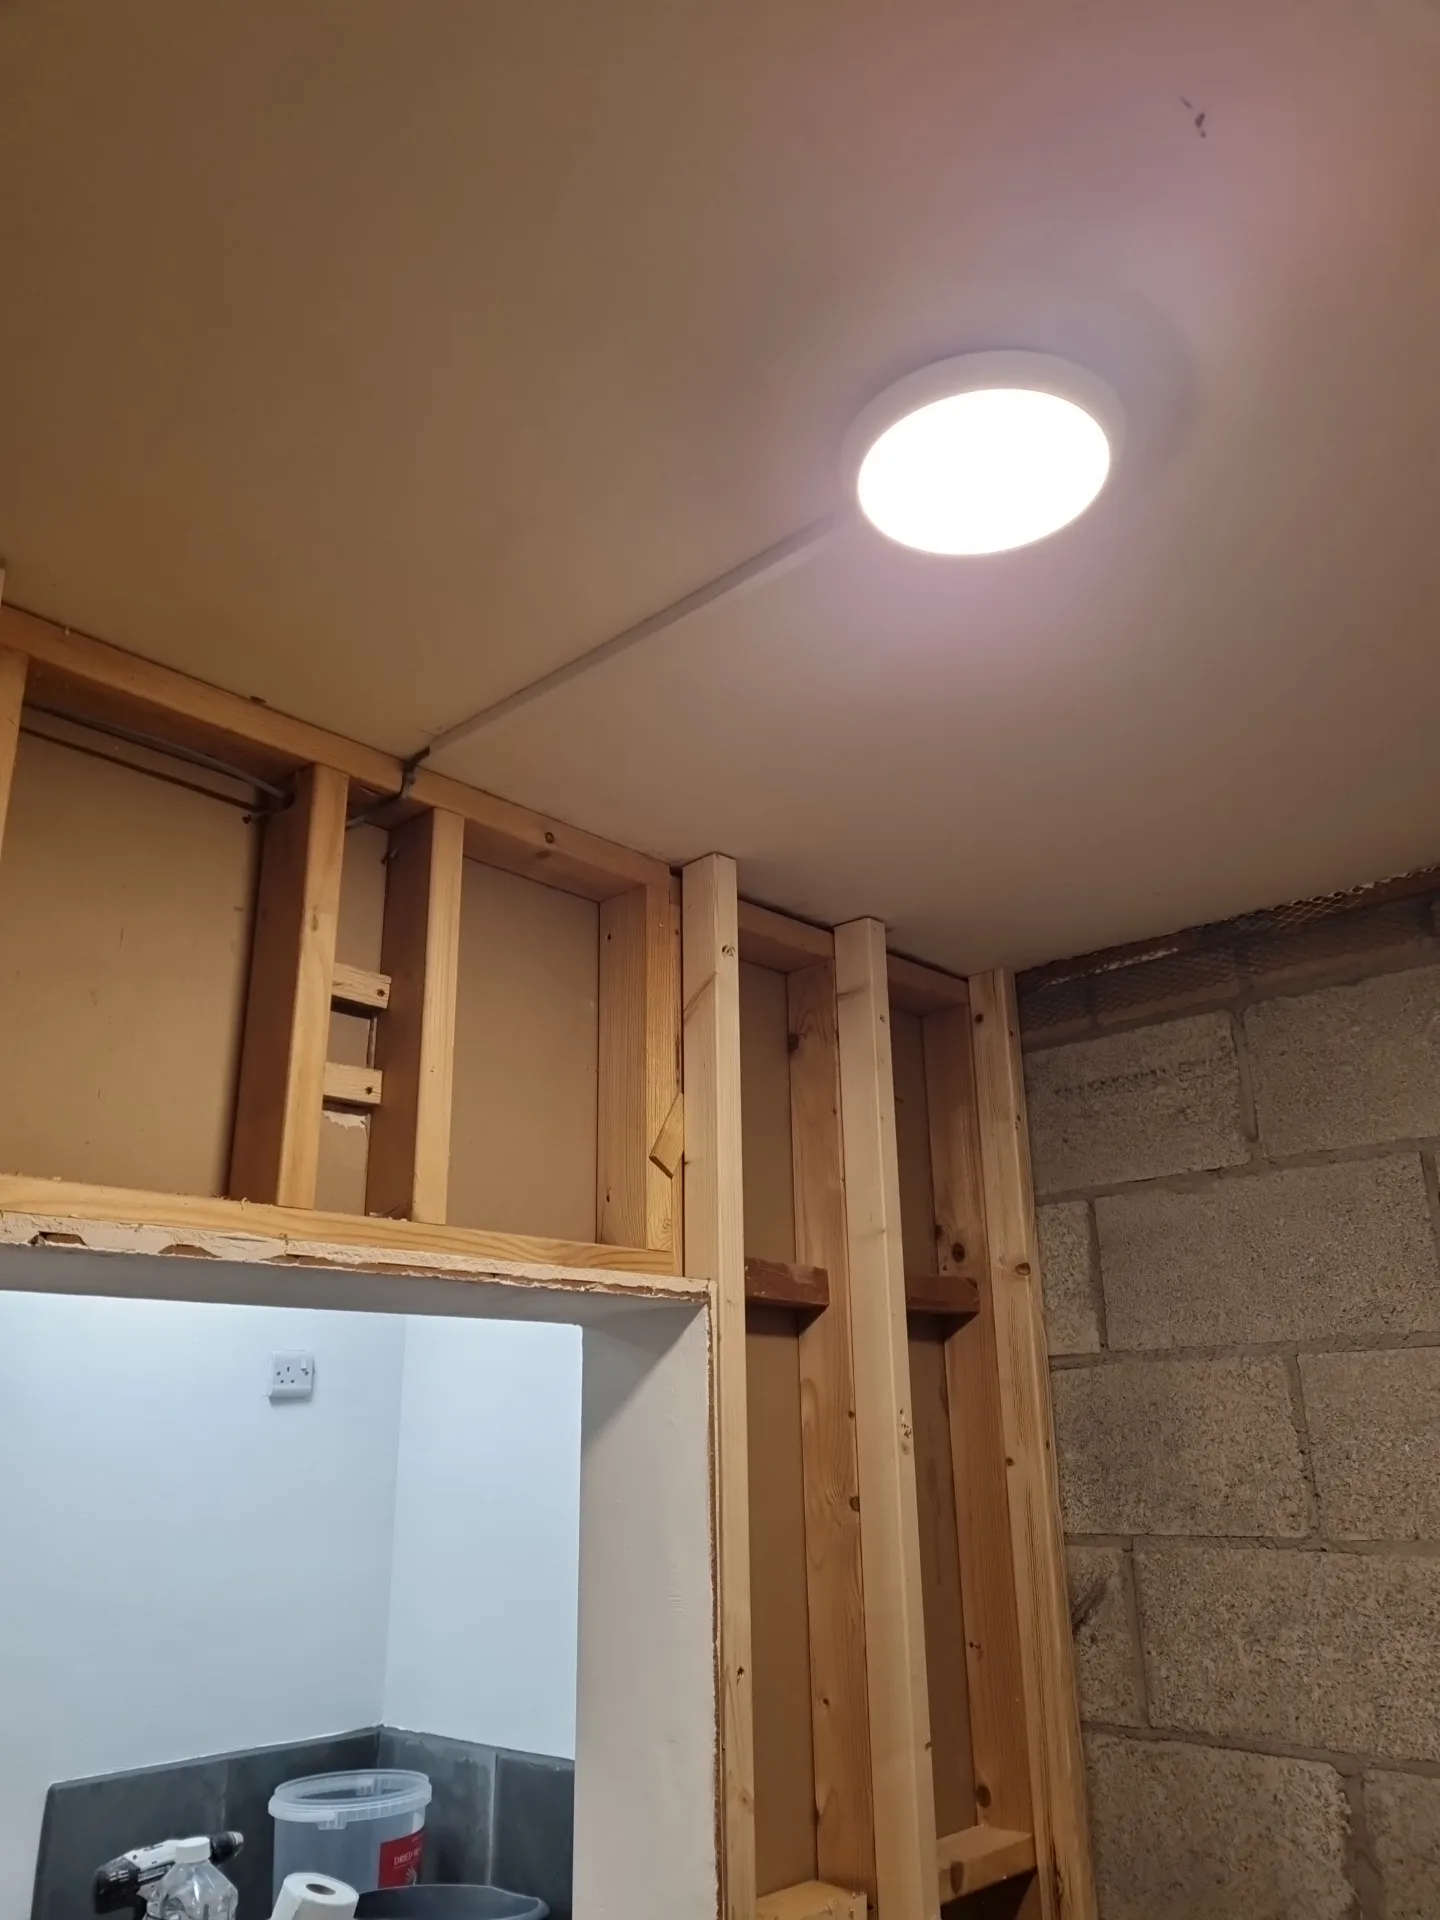
Another internal modification took place in the utility room. The original lighting layout in this functional space consisted of two separate ceiling fixtures. The client preferred a cleaner, centralised lighting solution and had purchased a single, larger light fitting for this purpose. We disconnected and safely terminated the wiring for the two original lights. We then adjusted the ceiling circuit to provide a single feed directly in the centre of the room, followed by the installation of the new customer-supplied fitting. This alteration creates a more focused light source and changes the visual dynamic of the ceiling space.
The final major component of this Scorrier project involved establishing a completely new lighting circuit for a recently constructed store cupboard, located immediately adjacent to a sauna room. Because the construction of this store area was still ongoing, our electrical work had to be split into two distinct phases. This visit covered the first fix stage of the installation. We identified an existing lighting circuit junction box within the broader store room area. We used this junction box as our power source, extending the electrical supply specifically for the new cupboard. We routed the new cabling through the exposed stud work, positioning the feeds for both a single light fitting and a corresponding wall switch. We secured all the cabling safely out of the way, leaving it ready for the next stage of the building process. The walls in the store cupboard now need to be fully plasterboarded and skimmed by the builders. Once those surfaces are finished and dry, we will return to carry out the second fix. This return visit will involve cutting out the back boxes, pulling the cables through the finished plaster, and making the final connections to the switch and the light fitting itself.