Have you ever looked around a room and realised the setup just doesn’t quite work for your daily routine anymore? That was exactly the situation we found on a visit to a property in Bodmin. The homeowners were making some smart adjustments to their living spaces and needed a hand getting the electrical side of things sorted out. They had a few specific tasks in mind for us to tackle, which involved swapping out a couple of existing light fixtures in the main house and getting some much-needed extra power into a garage conversion.
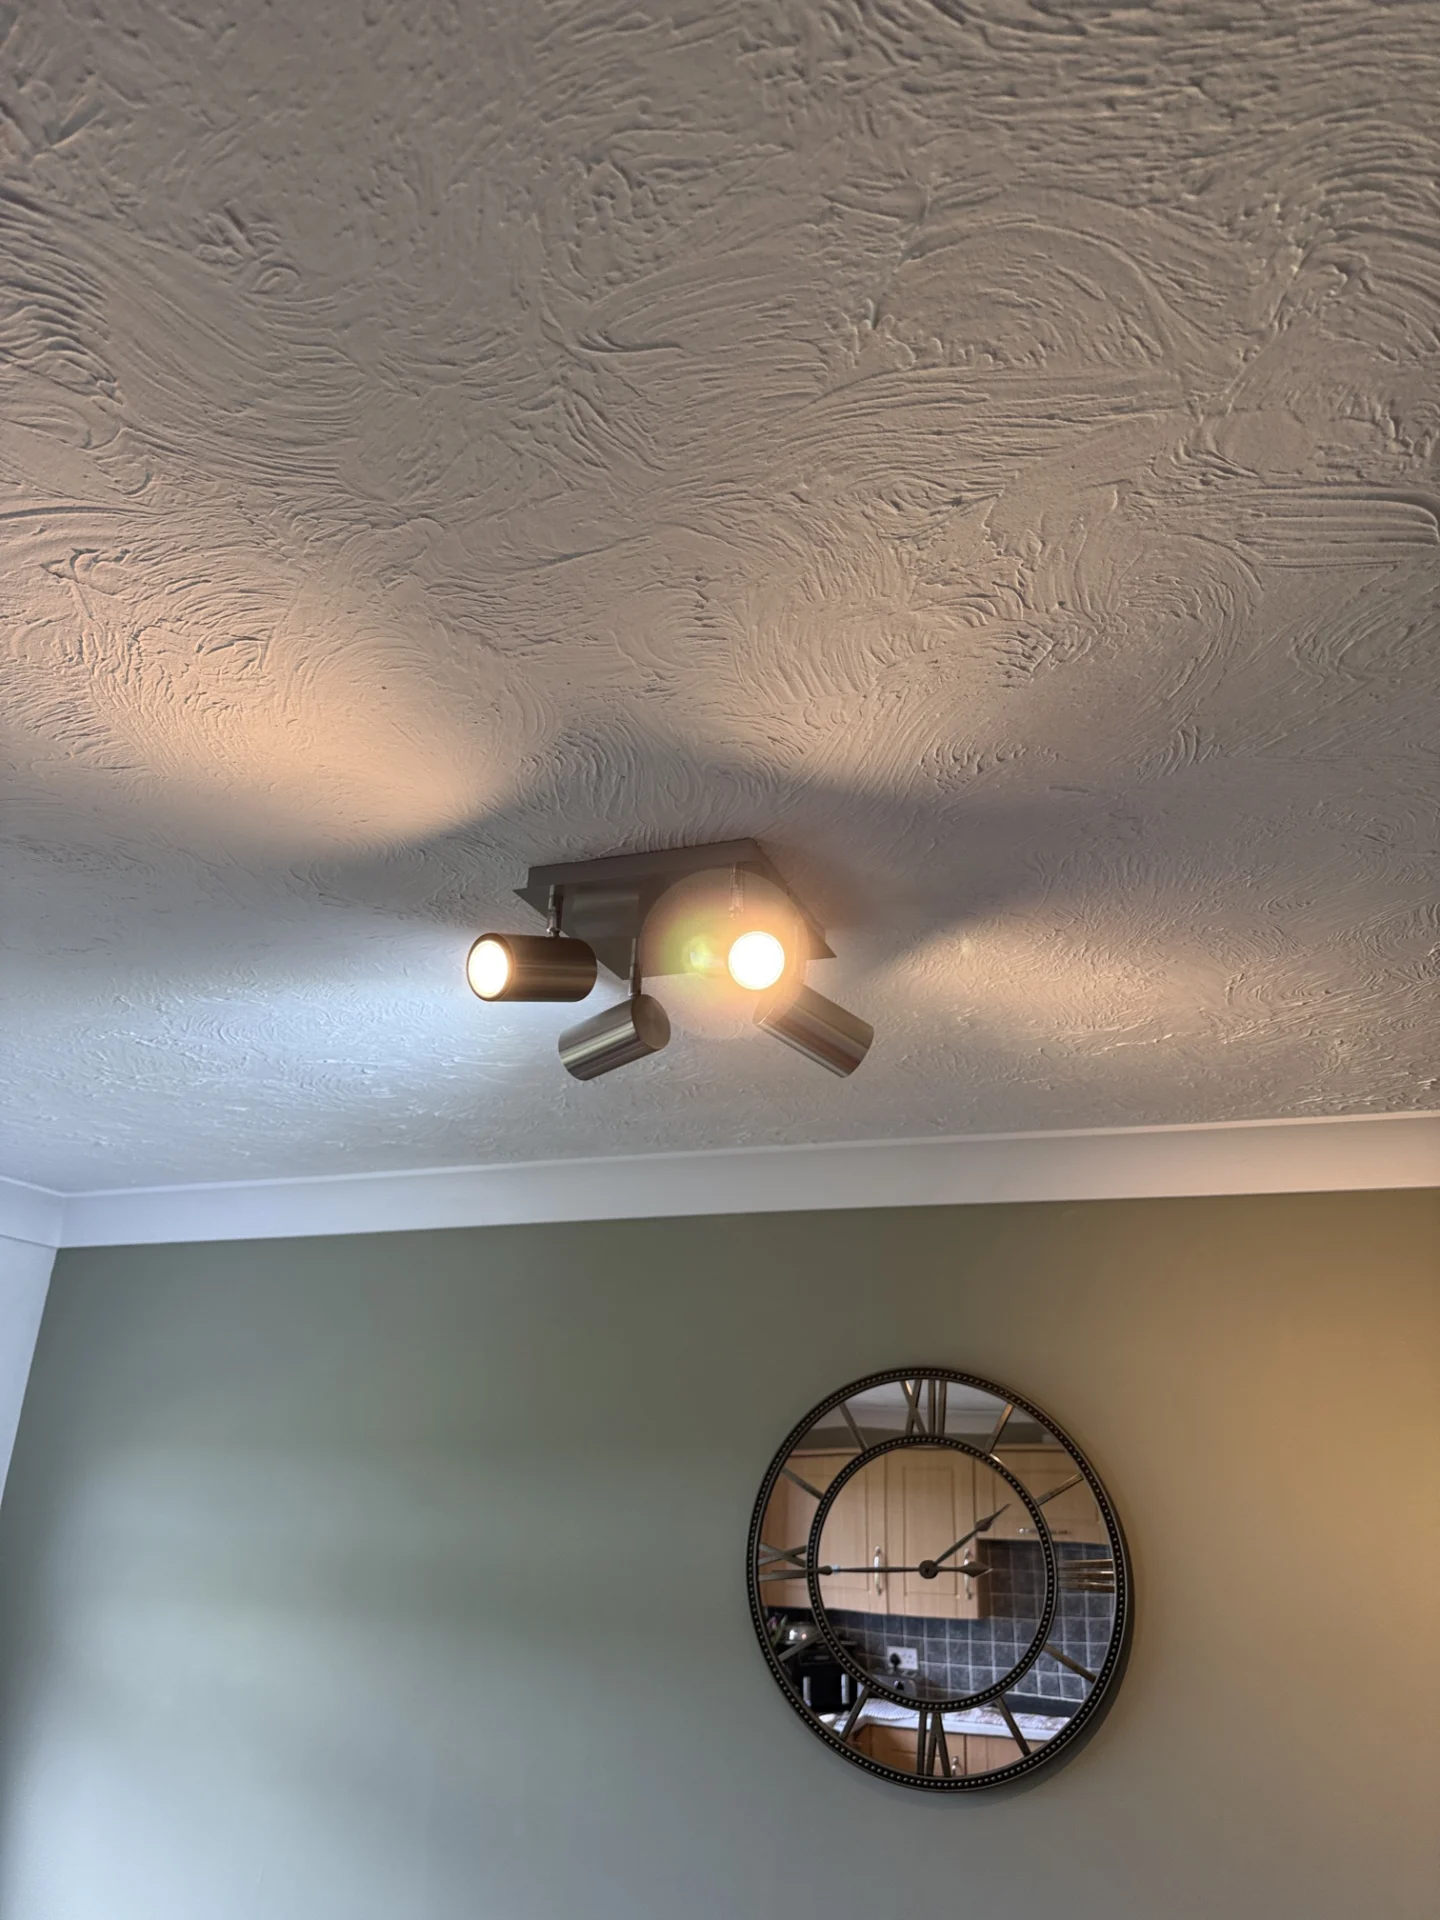
The first part of the job took us straight into the kitchen. The clients had already sourced their own light fittings for this space, which always makes things straightforward when you know exactly what you want the finished room to look like. They had actually previously updated one side of the kitchen ceiling themselves or had it done prior, and they wanted this second light on the left side to match the right side perfectly. We isolated the lighting circuit at the consumer unit and safely removed the older, mismatched unit from the ceiling. Connecting the new, client-supplied fixture was a fairly simple process of carefully terminating the existing fixed wiring into the fresh connections of the new base. It is always quite satisfying to step back and see a matching pair of lights balancing out a busy room properly. Taking down older fittings also gives us a good opportunity to check the condition of the existing cables hidden above the ceiling line, making sure there is no heat damage or brittle insulation before we put the new hardware up.
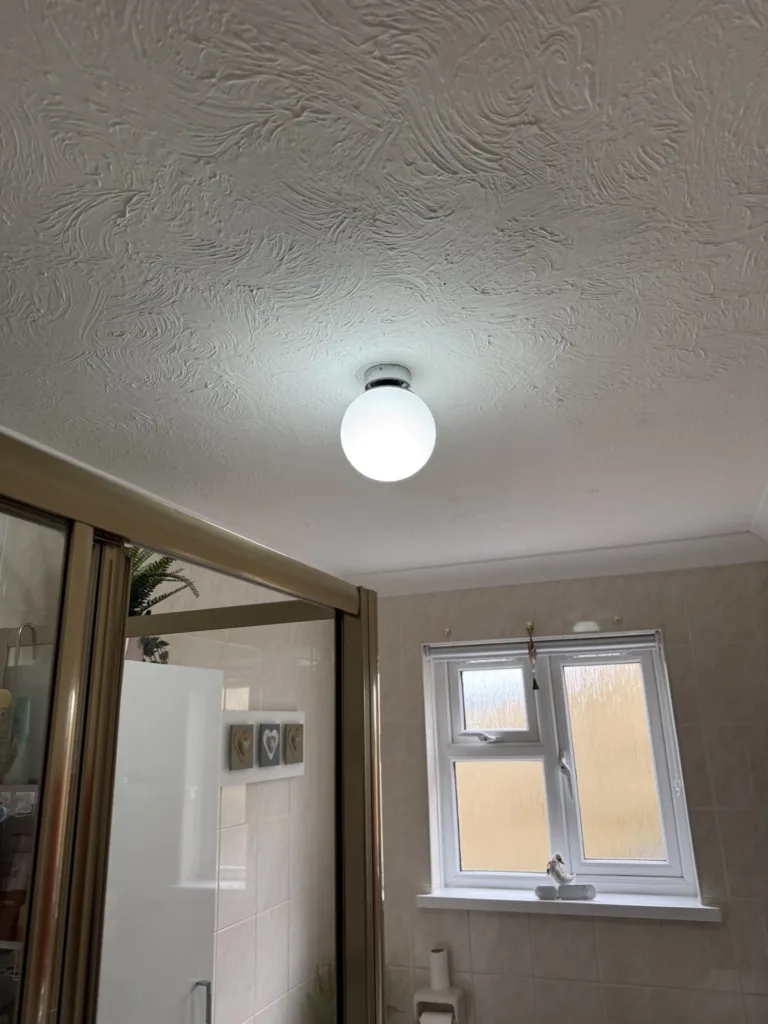
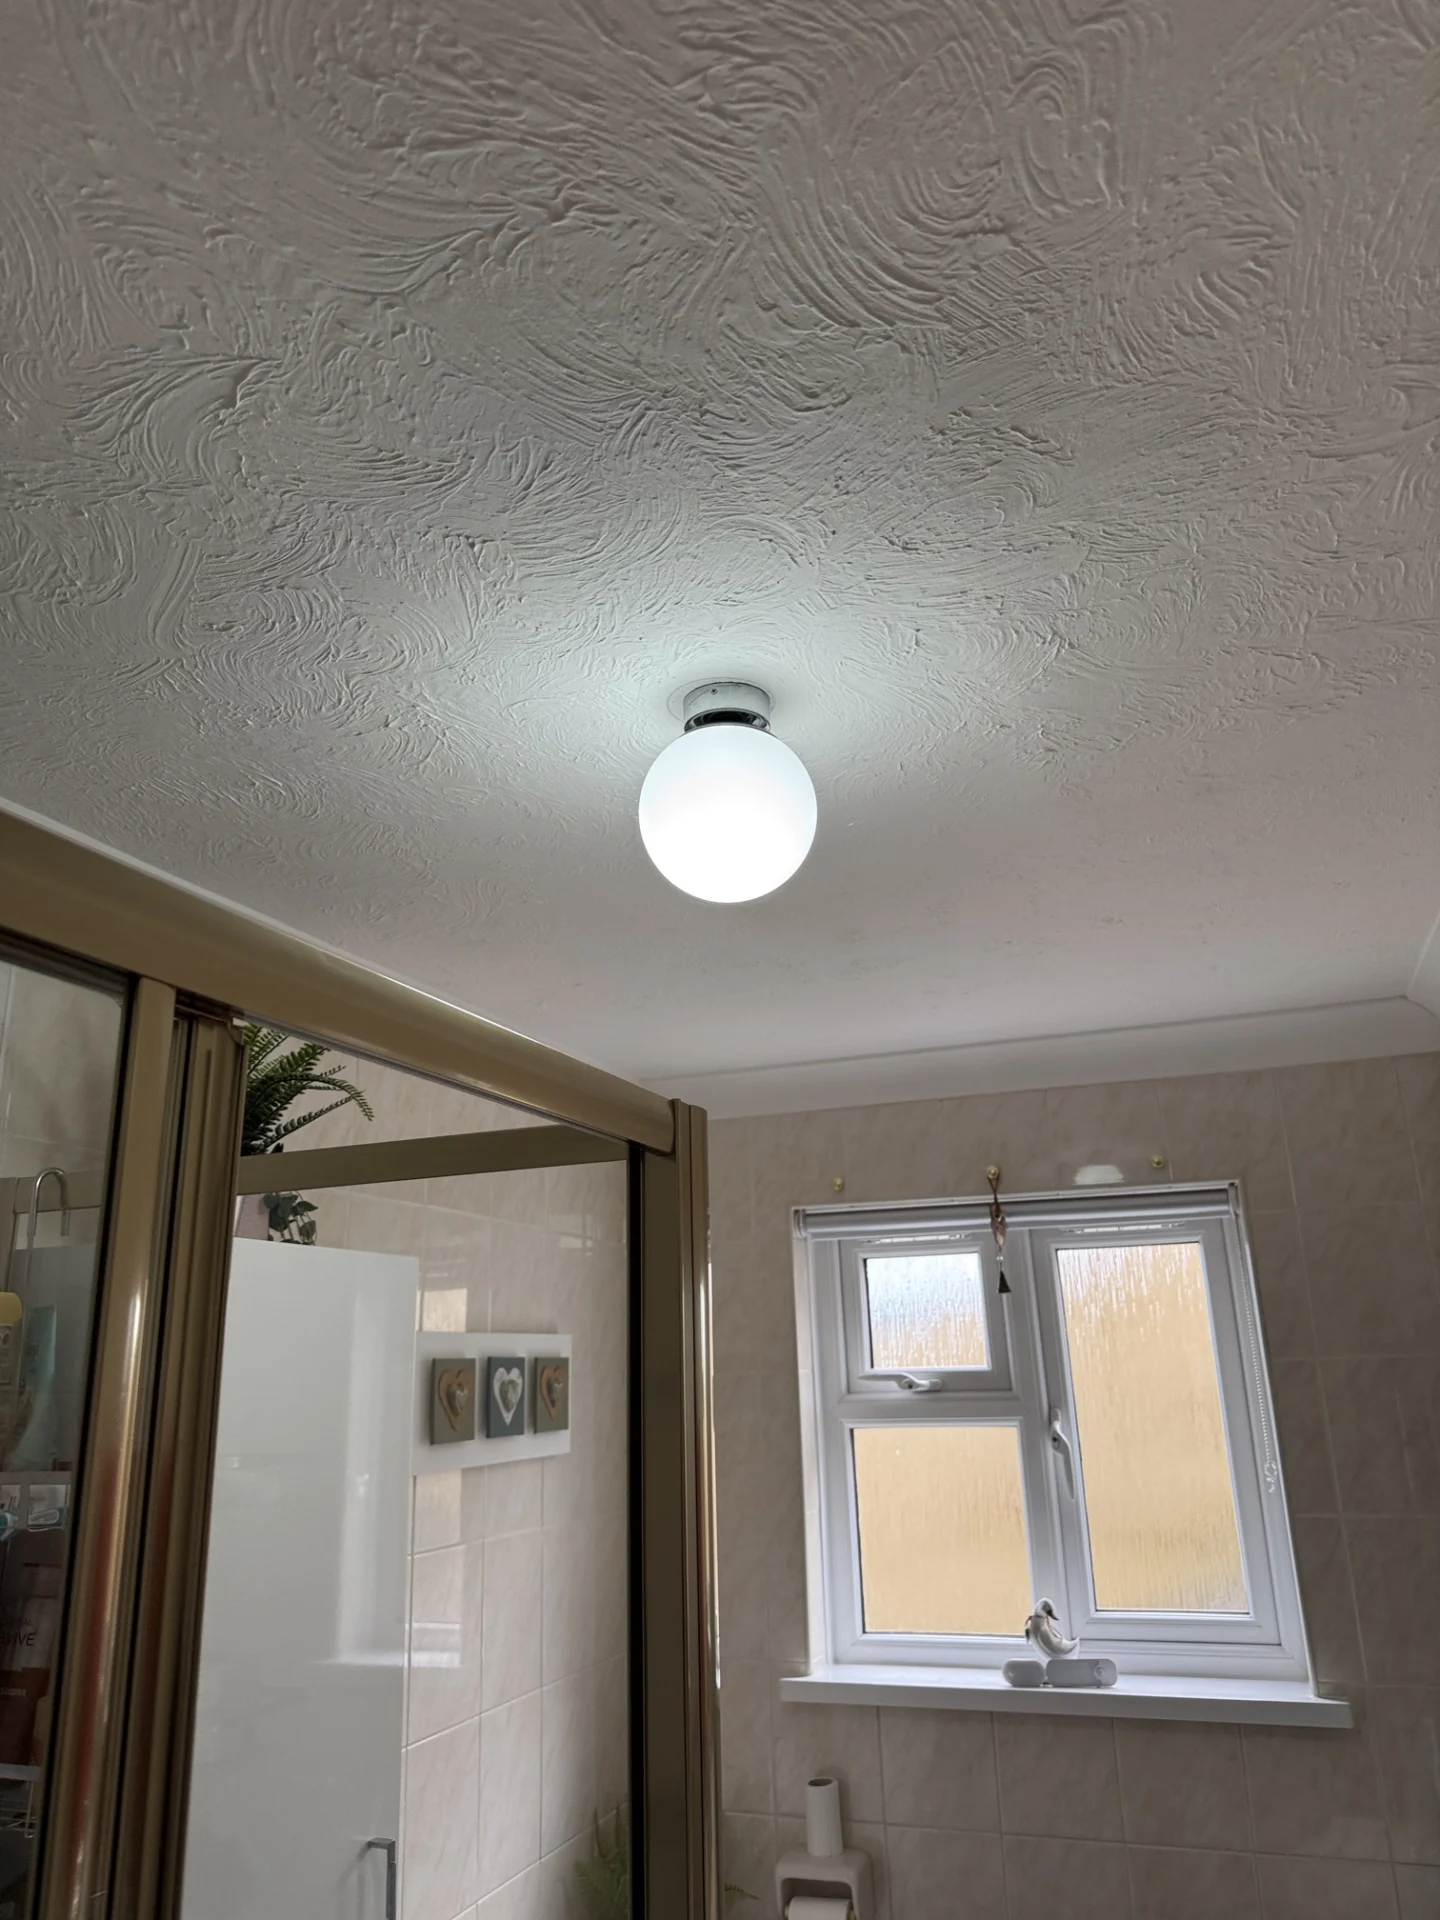
While we were busy sorting out the kitchen ceiling, the clients asked if we could also tackle a quick fixture swap in the bathroom. They had another new unit on order that had arrived, and they figured it made sense to get everything updated in one go. Replacing bathroom fixtures requires careful attention to the specific environment, as electricity and condensation are not a good mix. We took down their older fitting, double-checked that the earth connections were all present and correct, and wired in the fresh unit they had ready to go.
After finishing up the lighting updates in the main house, we grabbed our tools and headed out to the garage. This space was currently acting as a turning room and was undergoing a bit of a transformation with a brand new timber partition wall going up. When you are reconfiguring a layout like this, thinking about exactly where you will plug things in is incredibly useful. The owners sensibly decided they needed a few more double sockets to make the room genuinely functional for its new purpose. Nobody wants to be relying on trailing extension leads crossing the floor of a newly converted space.
We started the garage phase by adding an extra double socket outlet right next to an existing one in the main turning area. Sometimes you just need that little bit of extra plug space in a specific corner. By keeping the new faceplate adjacent to the current socket, we were able to extend the electrical supply neatly and efficiently without needing to chase long runs of cable across the existing solid walls. We simply spurred off the existing connections, mounted the new back box, and wired in the double socket faceplate.
The slightly more involved part of the garage work revolved around the brand new partition wall. The plasterers were actually due to arrive the very next day, meaning we had a tight window to get the cabling roughed in and ready. The plan was to install another double socket outlet recessed directly into this new stud work. Are you planning a similar layout change at home? Getting the timing right between the electrical first fix and the wet trades like plastering is a delicate balance.
To get power over to this new location on the partition, we fed the supply from a set of existing sockets located over near the window. Planning the cable route took a moment of thought to keep everything neat and completely out of the way of the upcoming plasterboard installation. We decided the most logical path was upwards. We ran the new twin and earth cabling securely under a structural beam overhead and then dropped it down directly into the void space of the partition wall. Hiding wiring within wall cavities wherever possible gives a much cleaner finish once the decorators have finally been in.
In the areas where the timber joists were still exposed and we could not completely conceal the cable run, we surface-clipped the wiring tightly to the wood. This physical clipping keeps the cables fully protected and firmly anchored so they will not sag, snag, or get damaged during the rest of the building work. Once the cables were pulled through the framing and secured in the recessed back box, everything was fully prepared and ready for the plasterers to do their bit the following morning.