A full kitchen electrical renovation in Bodmin, covering first and second fix work throughout a complete kitchen refit. The scope included socket relocation, new lighting circuits for a chimney feature and island pendants, range cooker connection, dishwasher socket installation, and final consumer unit connections - all co-ordinated around an ongoing kitchen fit-out.
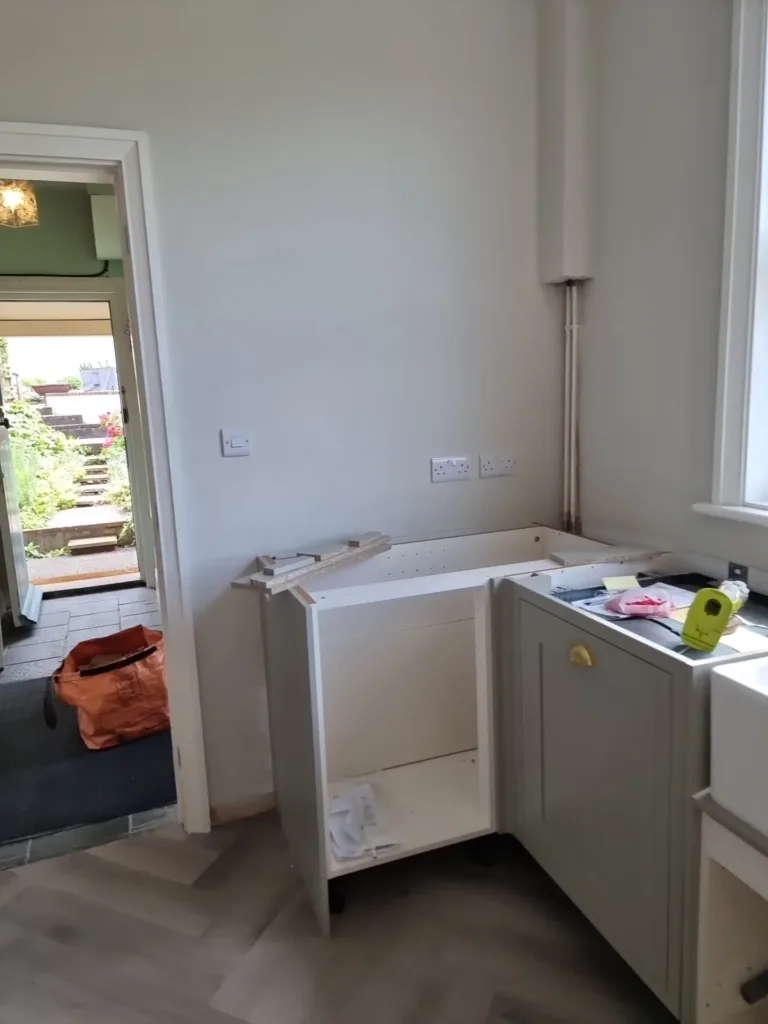
Kitchen renovations rarely follow a straight line. By the time a new layout is finalised, the electrical requirements have usually shifted from what was originally planned – sockets need moving to suit updated cabinetry positions, lighting circuits need rethinking, and appliance connections have to be properly accounted for. This project in Bodmin was a good example of that, with the electrical scope working alongside a significant kitchen refit from the ground up.
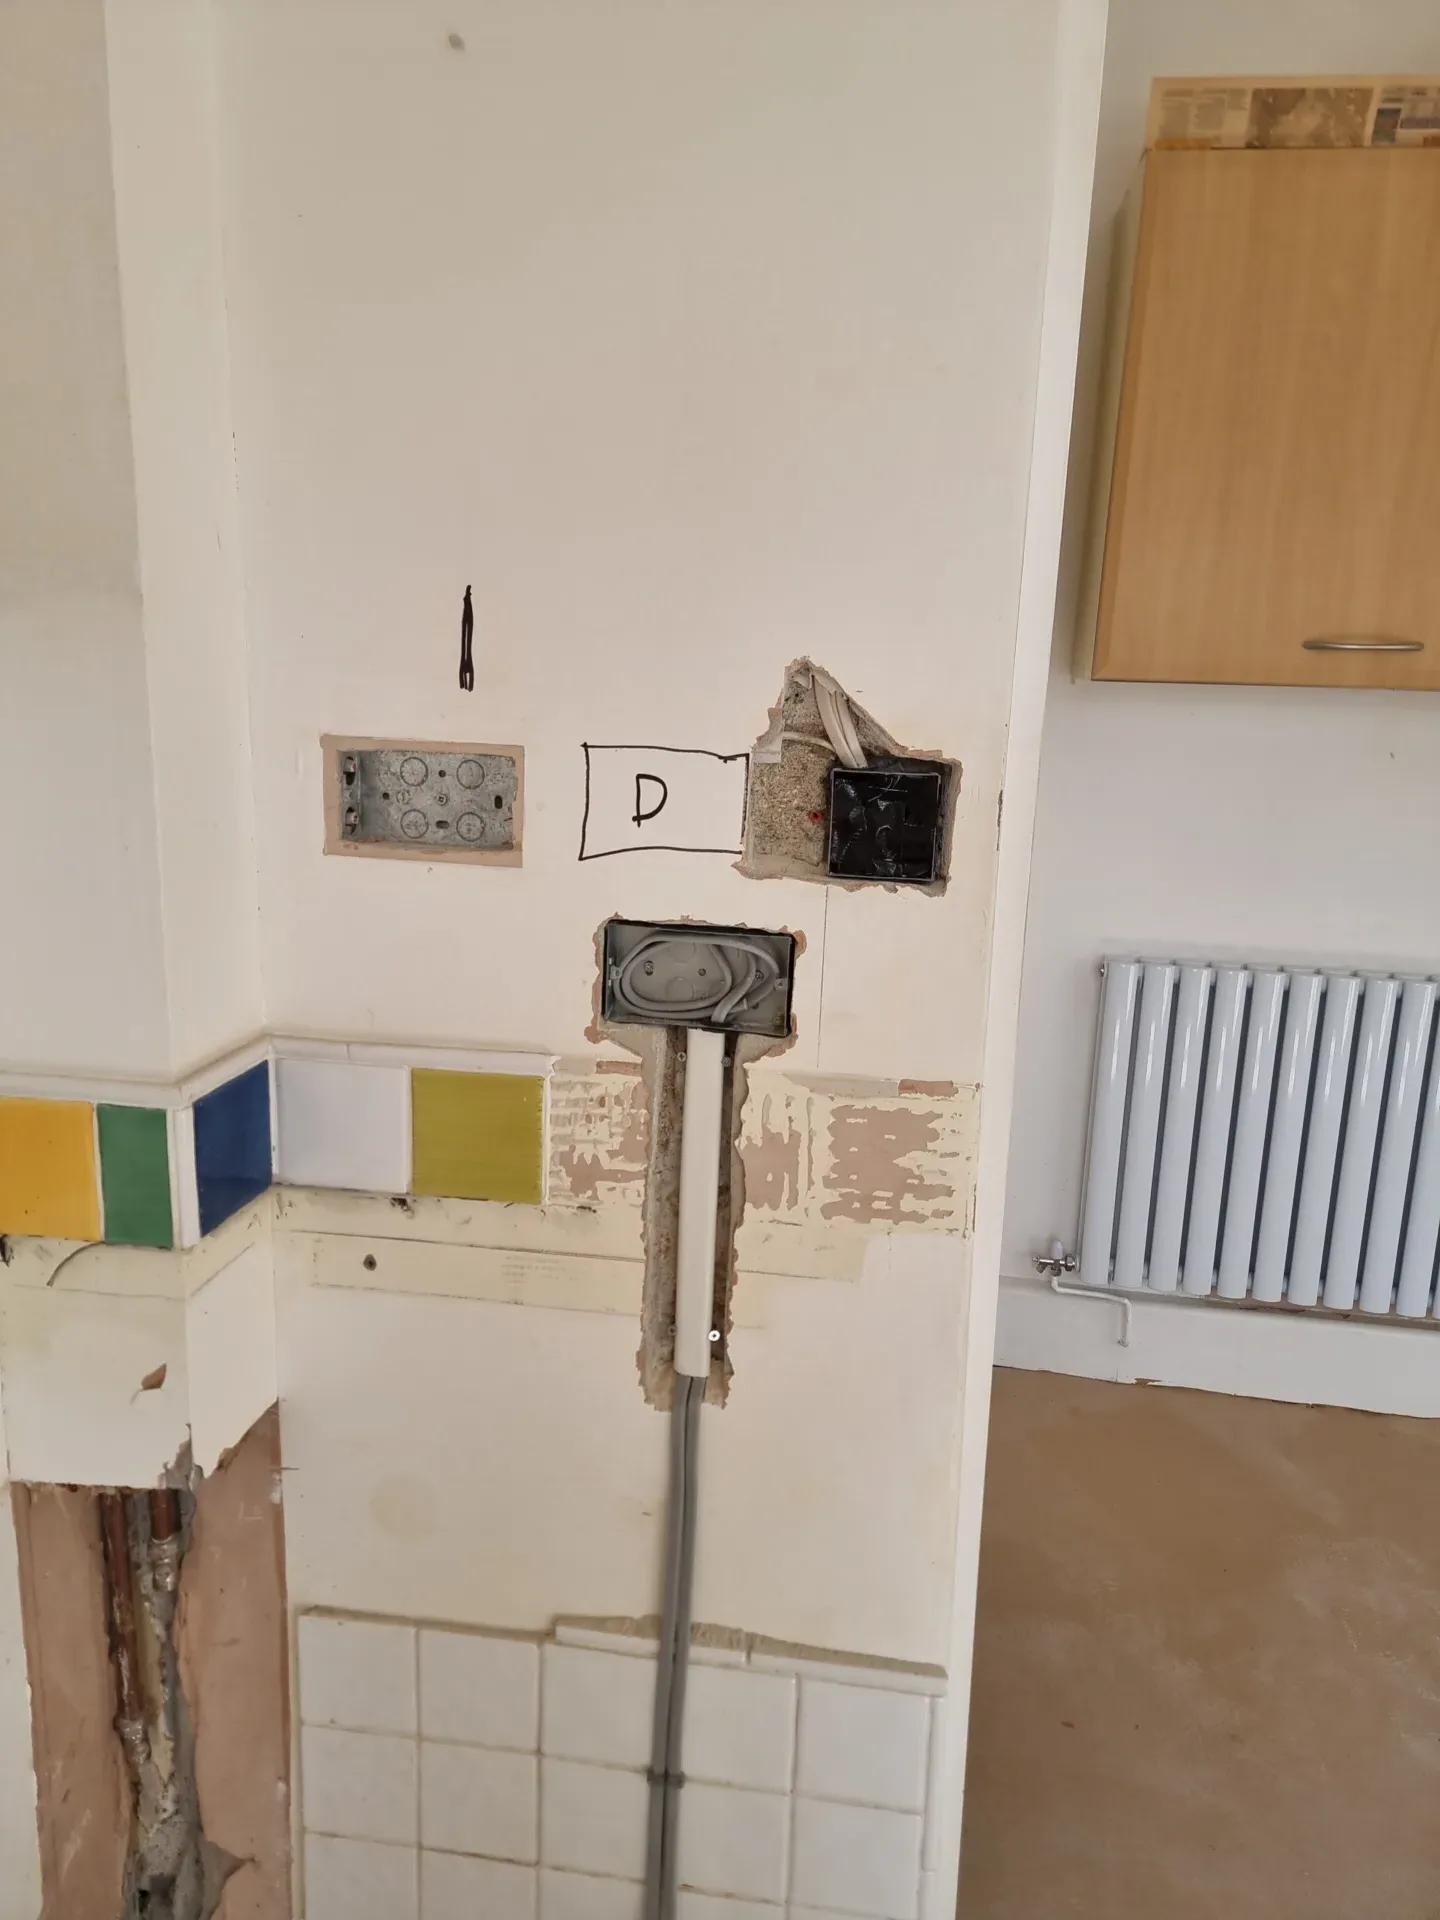
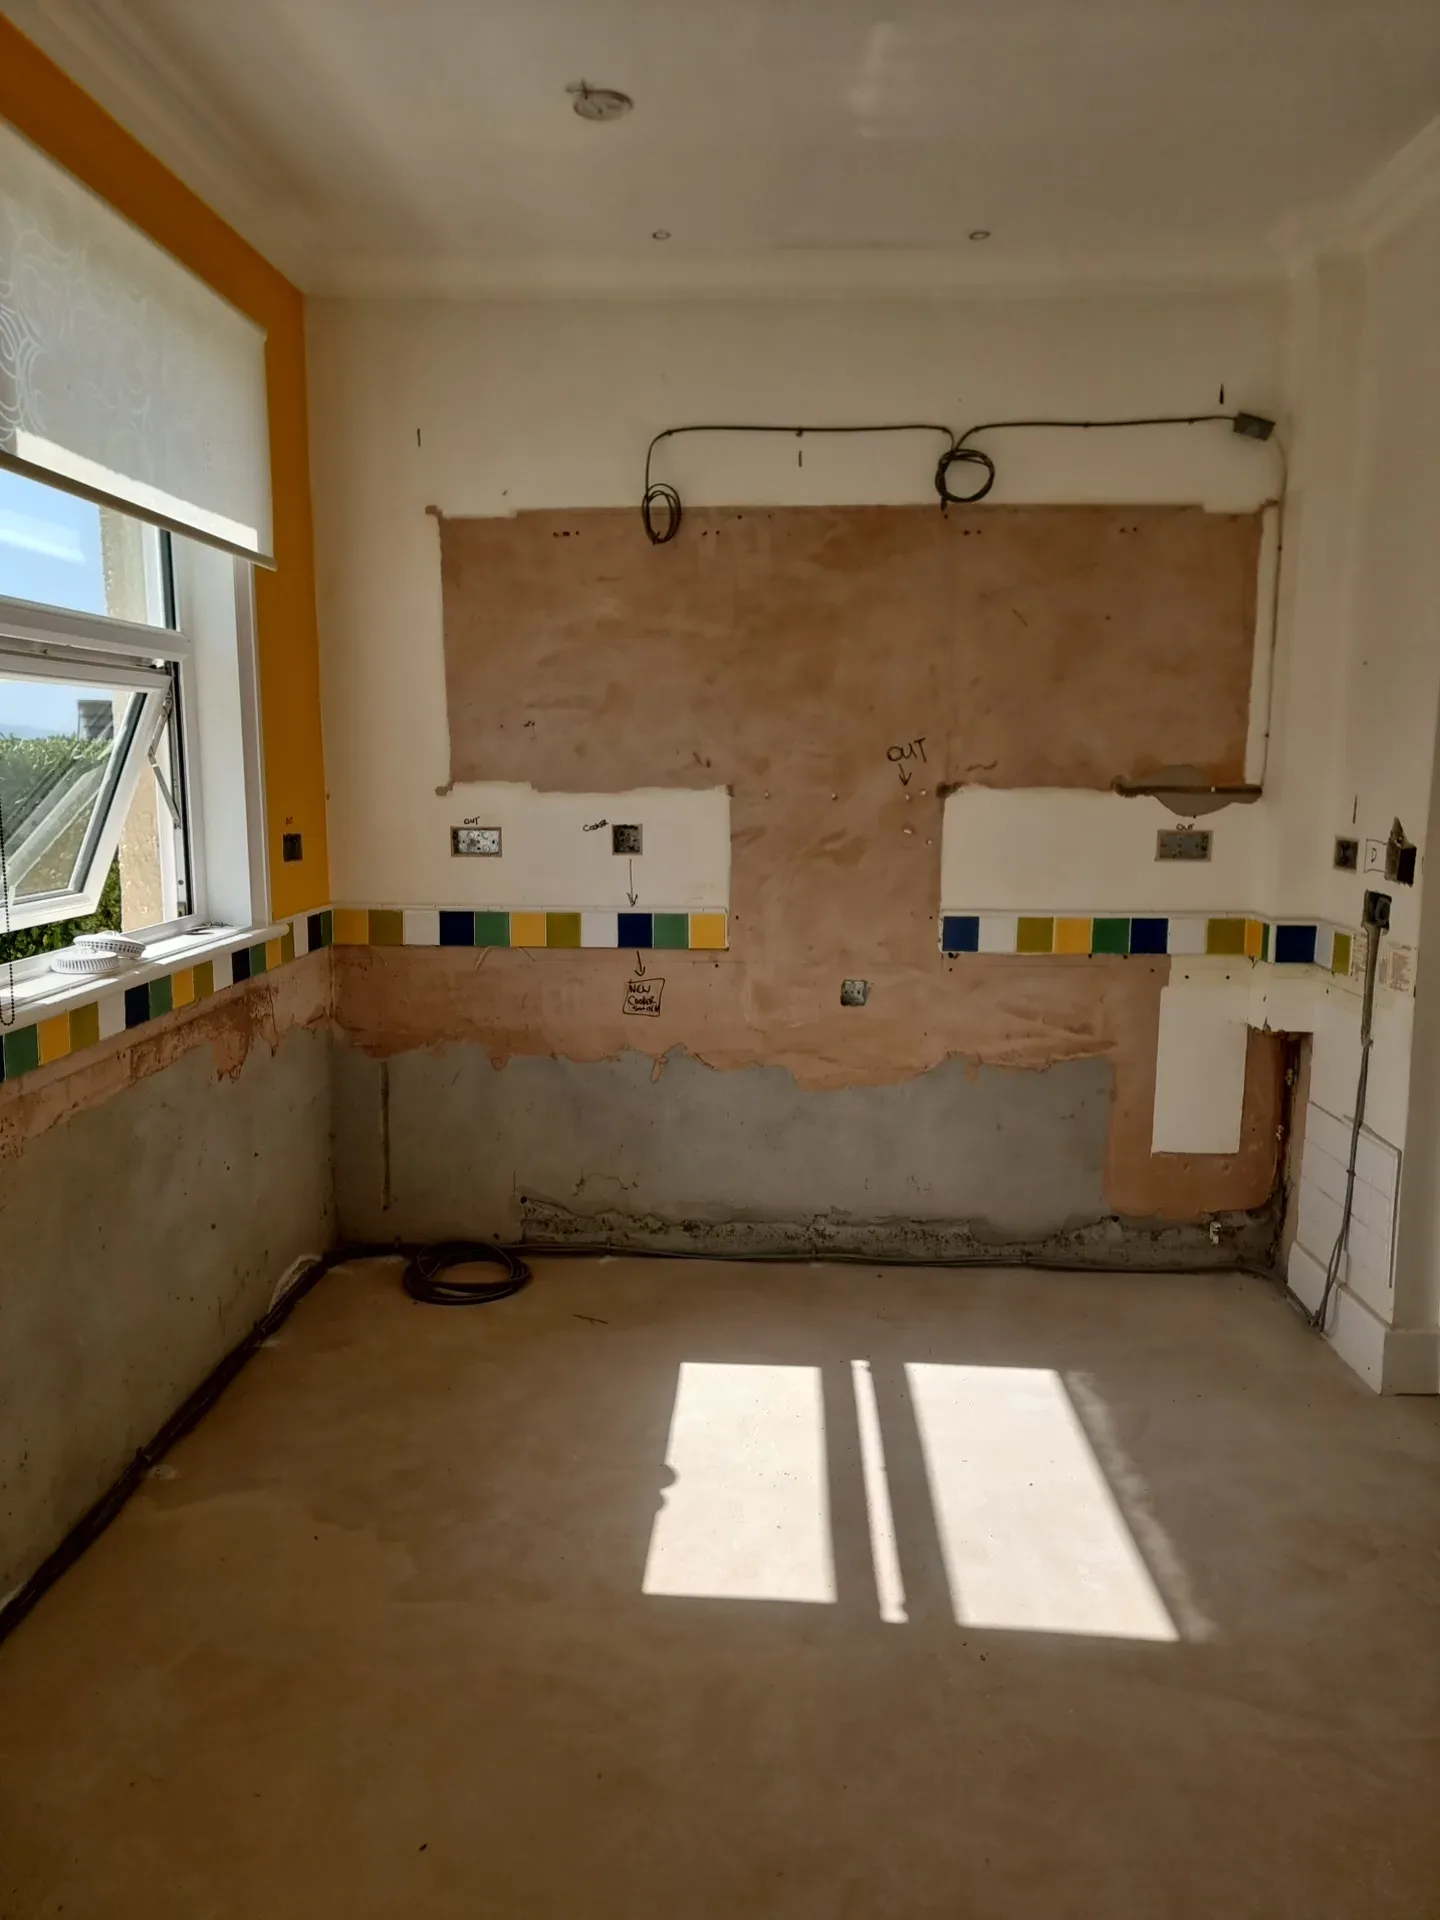
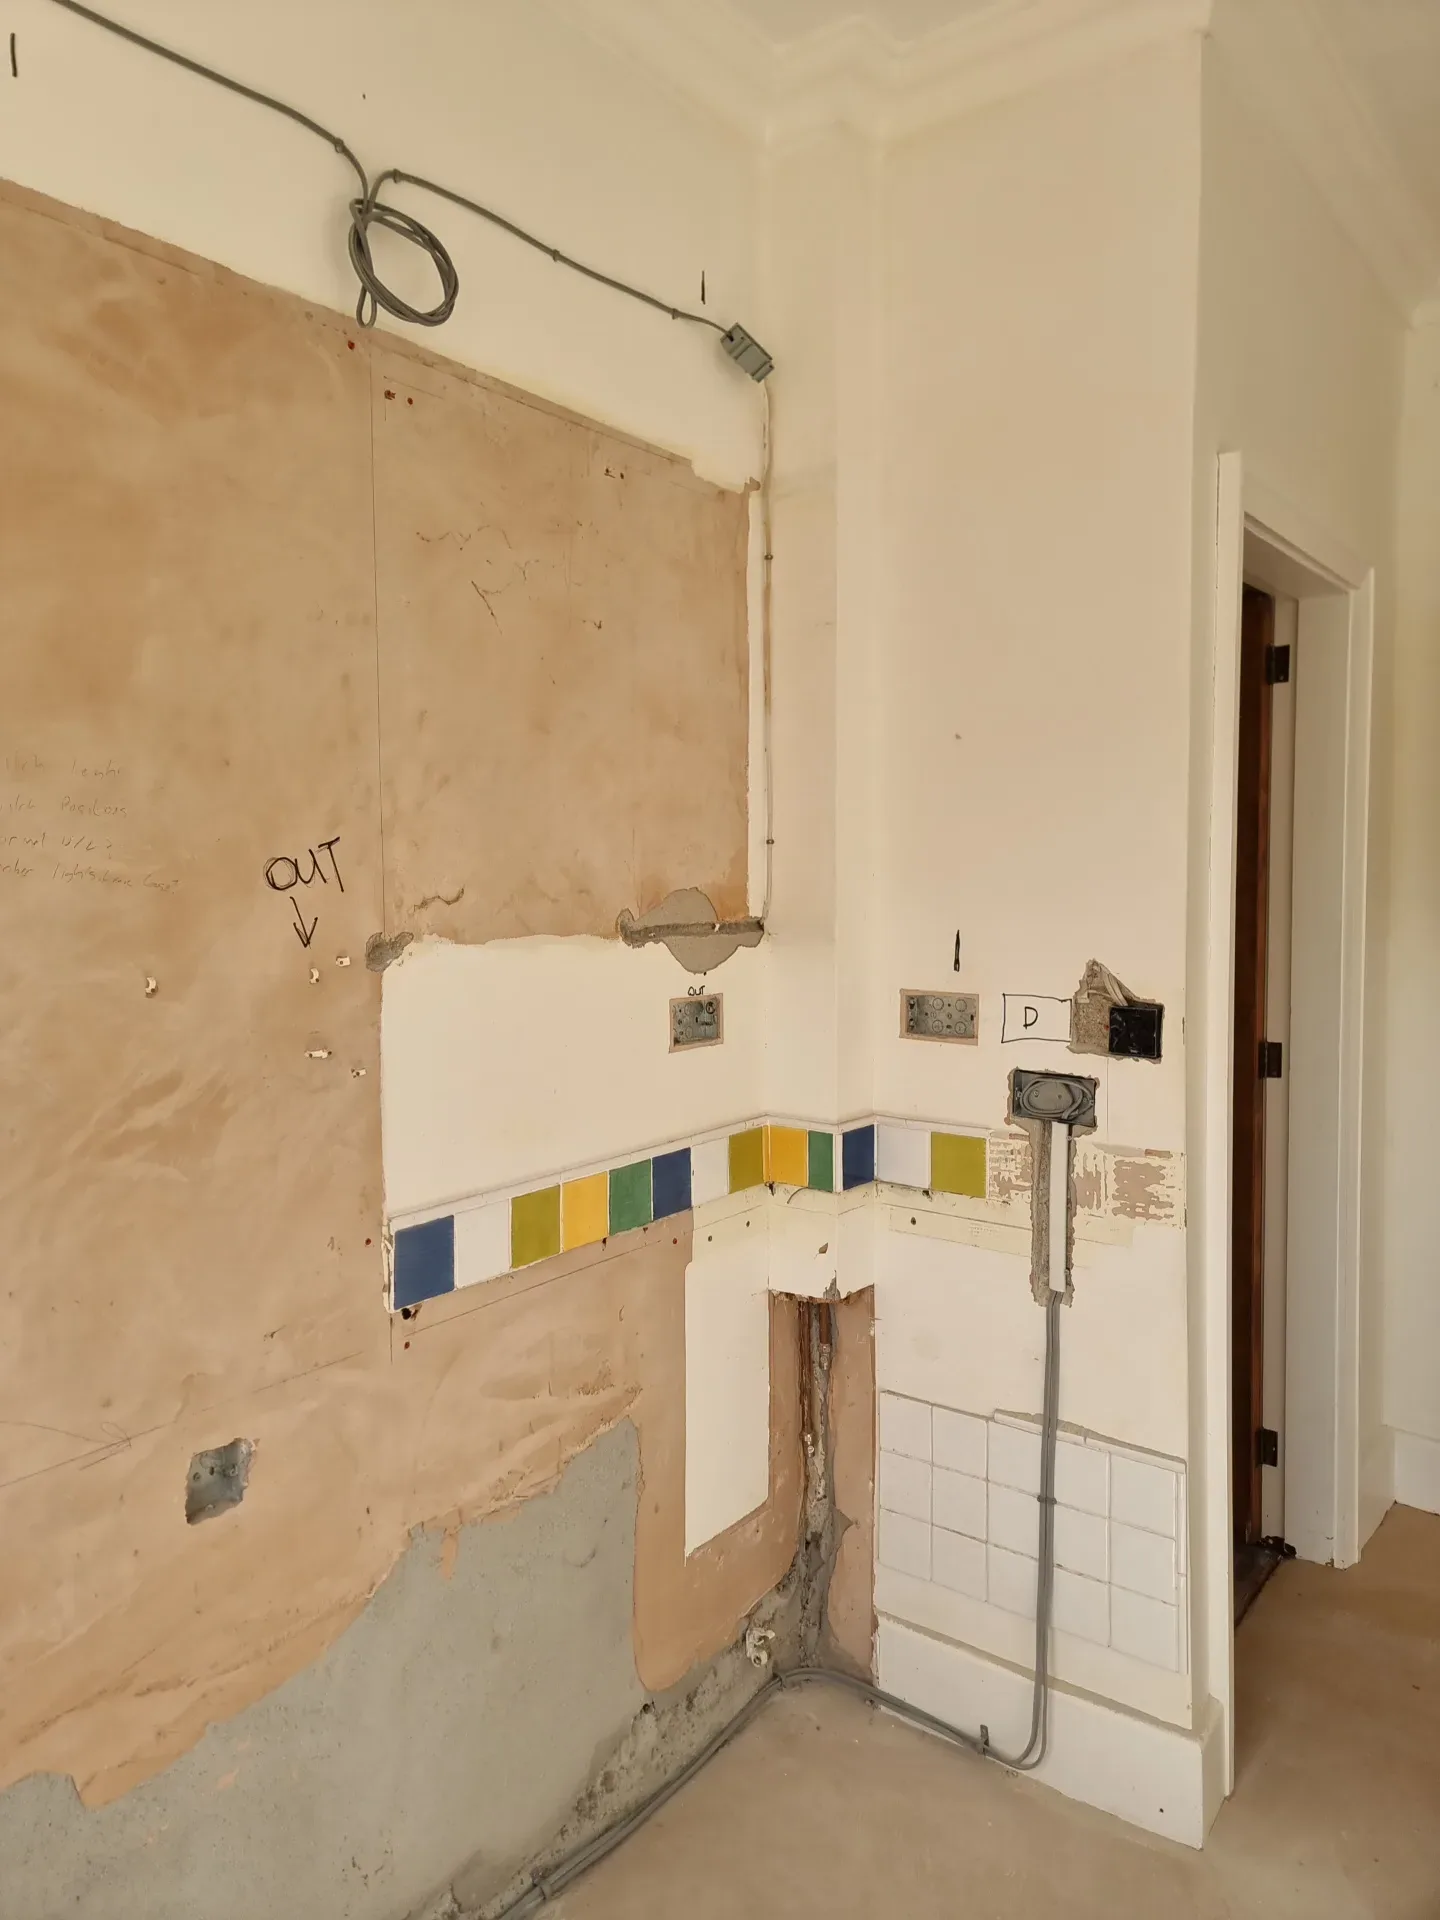
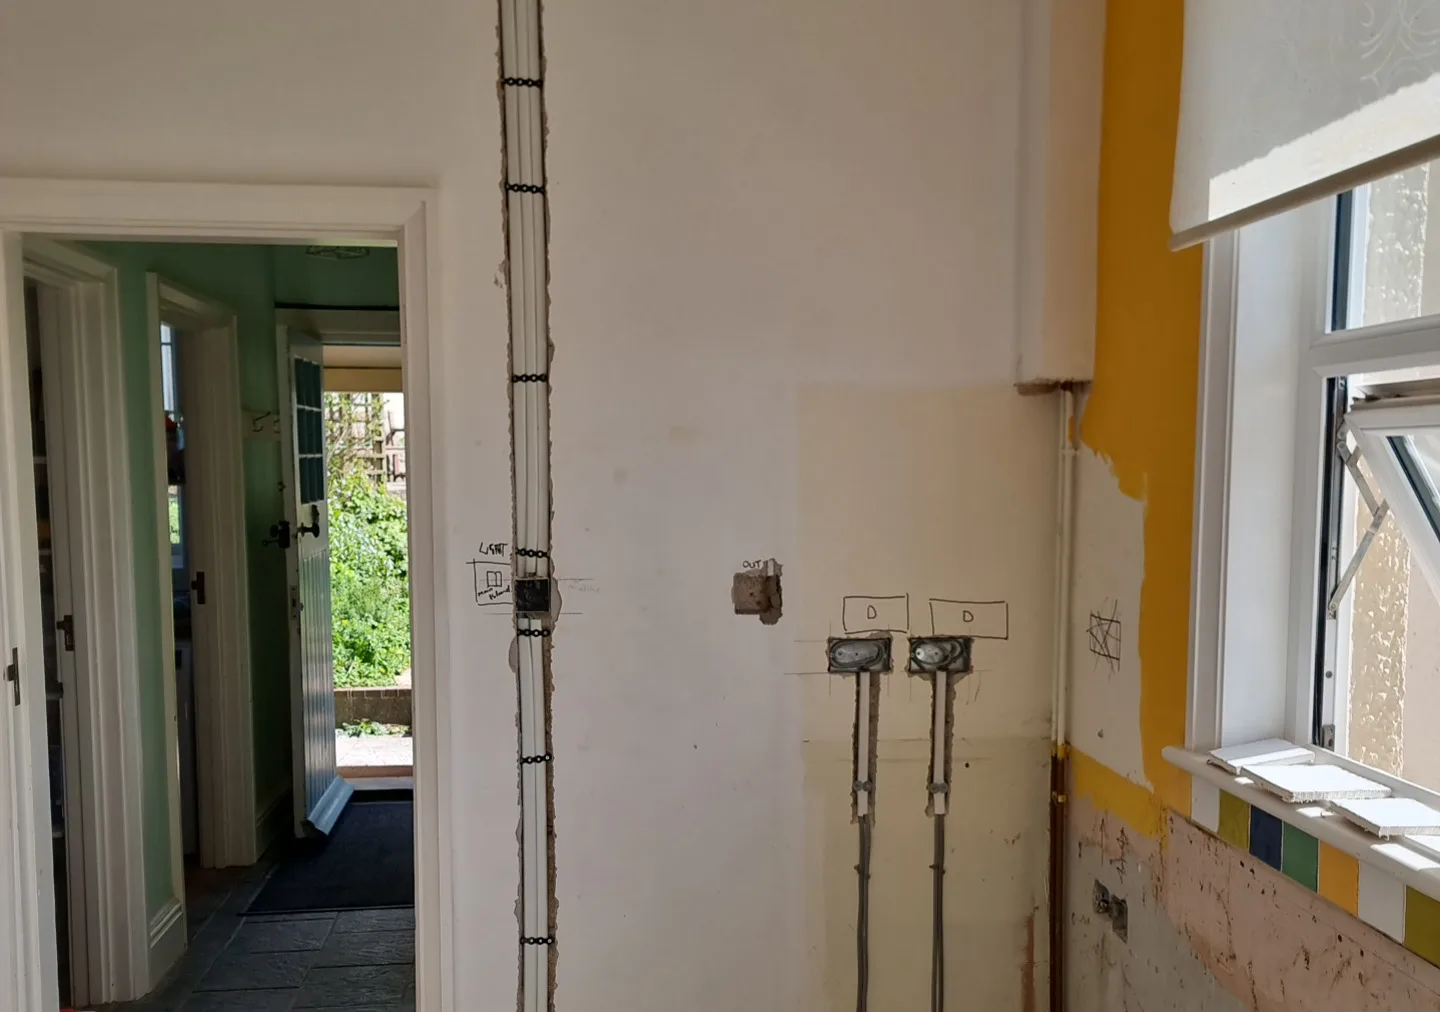
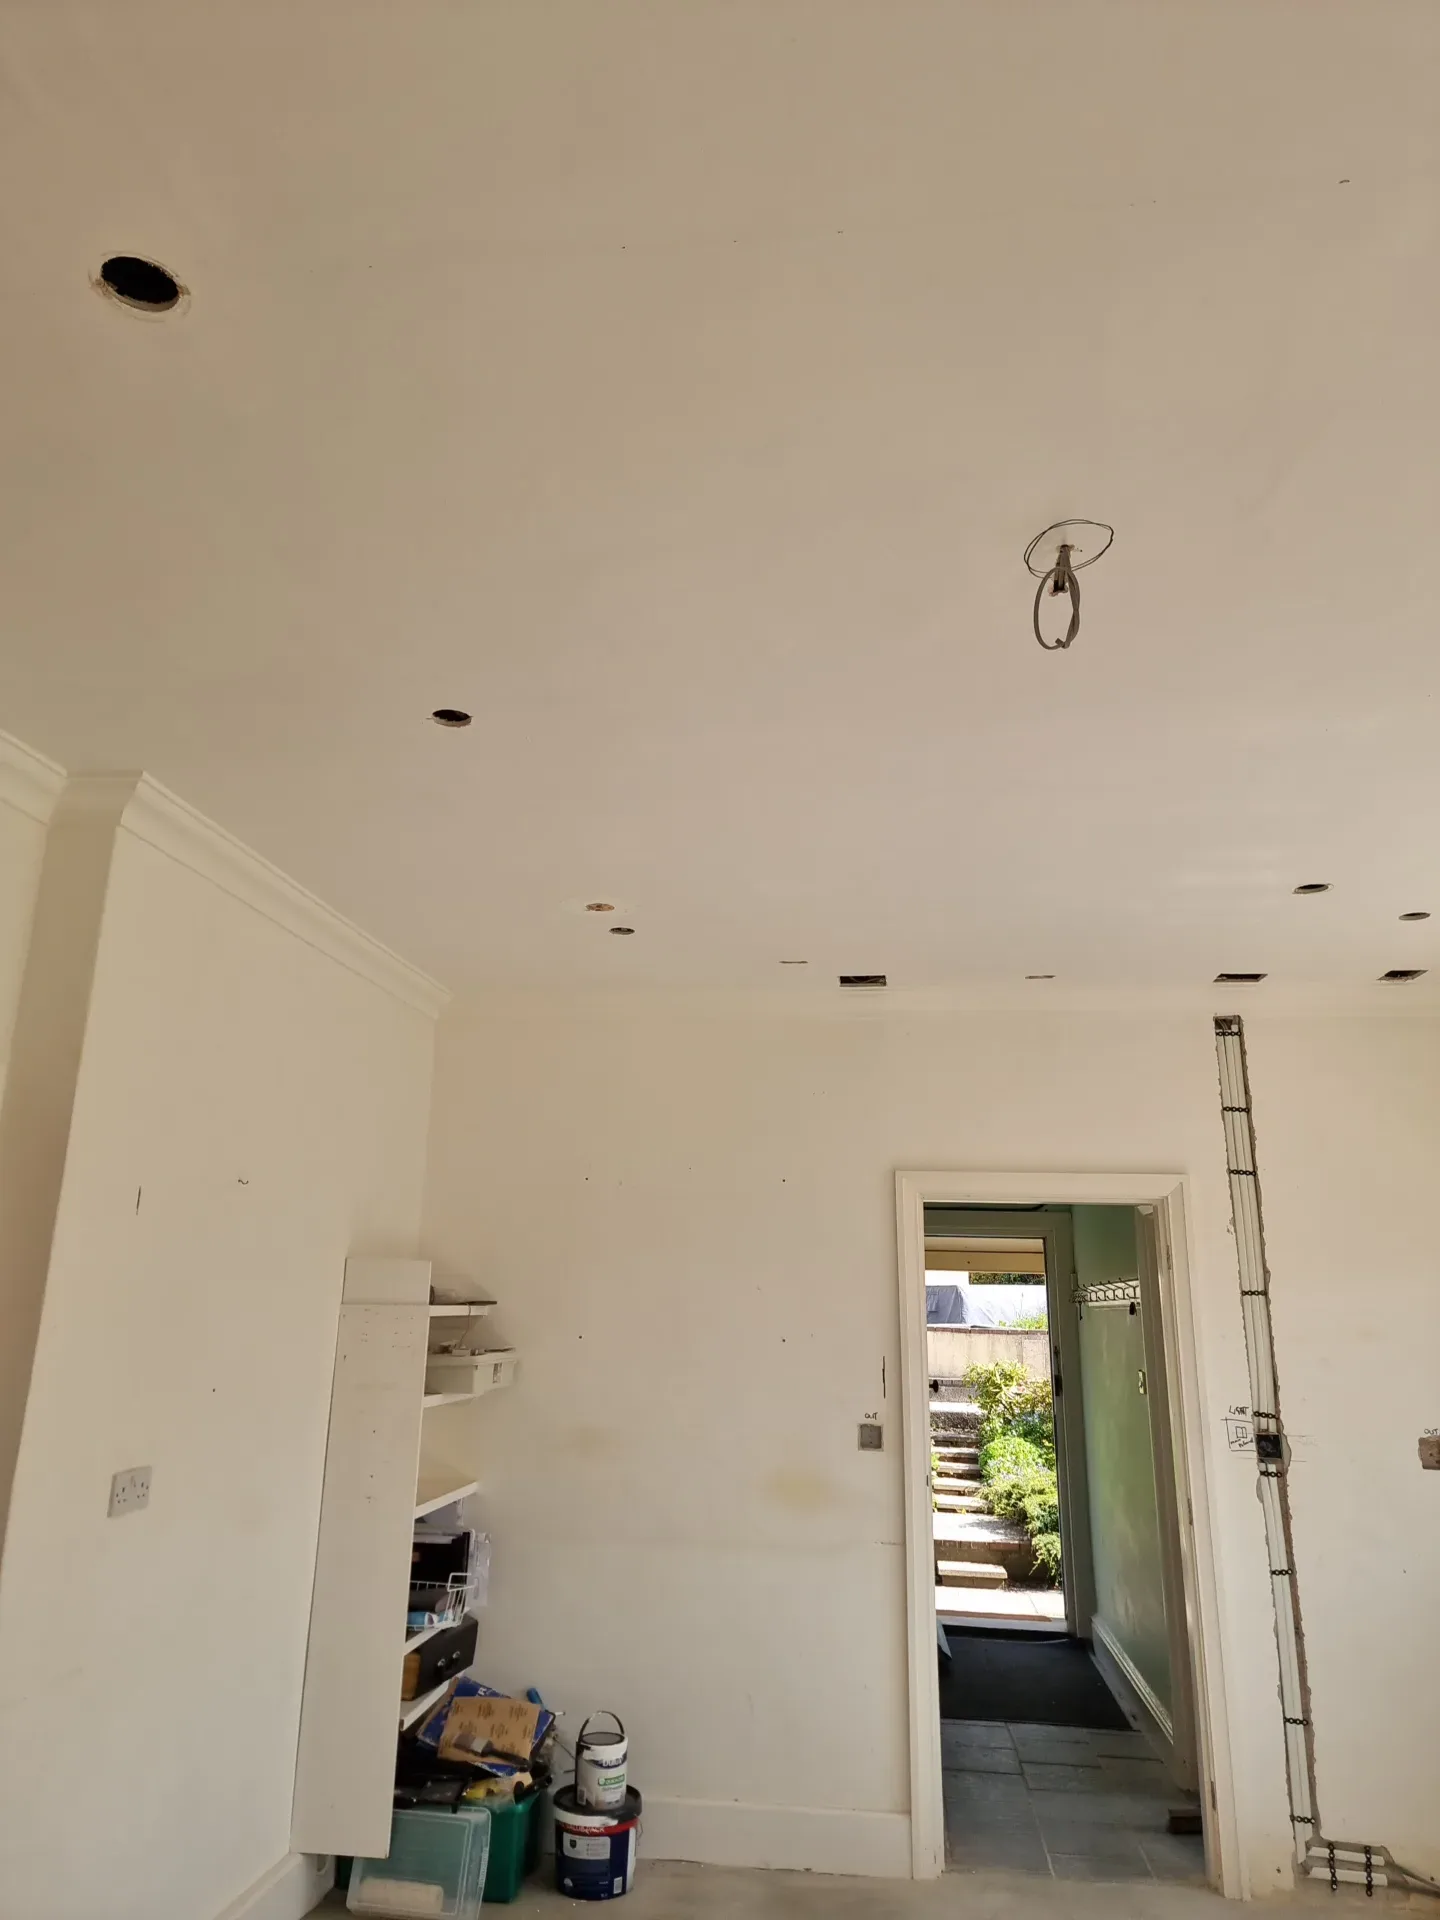
The first fix stage was about getting the cabling infrastructure in place before the new kitchen units arrived. Cables were routed within the masonry walls by cutting channels using dustless extraction tools, which keeps the disruption manageable and the channels clean. Once the cables were in position, the channels were re-filled with bonding coat plaster, leaving a tidy substrate for fine filling, sanding and painting by others. Where cabling needed to pass through plasterboard sections, access holes were carefully cut and then patched and first-filled in preparation for the decorative trades. Sub-floor access was also used where required – carpet was lifted, access holes cut into the sub-floor to route cabling through the floor void, then sealed with appropriate bungs before the carpet was re-laid.
With the cabling infrastructure in place, the second fix work could progress once the kitchen fit-out had moved far enough along to start fixing outlets and making final connections.
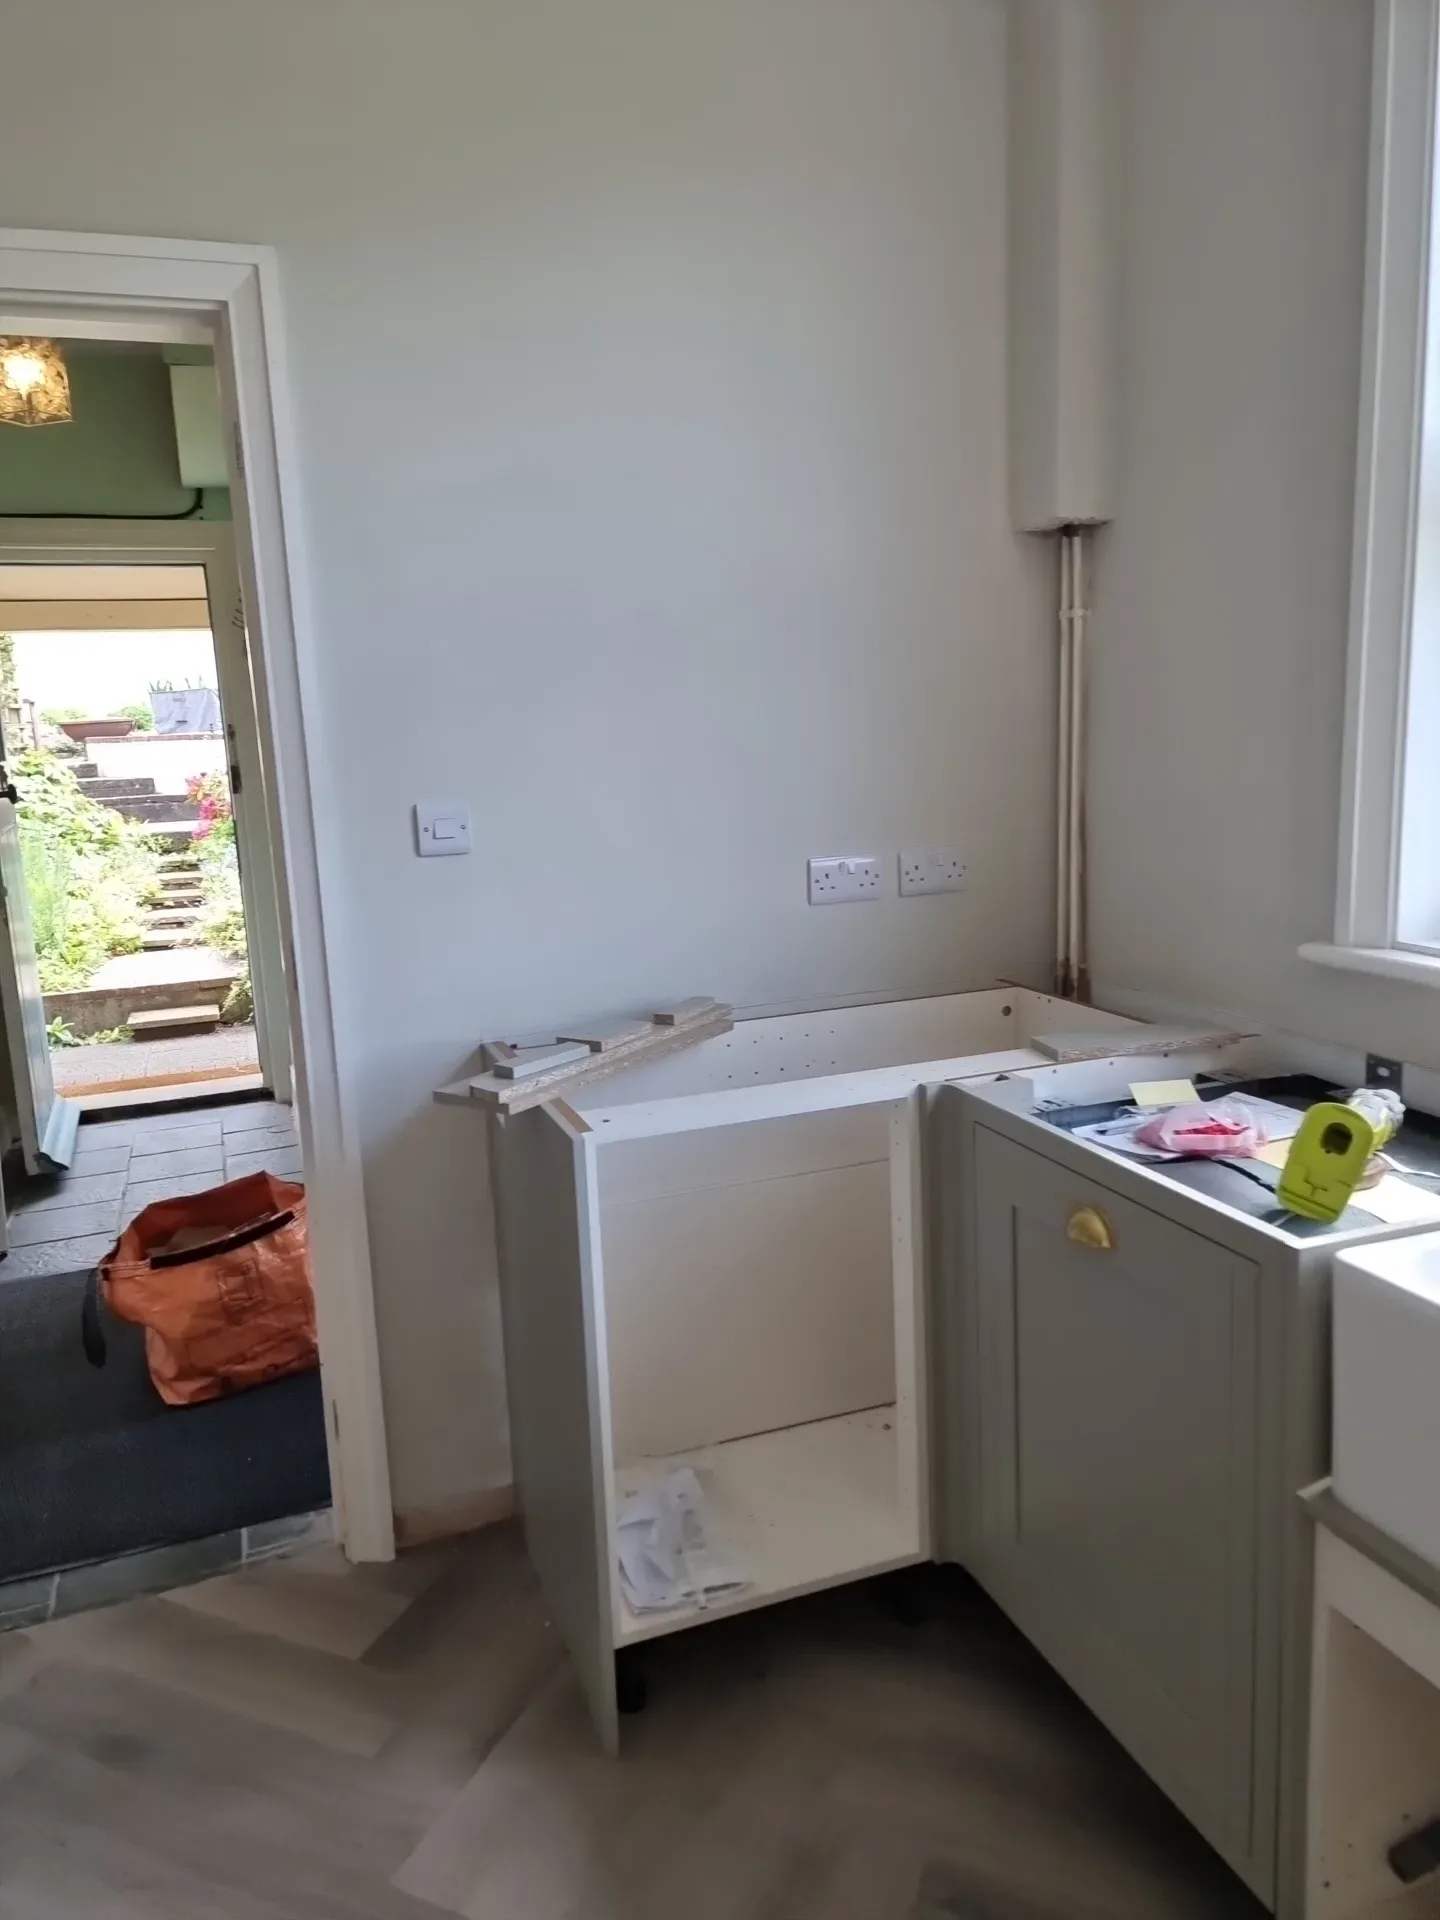
Relocating the existing countertop socket outlets was one of the main threads of the job. The original corner positions needed to change to make way for a new false chimney feature being built as part of the kitchen redesign. The cabling was re-routed to new positions that worked within the updated layout, keeping the worktop sockets practical and accessible for everyday use. It’s one of those changes that’s easy to overlook in the planning stages but becomes obvious the moment you’re standing in the finished kitchen reaching for a socket that’s no longer where it used to be.
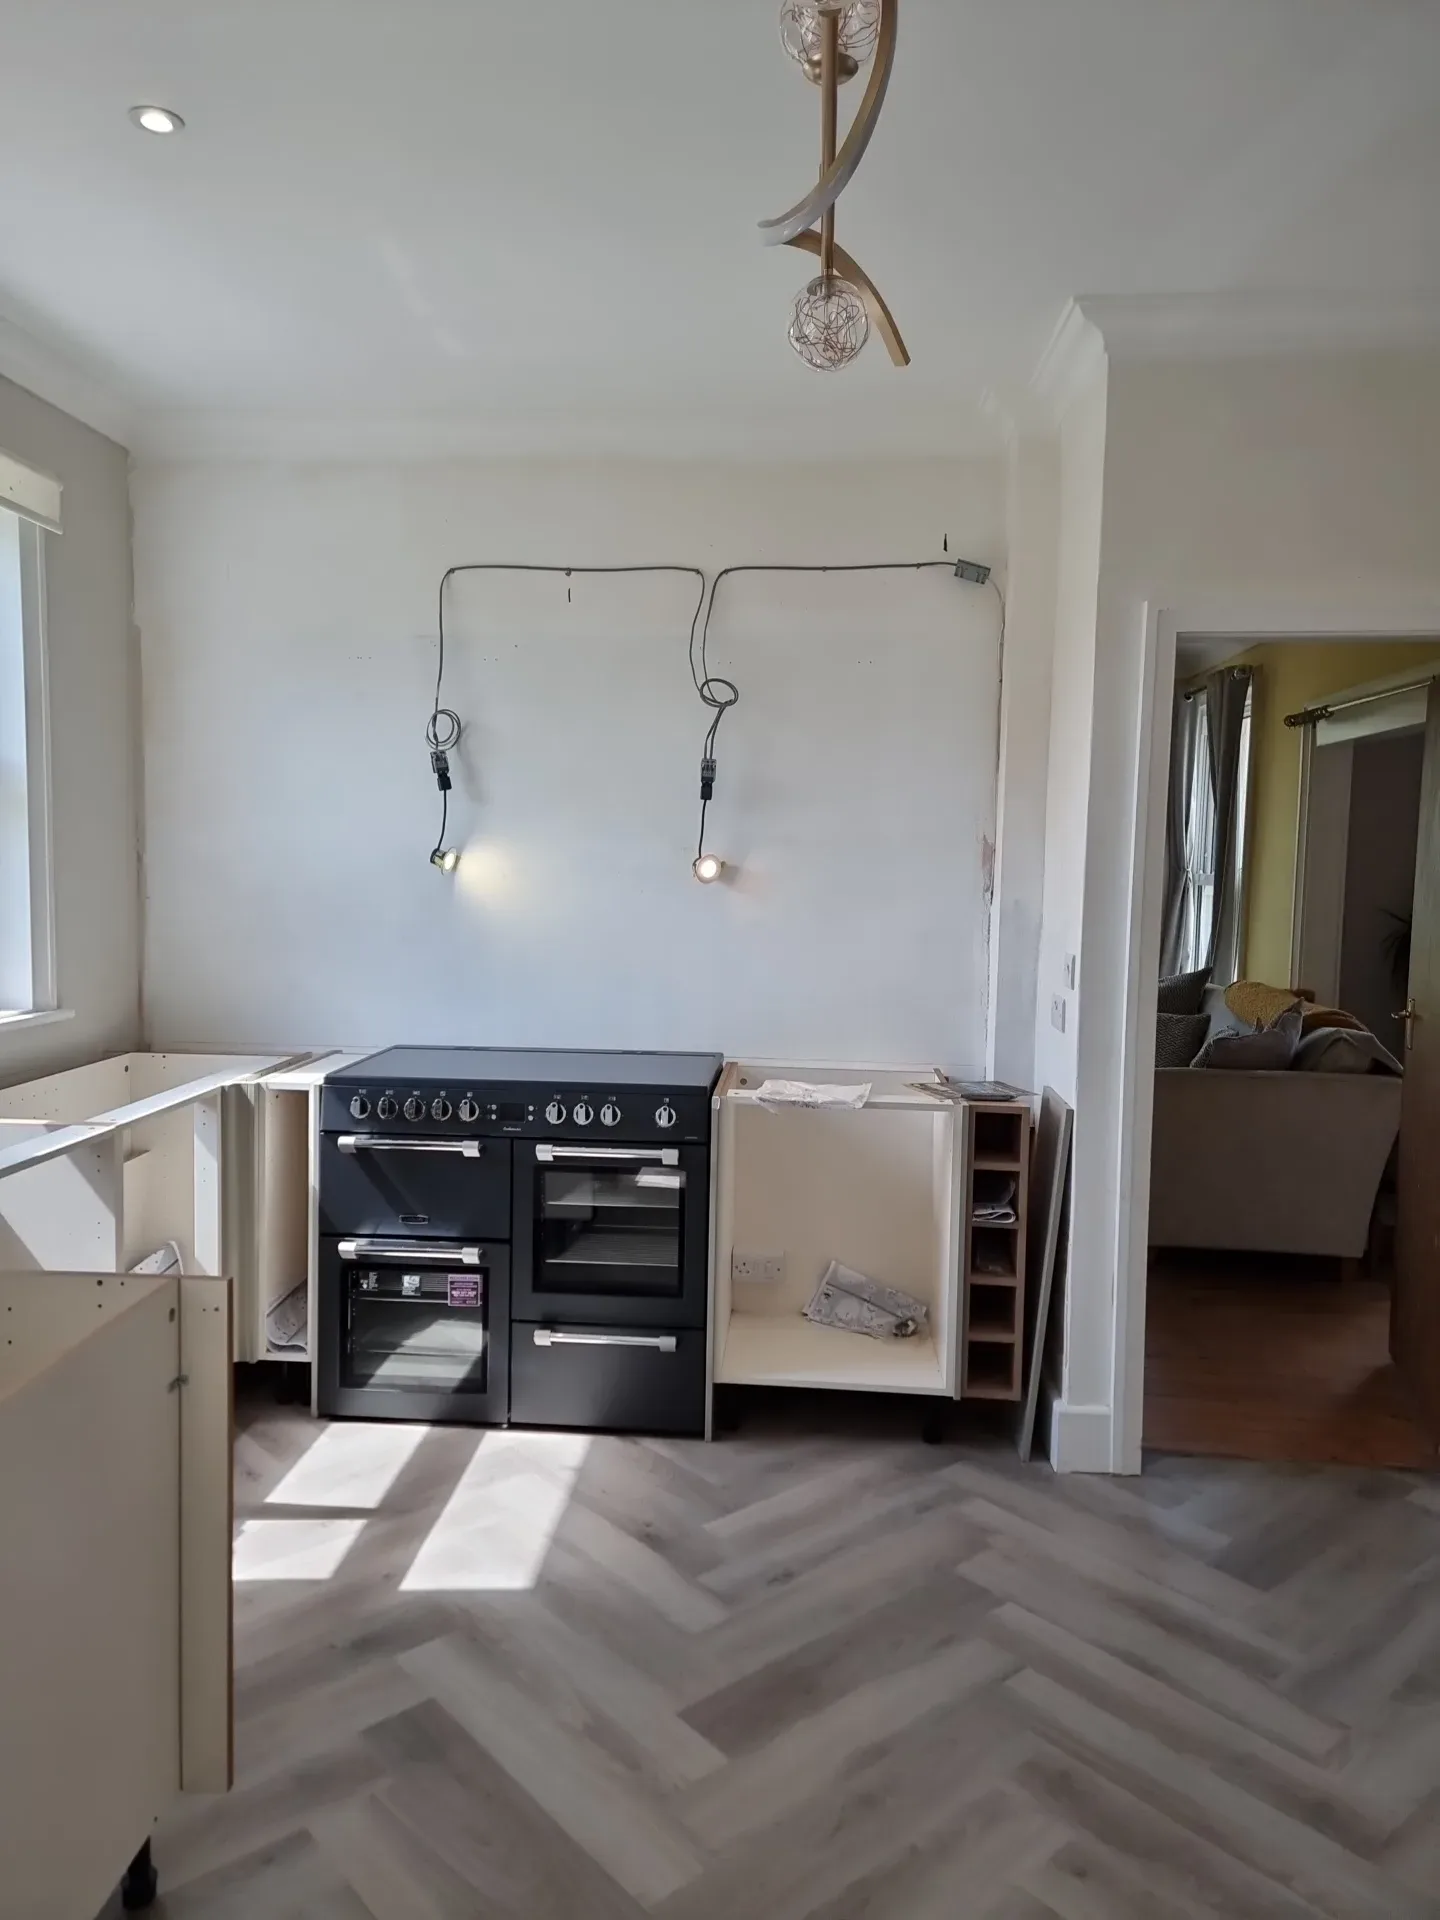
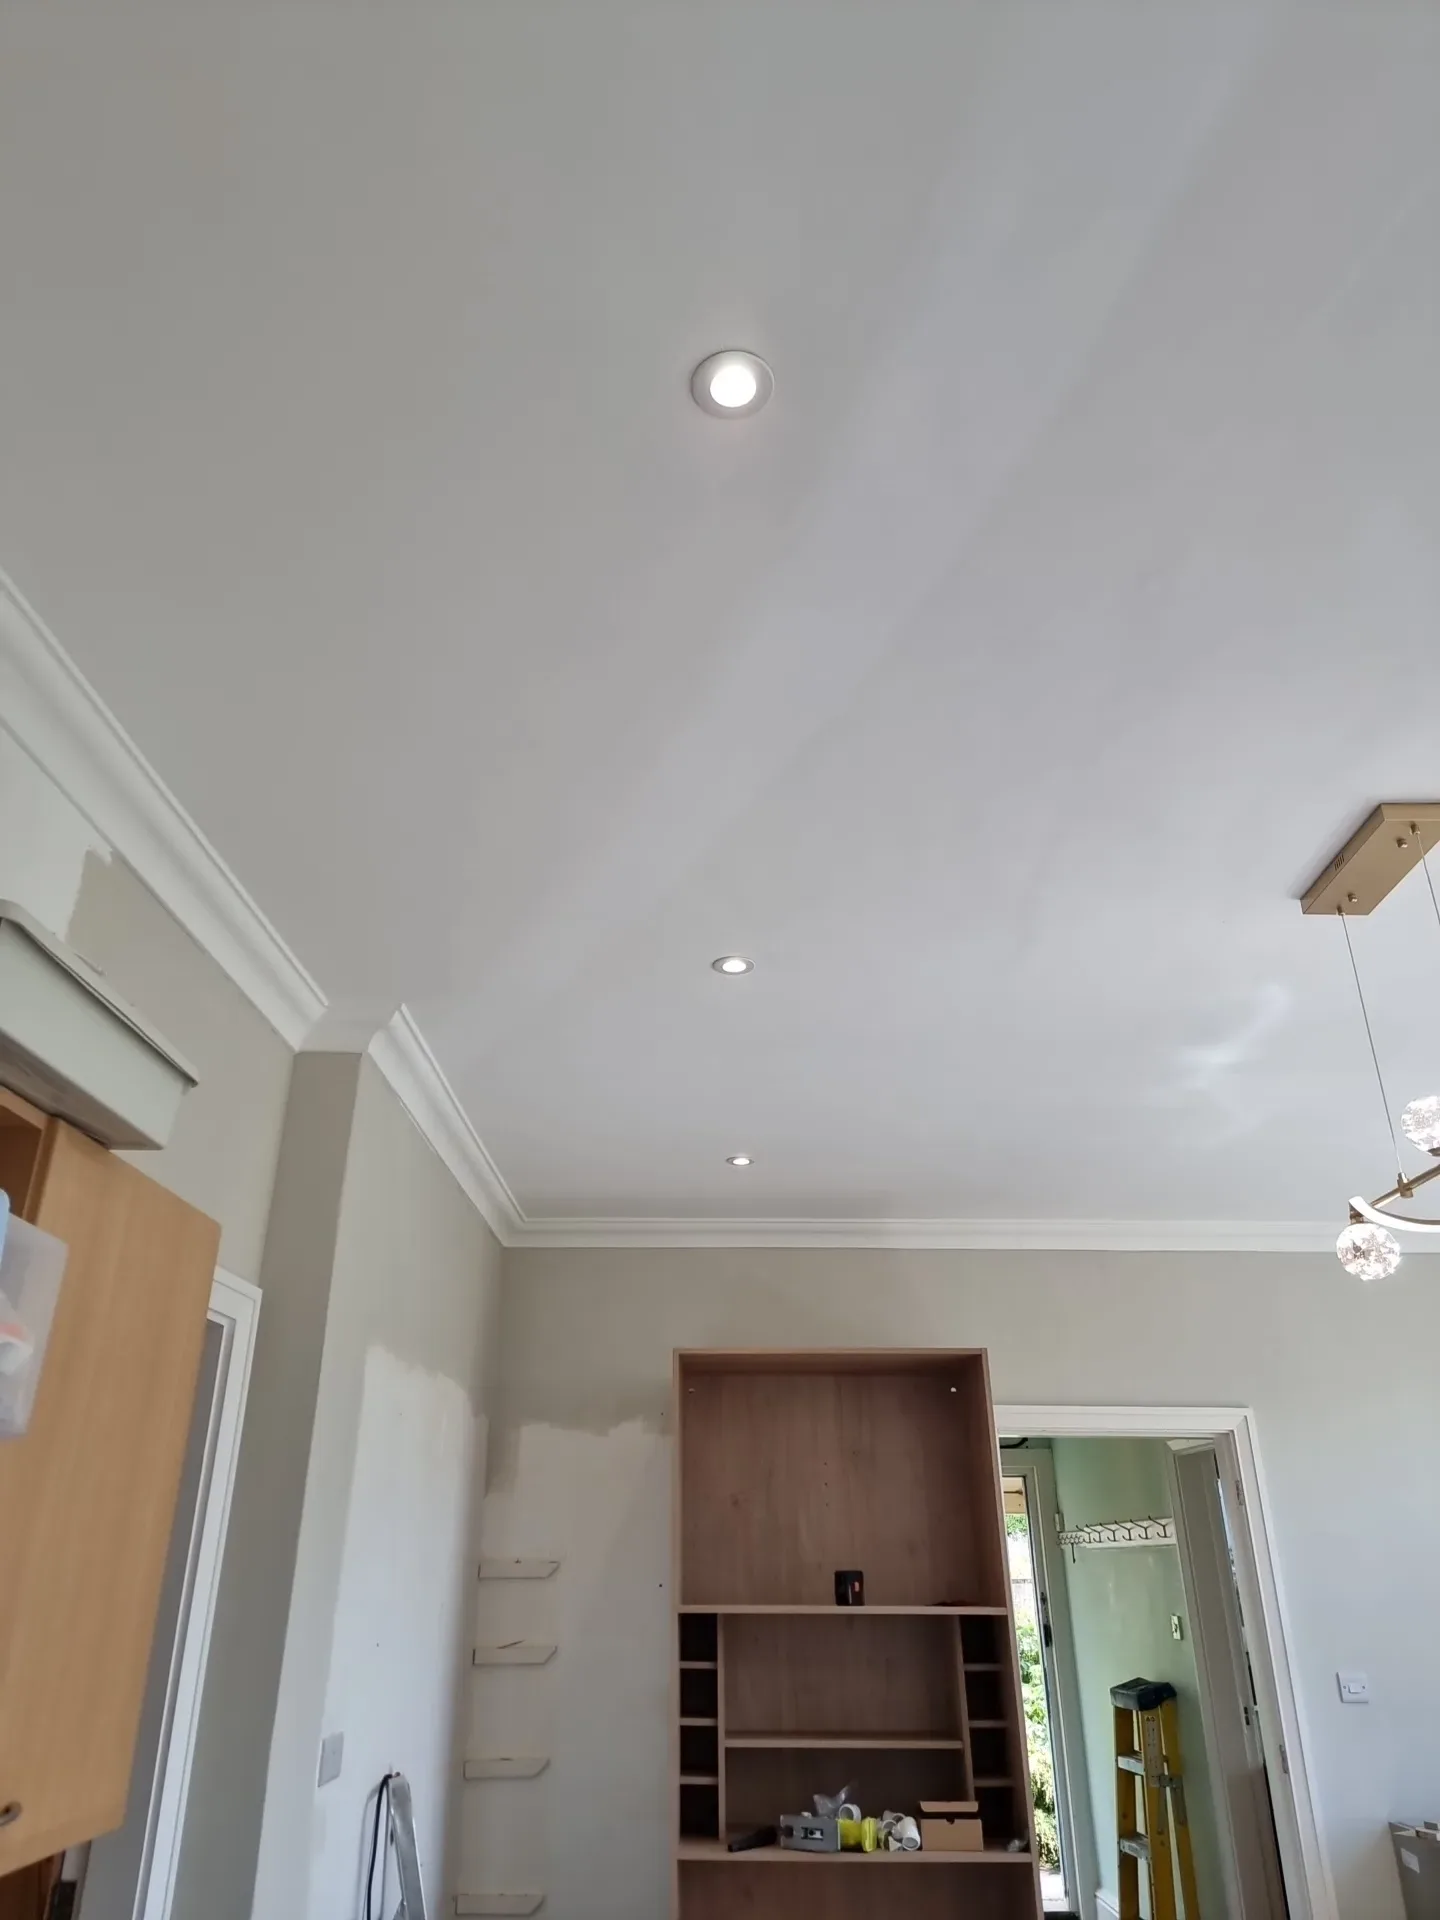
Three downlights were installed within the false chimney itself, wired to their own dedicated switching circuit and kept entirely separate from the rest of the kitchen lighting. That separation gives the finished space considerably more flexibility – the chimney lights can be used independently, adjusted for ambience, or switched off without affecting any other zone. It’s a straightforward detail that makes a real difference to how the kitchen functions once everything is done.
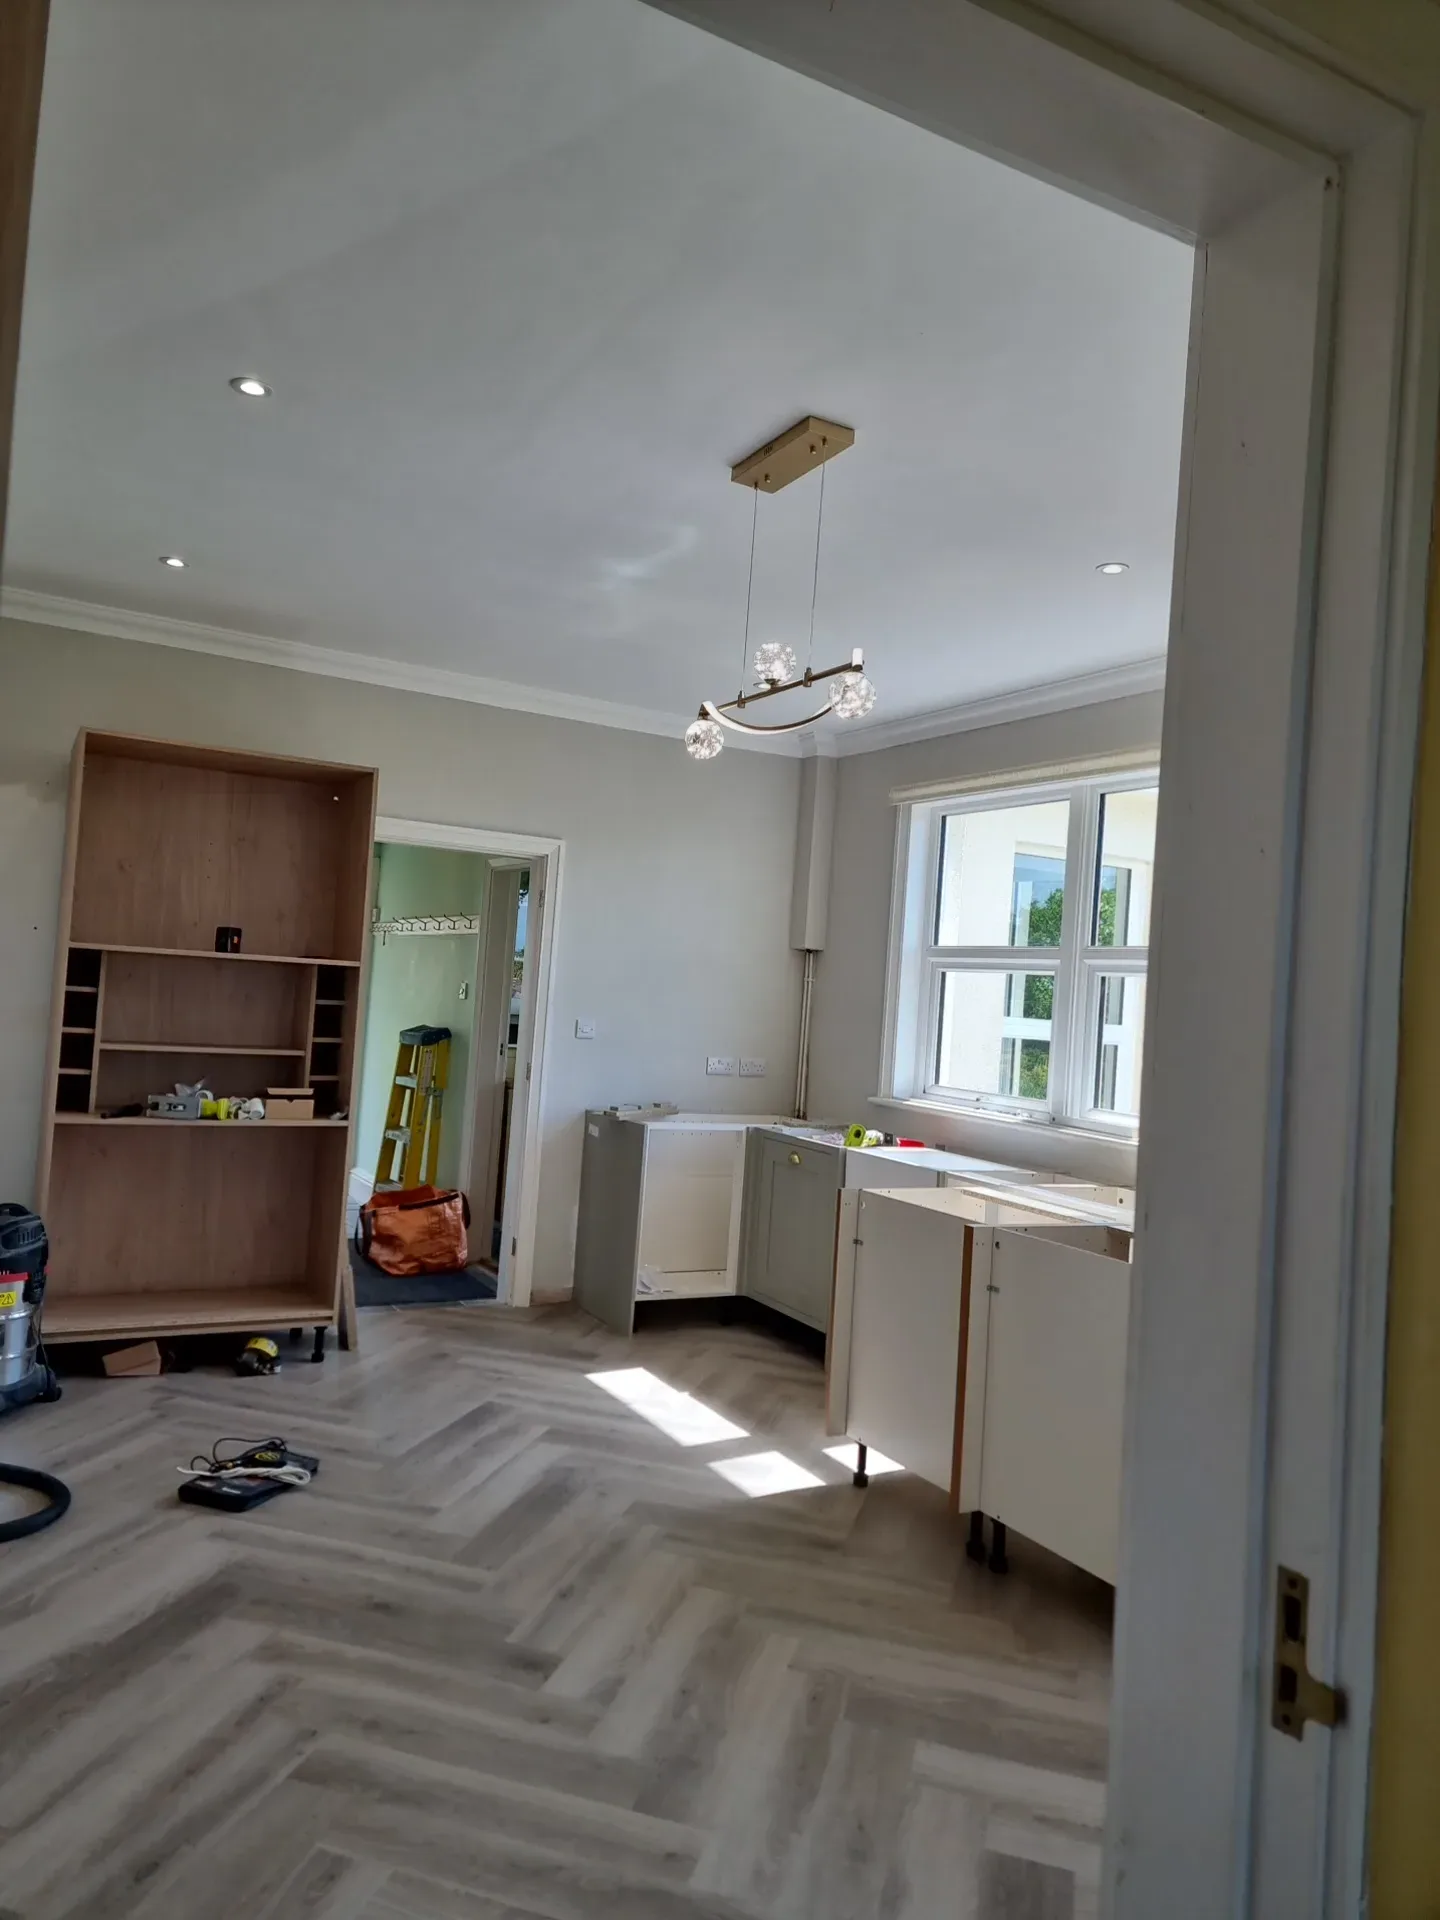
At the opposite end of the counter, an additional double socket was fitted to the left of the windows. Counter-level sockets in a kitchen fill up quickly, and getting the positions right during a refit is a far more practical approach than trying to add more later once the units and worktops are in. This outlet extends the usable run of countertop power and gives the kitchen proper coverage across its full width.
The island pendant light circuit was another zone requiring independent control. Supplies were installed for three pendant positions above the island, wired to switch separately from the main ceiling downlights. Having the island lighting on its own circuit changes the whole character of the room – main downlights off, pendants on, and the kitchen shifts from a working space into something altogether different. It’s a design choice that’s only possible if the electrical installation is set up to support it from the beginning.
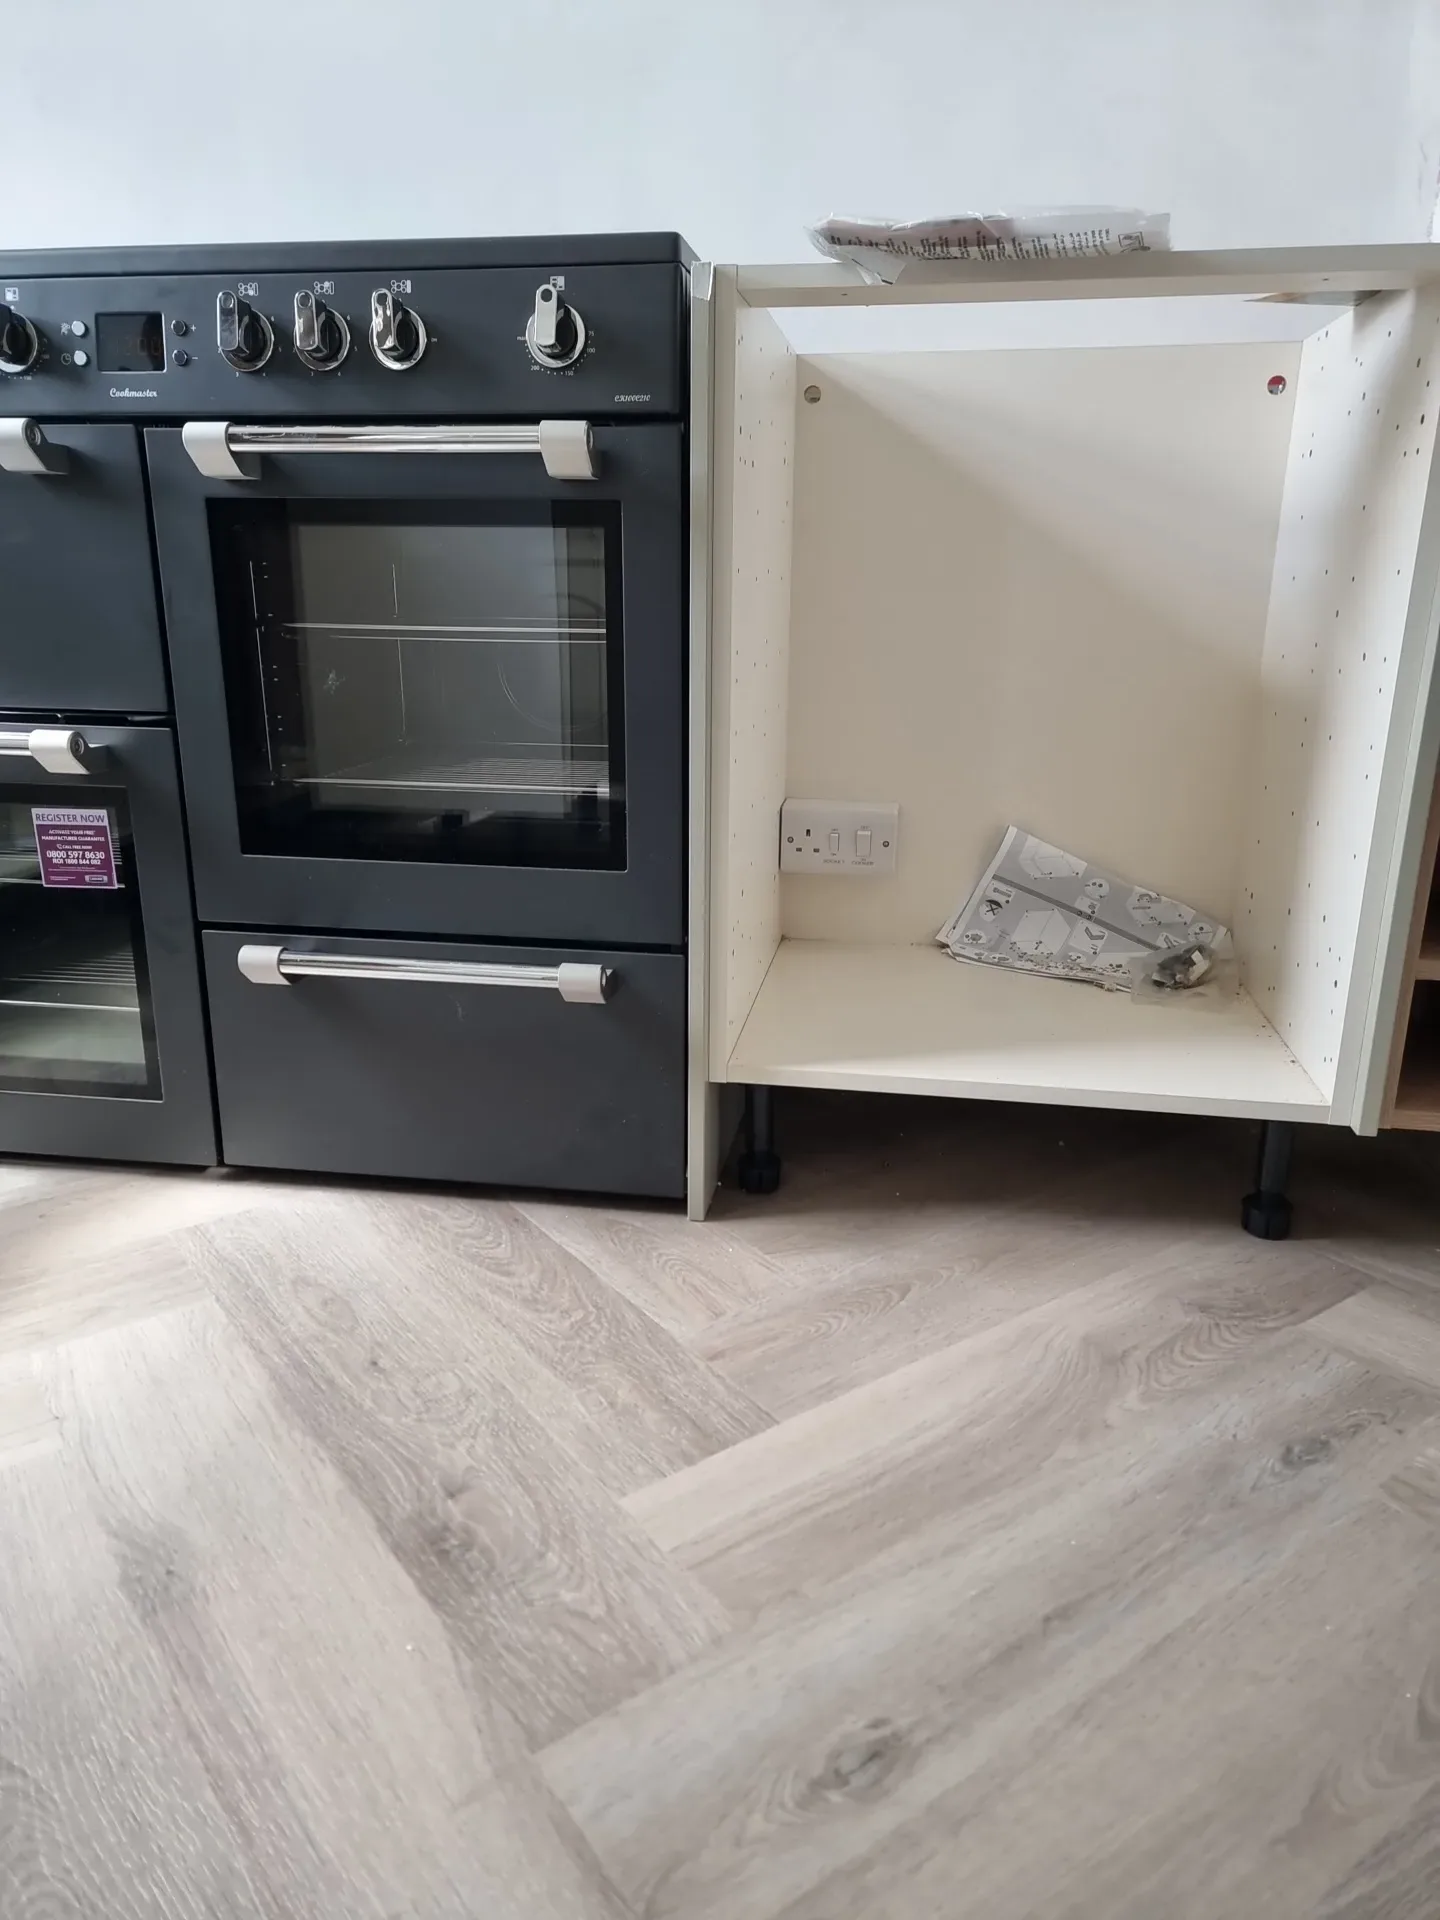
The range cooker was connected as part of the second fix, with an isolator fitted in the adjacent cupboard. Isolators on range cooker circuits allow the appliance to be safely disconnected without touching the consumer unit, which is standard practice and makes any future servicing or maintenance considerably more straightforward. A cooker switch with socket was also installed nearby as part of the overall outlet layout in the cooking area.
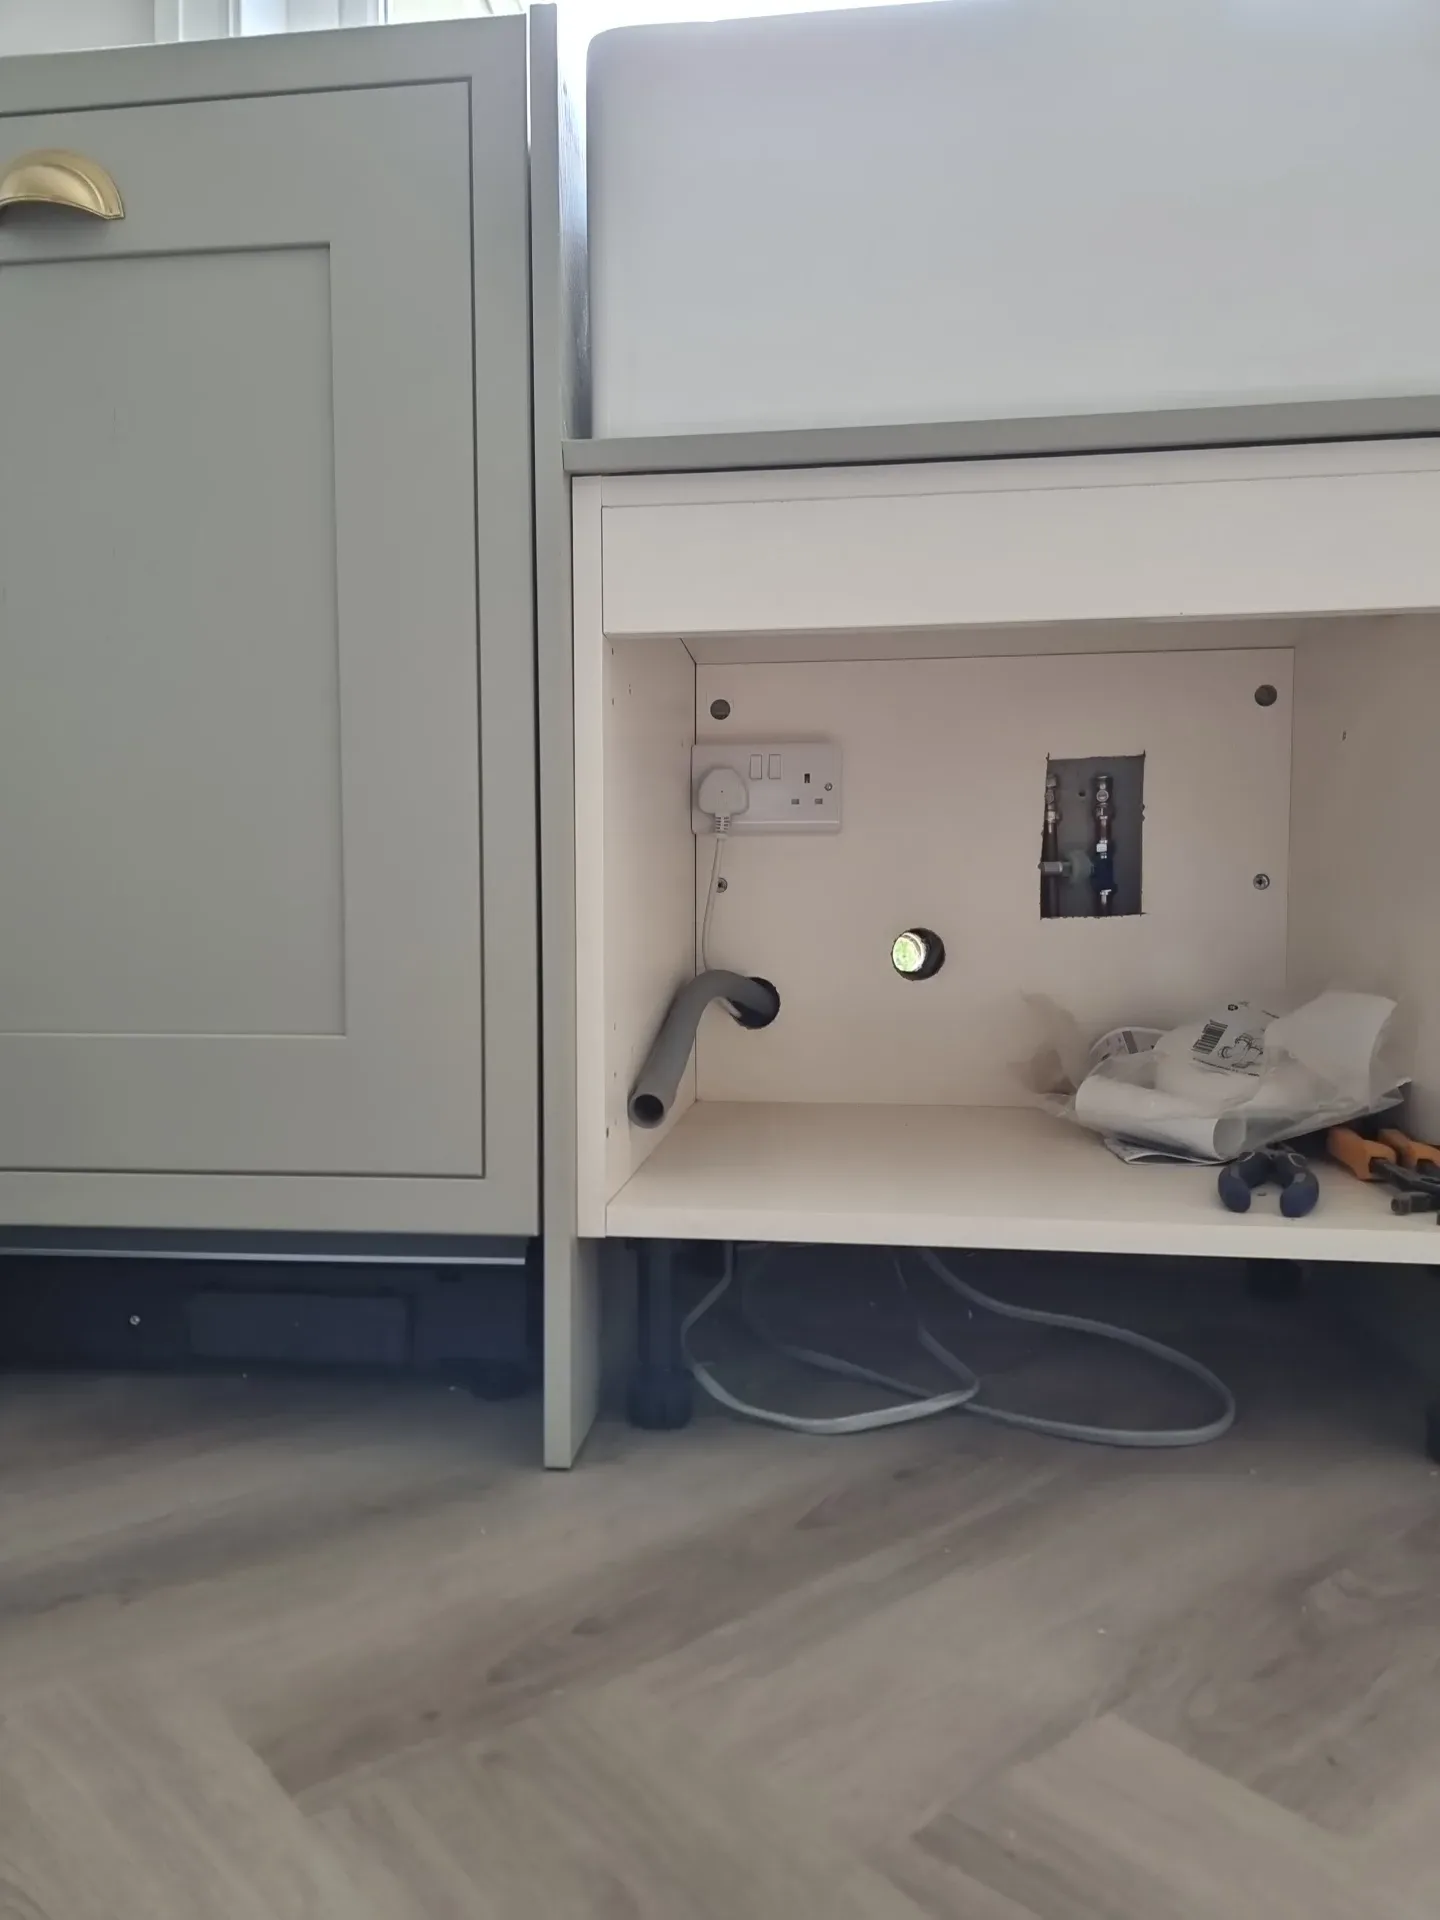
A socket was fitted under the sink to serve the dishwasher. It’s something that often drops off the planning list during a kitchen design process, but a properly positioned, fused connection in the sink cabinet rather than a flex disappearing into the darkness of a cupboard floor is the right way to handle it. Small detail, but it’s the kind of thing that matters long term.
The switching arrangement across this kitchen required a bit of careful thought. Three light switches were installed covering the different lighting zones, with an intermediate switching configuration used where the circuit needed to be controlled from more than one location. In practice that means a single lighting circuit can be turned on or off from two separate switch positions – a useful setup in a kitchen with more than one natural point of entry to the room. Six downlights were also installed within the consumer unit cupboard, providing working light in that area whenever access is needed.
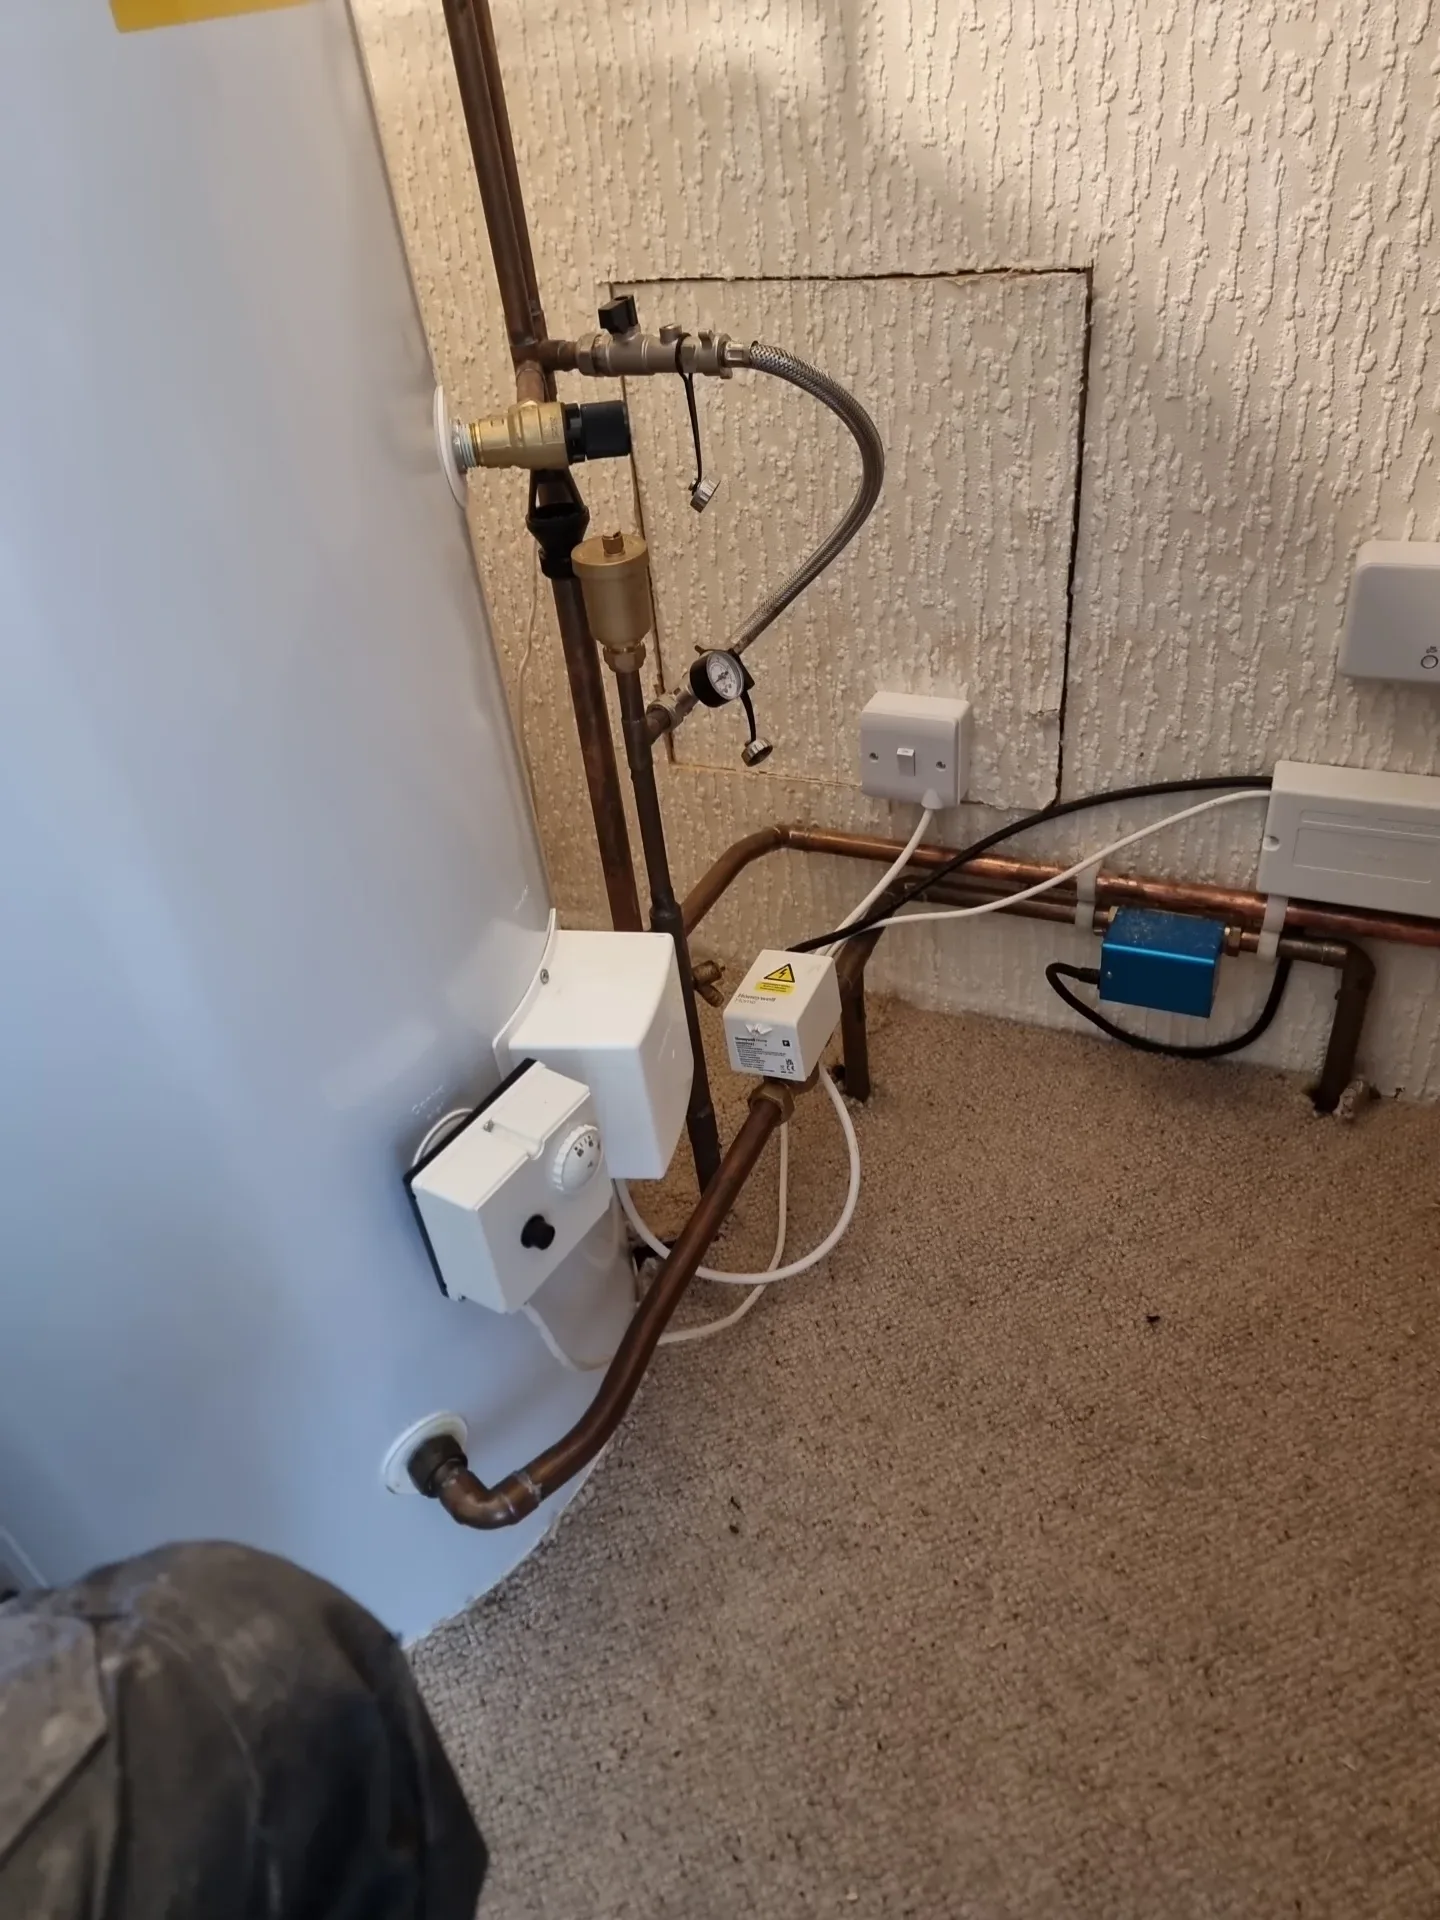
Once all the outlets were fixed, lighting connected, appliances wired and the switching finalised, the final connections were made into the consumer unit and the full installation tested.