Complete kitchen extractor replacement with external venting through soffit and light switch upgrade for a home in Lostwithiel, providing improved ventilation and updated lighting controls.

When it comes to kitchen ventilation, there’s a significant difference between recirculating extractors and properly vented systems. This home in Lostwithiel had an existing cooker hood that needed replacing, but rather than simply swapping like for like, the homeowners wanted to upgrade to a vented extractor that would actually remove cooking odours, steam and grease from the kitchen rather than just filtering and recirculating the air.
The challenge with installing a vented extractor in an existing kitchen isn’t usually the extractor unit itself, but rather working out the best route to get the extracted air outside. Every property is different, and what works in one home might not be feasible in another. In this case, we needed to route ducting from the cooker position up into the loft space and then out through the soffit, which required careful planning to keep everything neat whilst maintaining good airflow.
Working with client-supplied equipment adds an extra layer to any electrical job. The homeowners had already chosen their preferred extractor unit, which meant we needed to check the specifications before starting work to confirm it would be suitable for the installation. The unit needed to connect to the existing power supply that fed the old cooker hood, and we had to verify that the ducting requirements matched what we’d be installing through the loft space.
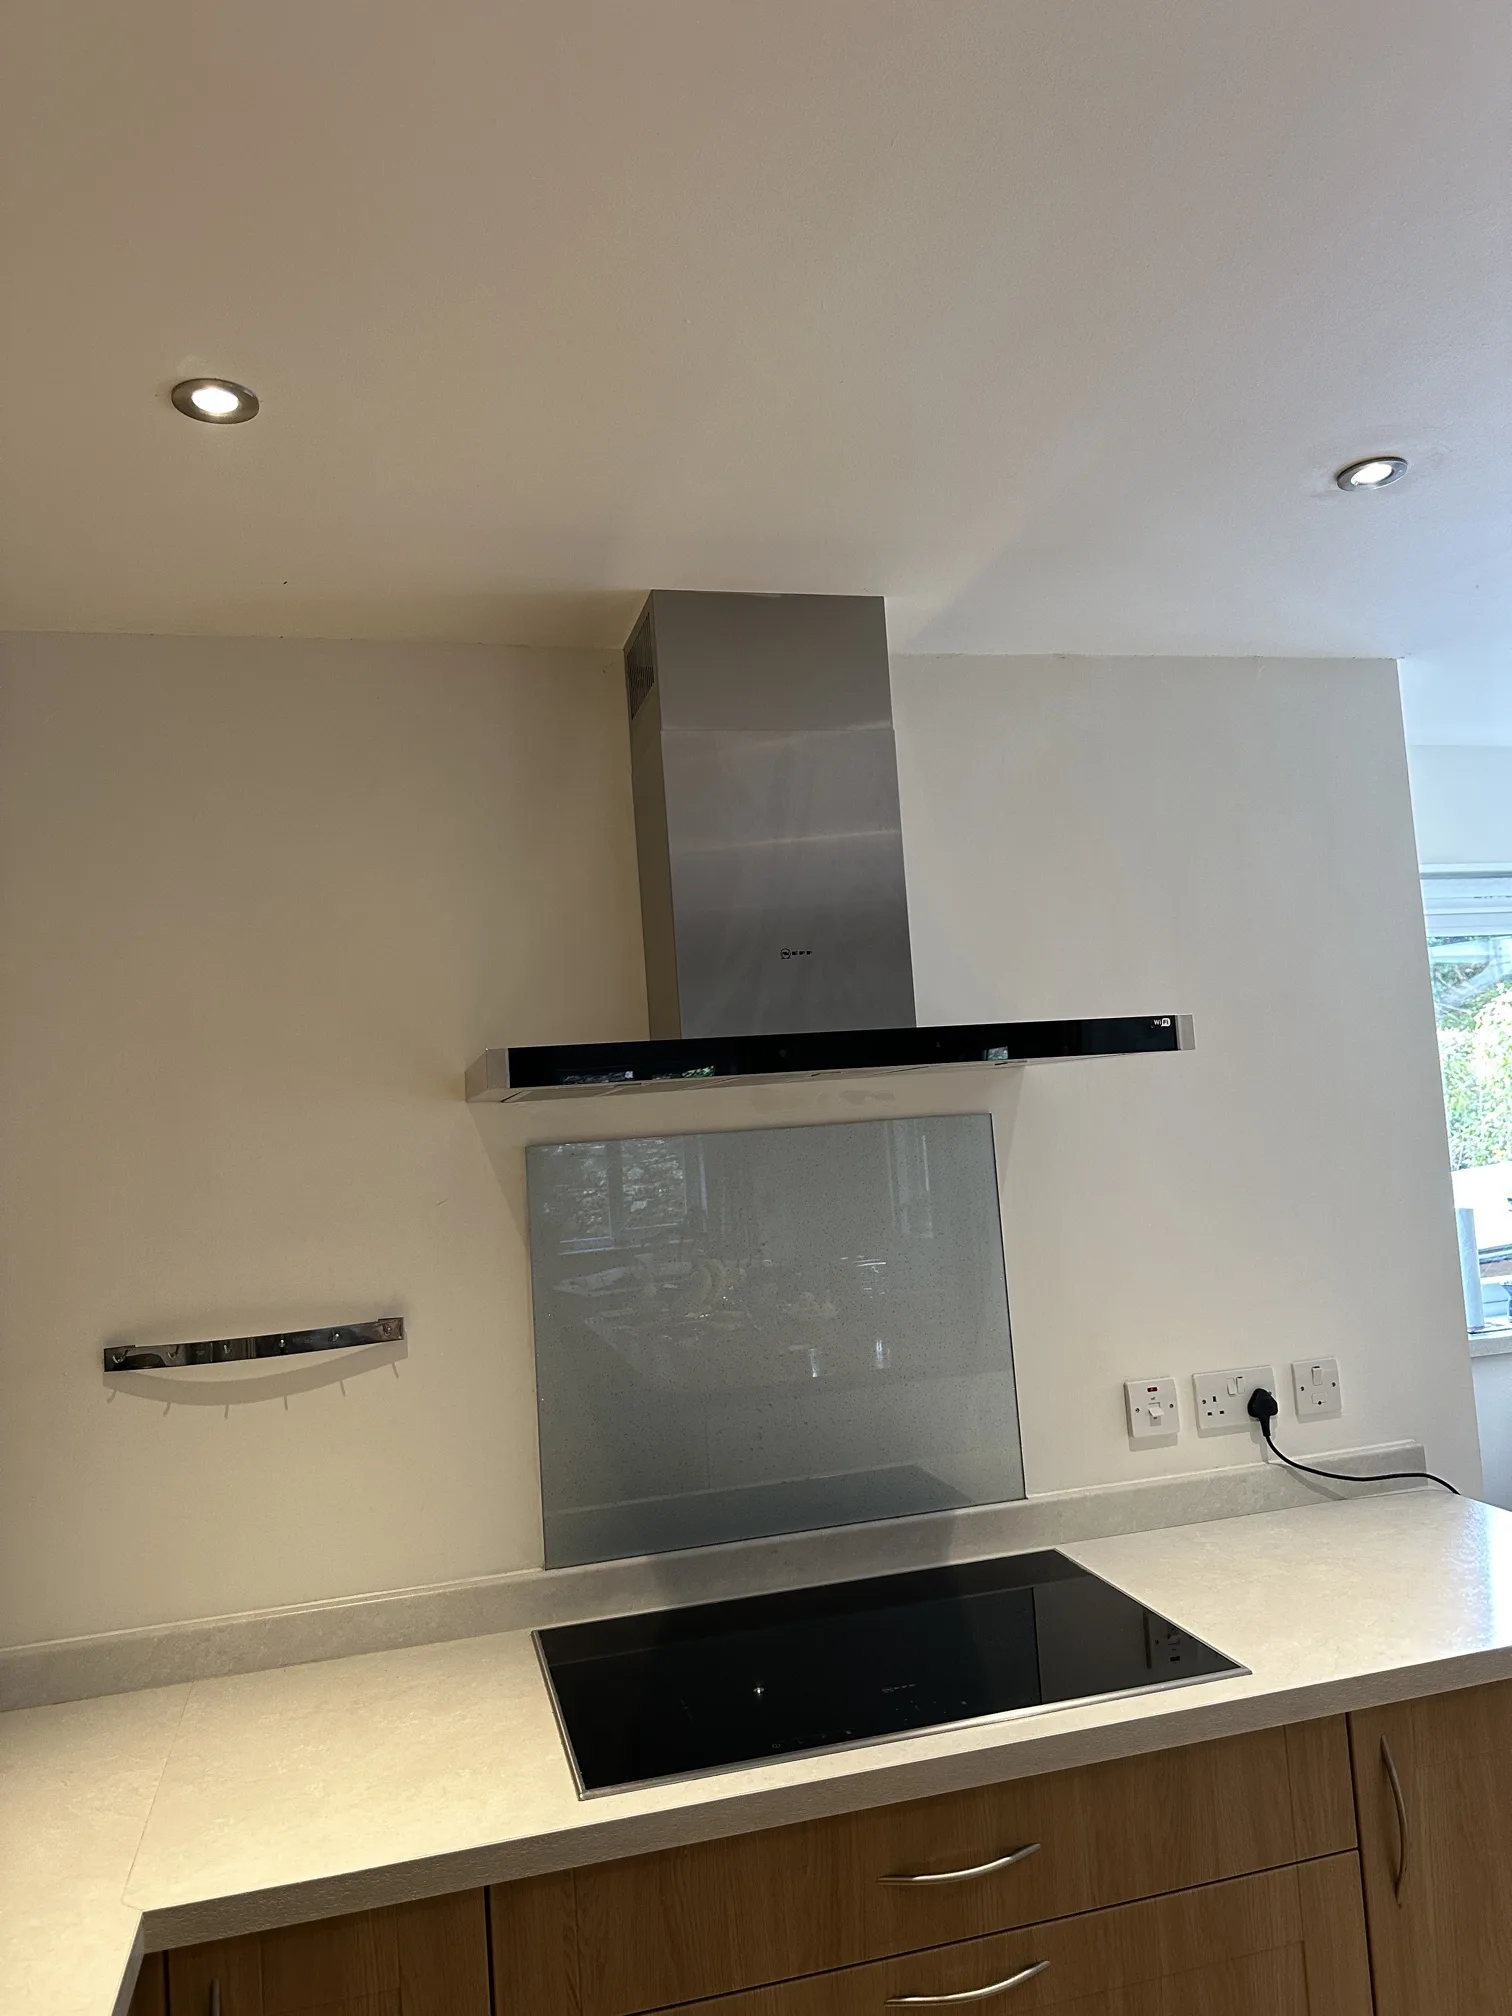
The existing cooker hood came off easily enough, revealing the electrical connection that had fed it. With modern extractors, you’re typically looking at a standard 13-amp connection, which meant we could work with what was already there. The new unit went up in its place, but that was just the starting point. The real work lay in creating a proper ventilation route that would actually move air effectively out of the kitchen.
Flexible aluminium ducting is the go-to material for this type of installation because it combines flexibility with durability. The 100mm diameter gives you decent airflow without being overly bulky, which matters when you’re threading it through loft spaces where you’re working around joists, insulation and all the other stuff that accumulates up there over the years. We ran the ducting up from the extractor position and into the loft, making sure to support it properly along its route so it wouldn’t sag or kink, either of which would restrict airflow.
Once the ducting was in the loft, we needed to find the best exit point through the soffit. Soffits are the underside of the roof overhang where it extends beyond the wall, and they’re a common choice for venting because they’re already outside the building envelope. The key is choosing a location that makes sense both structurally and practically. You need to avoid any services that might be running through that area, and you want the vent positioned where it won’t cause issues with the property’s appearance or create problems with rainwater getting drawn in.
Coring through the soffit requires a bit of care. You’re essentially creating a 100mm hole through what’s often a relatively thin board, and you need to work cleanly to avoid splitting or damaging the material. Once the hole was cut, we could fit the external grille, which serves a dual purpose of keeping out rain and pests whilst allowing air to flow freely. The grille needs to be secured properly because it’s exposed to the elements year-round, and you don’t want it working loose in high winds.
With the extraction route complete, we could connect everything up and test the system. A properly installed vented extractor should shift a considerable volume of air, and you can usually hear the difference compared to the old recirculating type. The homeowners would now have effective removal of cooking fumes rather than just having them pushed back into the kitchen through a filter.
Whilst we were working in the kitchen, there was also a light switch to replace. The existing four-gang switch controlled various lighting circuits in the kitchen, and like the extractor, the homeowners had supplied their own replacement unit. Switching out a light switch might seem straightforward, and in many ways it is, but you still need to work methodically to avoid problems.
The first step is always isolation – making sure the circuit is completely dead before you touch any wiring. Once isolated and tested, the old switch comes off and you can see how everything’s wired up. With a four-gang switch, you’re dealing with multiple circuits, each potentially serving different lights or groups of lights in the kitchen. Every wire needs to go back to exactly the right terminal on the new switch, which is why taking a photo of the existing wiring before disconnection can be helpful, even though experienced electricians can usually work it out from the wire colours and positions.
The new switch fitted into the existing back box without issues, which isn’t always guaranteed when you’re working with client-supplied equipment. Sometimes you get a switch that’s slightly deeper than the old one, or the terminal layout is different enough to cause complications. In this case, everything lined up properly. Each wire got connected to its corresponding terminal, double-checked for tightness and correctness, and then the switch faceplate went on.
Testing is an integral part of any electrical work, regardless of how minor the job might seem. With the four-gang switch, this meant checking each gang individually to confirm it controlled the right lights and that everything worked as it should. You’re also checking that the switch operates smoothly, that the faceplate sits flush against the wall, and that there are no odd noises or issues when the lights are turned on and off.
Kitchen electrical work often happens during broader renovation projects, but sometimes homeowners tackle specific upgrades independently. In this case, improving the ventilation made practical sense – better extraction means less condensation, fewer lingering cooking smells, and a generally more pleasant cooking environment. The light switch replacement brought the control to current aesthetic preferences whilst maintaining reliable function.
The location in Lostwithiel meant navigating the typical Cornish property quirks that come with older homes in historic towns. Narrow lanes and limited access are par for the course, but with a bit of planning and the homeowners’ confirmation that there was driveway parking available, materials could be delivered and the work completed without the logistical headaches that sometimes complicate jobs in more remote or access-restricted properties.
From a technical standpoint, vented extraction systems are always preferable to recirculating ones where it’s practical to install them. They remove moisture and contaminants from the indoor environment rather than just moving them around, which has real benefits for air quality and reducing condensation-related issues. The soffit route worked well for this property, giving a neat finish whilst providing the shortest practical ducting run to maintain good airflow efficiency.
Both aspects of this job – the extraction installation and the switch replacement – demonstrate how electrical work in homes combines technical knowledge with practical problem-solving. You need to understand the principles of what you’re doing, whether that’s airflow dynamics for ventilation or circuit control for lighting, but you also need to adapt to the specific conditions of each property and work with whatever constraints the building presents.
