
Dimmer switches are more than just a trendy addition to your home; they offer a practical way to control the ambiance and energy consumption of your lighting. For those in Cornwall, replacing an old dimmer switch with a new one can be a straightforward DIY project that not only modernises your space but also aligns with local energy efficiency goals. This guide will walk you through the process, ensuring you have the right tools, knowledge, and confidence to get the job done.
Understanding Dimmer Switches
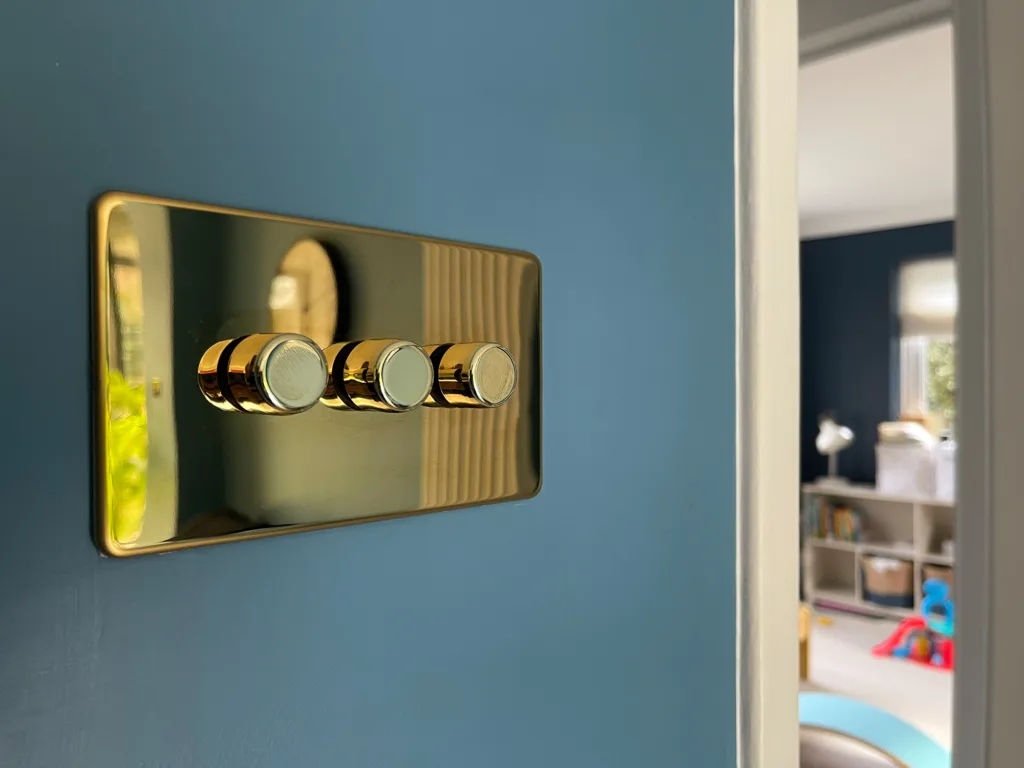
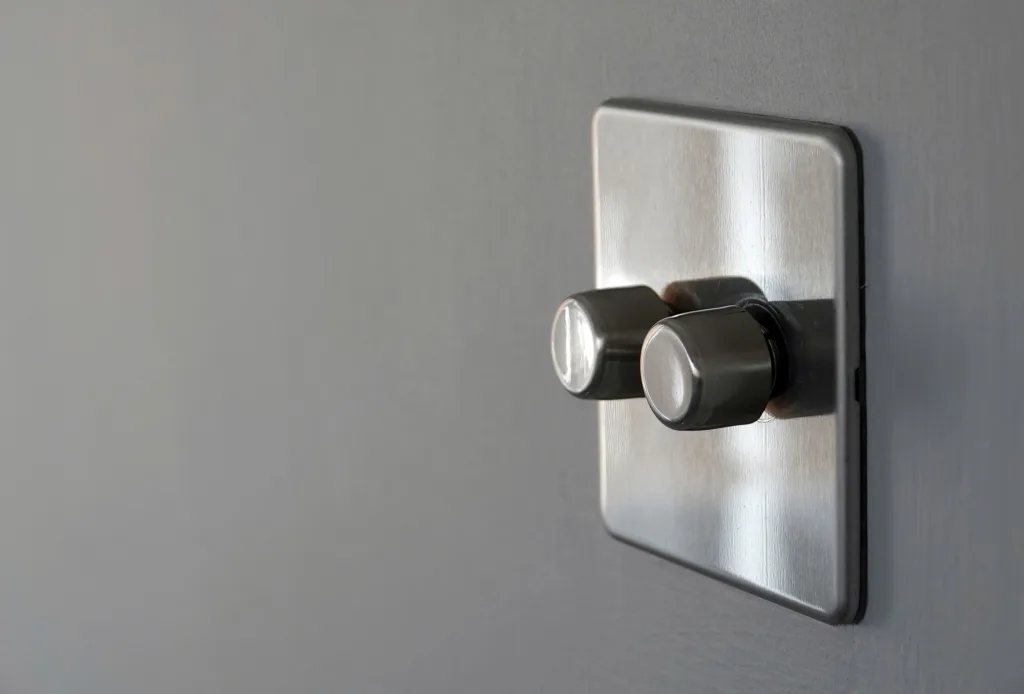
Dimmer switches control the brightness of your lights, allowing you to create different moods and save energy. There are two main types: leading-edge and trailing-edge. Leading-edge dimmers are suitable for incandescent and halogen bulbs, while trailing-edge dimmers are ideal for LEDs. Knowing the type of dimmer switch and its compatibility with your bulbs is crucial before starting your replacement.
Types of Dimmer Switches
- Leading-Edge Dimmers: Best for incandescent and halogen bulbs, these are the most common type of dimmer switches. They work by cutting off the leading edge of the AC waveform, which can cause buzzing or flickering when used with LEDs.
- Trailing-Edge Dimmers: Designed for modern LED bulbs, these dimmers provide a smoother dimming experience without the buzzing or flickering. They cut off the trailing edge of the AC waveform, making them more efficient and quieter.
Compatibility Considerations
Not all dimmer switches are compatible with every type of bulb. It’s essential to check whether your new dimmer switch supports the bulbs you intend to use. For example, using a leading-edge dimmer with LEDs can cause performance issues. Always refer to the manufacturer’s compatibility chart.
Tools and Materials Needed
Before you start, gather the following tools and materials:
- Screwdrivers (flathead and Phillips)
- Voltage tester
- Insulating gloves
- Safety glasses
- New dimmer switch
- Dimmable bulbs
Having the right tools ensures a smoother installation process and minimises the risk of errors.
Pre-Installation Preparations
Safety First: Isolate the Power
Always isolate the power before working on any electrical installation. Turn off the power at your consumer unit (fuse box). Use a voltage tester to ensure the circuit is dead.
Understanding Your Consumer Unit
In the UK, the consumer unit is often referred to as the fuse box. Familiarise yourself with its layout and how to switch off the appropriate circuit. This step is critical to avoid any electrical hazards during the installation process.
Checking Bulb Compatibility
Ensure your new dimmer switch is compatible with your current bulbs. If you’re upgrading to LED bulbs, make sure the dimmer is designed for LED use. Compatibility issues can lead to inefficient dimming and potential damage to the bulbs or dimmer switch.
Selecting the Right Dimmer Switch
Choose a dimmer switch that suits your needs. Leading-edge dimmers are for traditional bulbs, while trailing-edge dimmers work best with LEDs. Check the wattage rating to match your lighting load. Proper selection will prevent any technical issues and ensure a smooth dimming experience.
For more detailed guidance, you can always consult our comprehensive guide on Upgrading to Energy-Efficient Lighting: Benefits and How-Tos.
Step-by-Step Installation Guide
1. Isolate the Power
Locate and switch off the circuit you will be working on. Double-check with a voltage tester to ensure there is no current. Safety should always be your top priority when dealing with electrical installations.
2. Remove the Old Faceplate
Use a screwdriver to remove the screws holding the old switch faceplate in place. Carefully pull the faceplate away from the wall. This step reveals the wiring and allows you to access the old switch for removal.
3. Test for Current
Even after isolating the power, use a voltage tester on the switch terminals to confirm there is no live current. This ensures your safety by preventing any accidental electrical shocks.
4. Note Wire Connections
Take a photo of the existing wire connections for reference. This will help you connect the wires correctly to the new dimmer switch. Proper documentation avoids confusion during reinstallation.
5. Remove the Old Switch
Loosen the terminal screws and disconnect the wires. Remove the old switch completely. This step clears the way for the new dimmer switch installation.
6. Check the Back Box Depth
Ensure the back box is deep enough to accommodate the new dimmer switch. If it’s too shallow, you might need to replace it with a deeper one. Adequate depth is necessary for a secure and safe installation.
7. Install the New Dimmer Switch
Connect the wires to the new dimmer switch, matching them to the corresponding terminals (live, neutral, and earth). Tighten the screws securely. Proper connection ensures the switch operates correctly without any electrical faults.
8. Attach the New Faceplate
Position the new faceplate and secure it with screws. Ensure it’s flush with the wall and all connections are tight. A properly fitted faceplate provides a neat finish and safe operation.
9. Restore the Power
Turn the power back on at the consumer unit. Test the new dimmer switch to ensure it’s functioning correctly. Verify the dimming functionality with your bulbs to confirm a successful installation.
For further insights on when it’s best to DIY or hire a professional, visit our guide on DIY vs Professional: When to Call an Electrician.
Post-Installation Checks
After installing your new dimmer switch, perform these checks:
- Testing: Ensure the dimmer switch adjusts the light intensity smoothly. Test with all compatible bulbs to confirm consistent performance.
- Troubleshooting: If there are flickering or buzzing sounds, double-check the compatibility of the bulbs and the dimmer. Incorrect pairing can cause operational issues.
- Security: Make sure all connections are tight and the faceplate is secure. Loose connections can lead to electrical hazards and poor switch performance.
Cornwall-Specific Considerations
Local Electrical Regulations
In Cornwall, as in the rest of the UK, electrical installations must comply with Part P of the Building Regulations. It’s crucial to ensure all work meets these standards to avoid any safety hazards. For authoritative information, refer to Gov Building Regulations.
Recommended Local Suppliers
For reliable electrical components, consider local suppliers in Cornwall. They often provide products that meet UK standards and can offer advice tailored to your needs. Shopping locally supports the community and ensures you receive items suited for the region’s electrical systems.
FAQs
What type of dimmer switch is best for LED bulbs?
Trailing-edge dimmers are generally recommended for LED bulbs as they provide better performance and compatibility, reducing the risk of flickering and noise.
Can I install a dimmer switch myself, or should I hire an electrician?
While installing a dimmer switch can be a DIY task, if you’re unsure or uncomfortable with electrical work, it’s best to hire a professional. Safety is paramount.
What safety precautions should I take when replacing a dimmer switch?
Always isolate the power before starting, use insulated tools, and wear safety gear such as gloves and glasses. If in doubt, consult an electrician.
Conclusion
Replacing a dimmer switch in your home in Cornwall is a manageable DIY project that can enhance your lighting and energy efficiency. By following this guide, you ensure a safe and effective installation. If you need professional help, don’t hesitate to Contact Us.
Remember, safety first! If you encounter any issues, our team is just a call away to assist you with your electrical needs.
